
Juniper and Birch Mash-Up

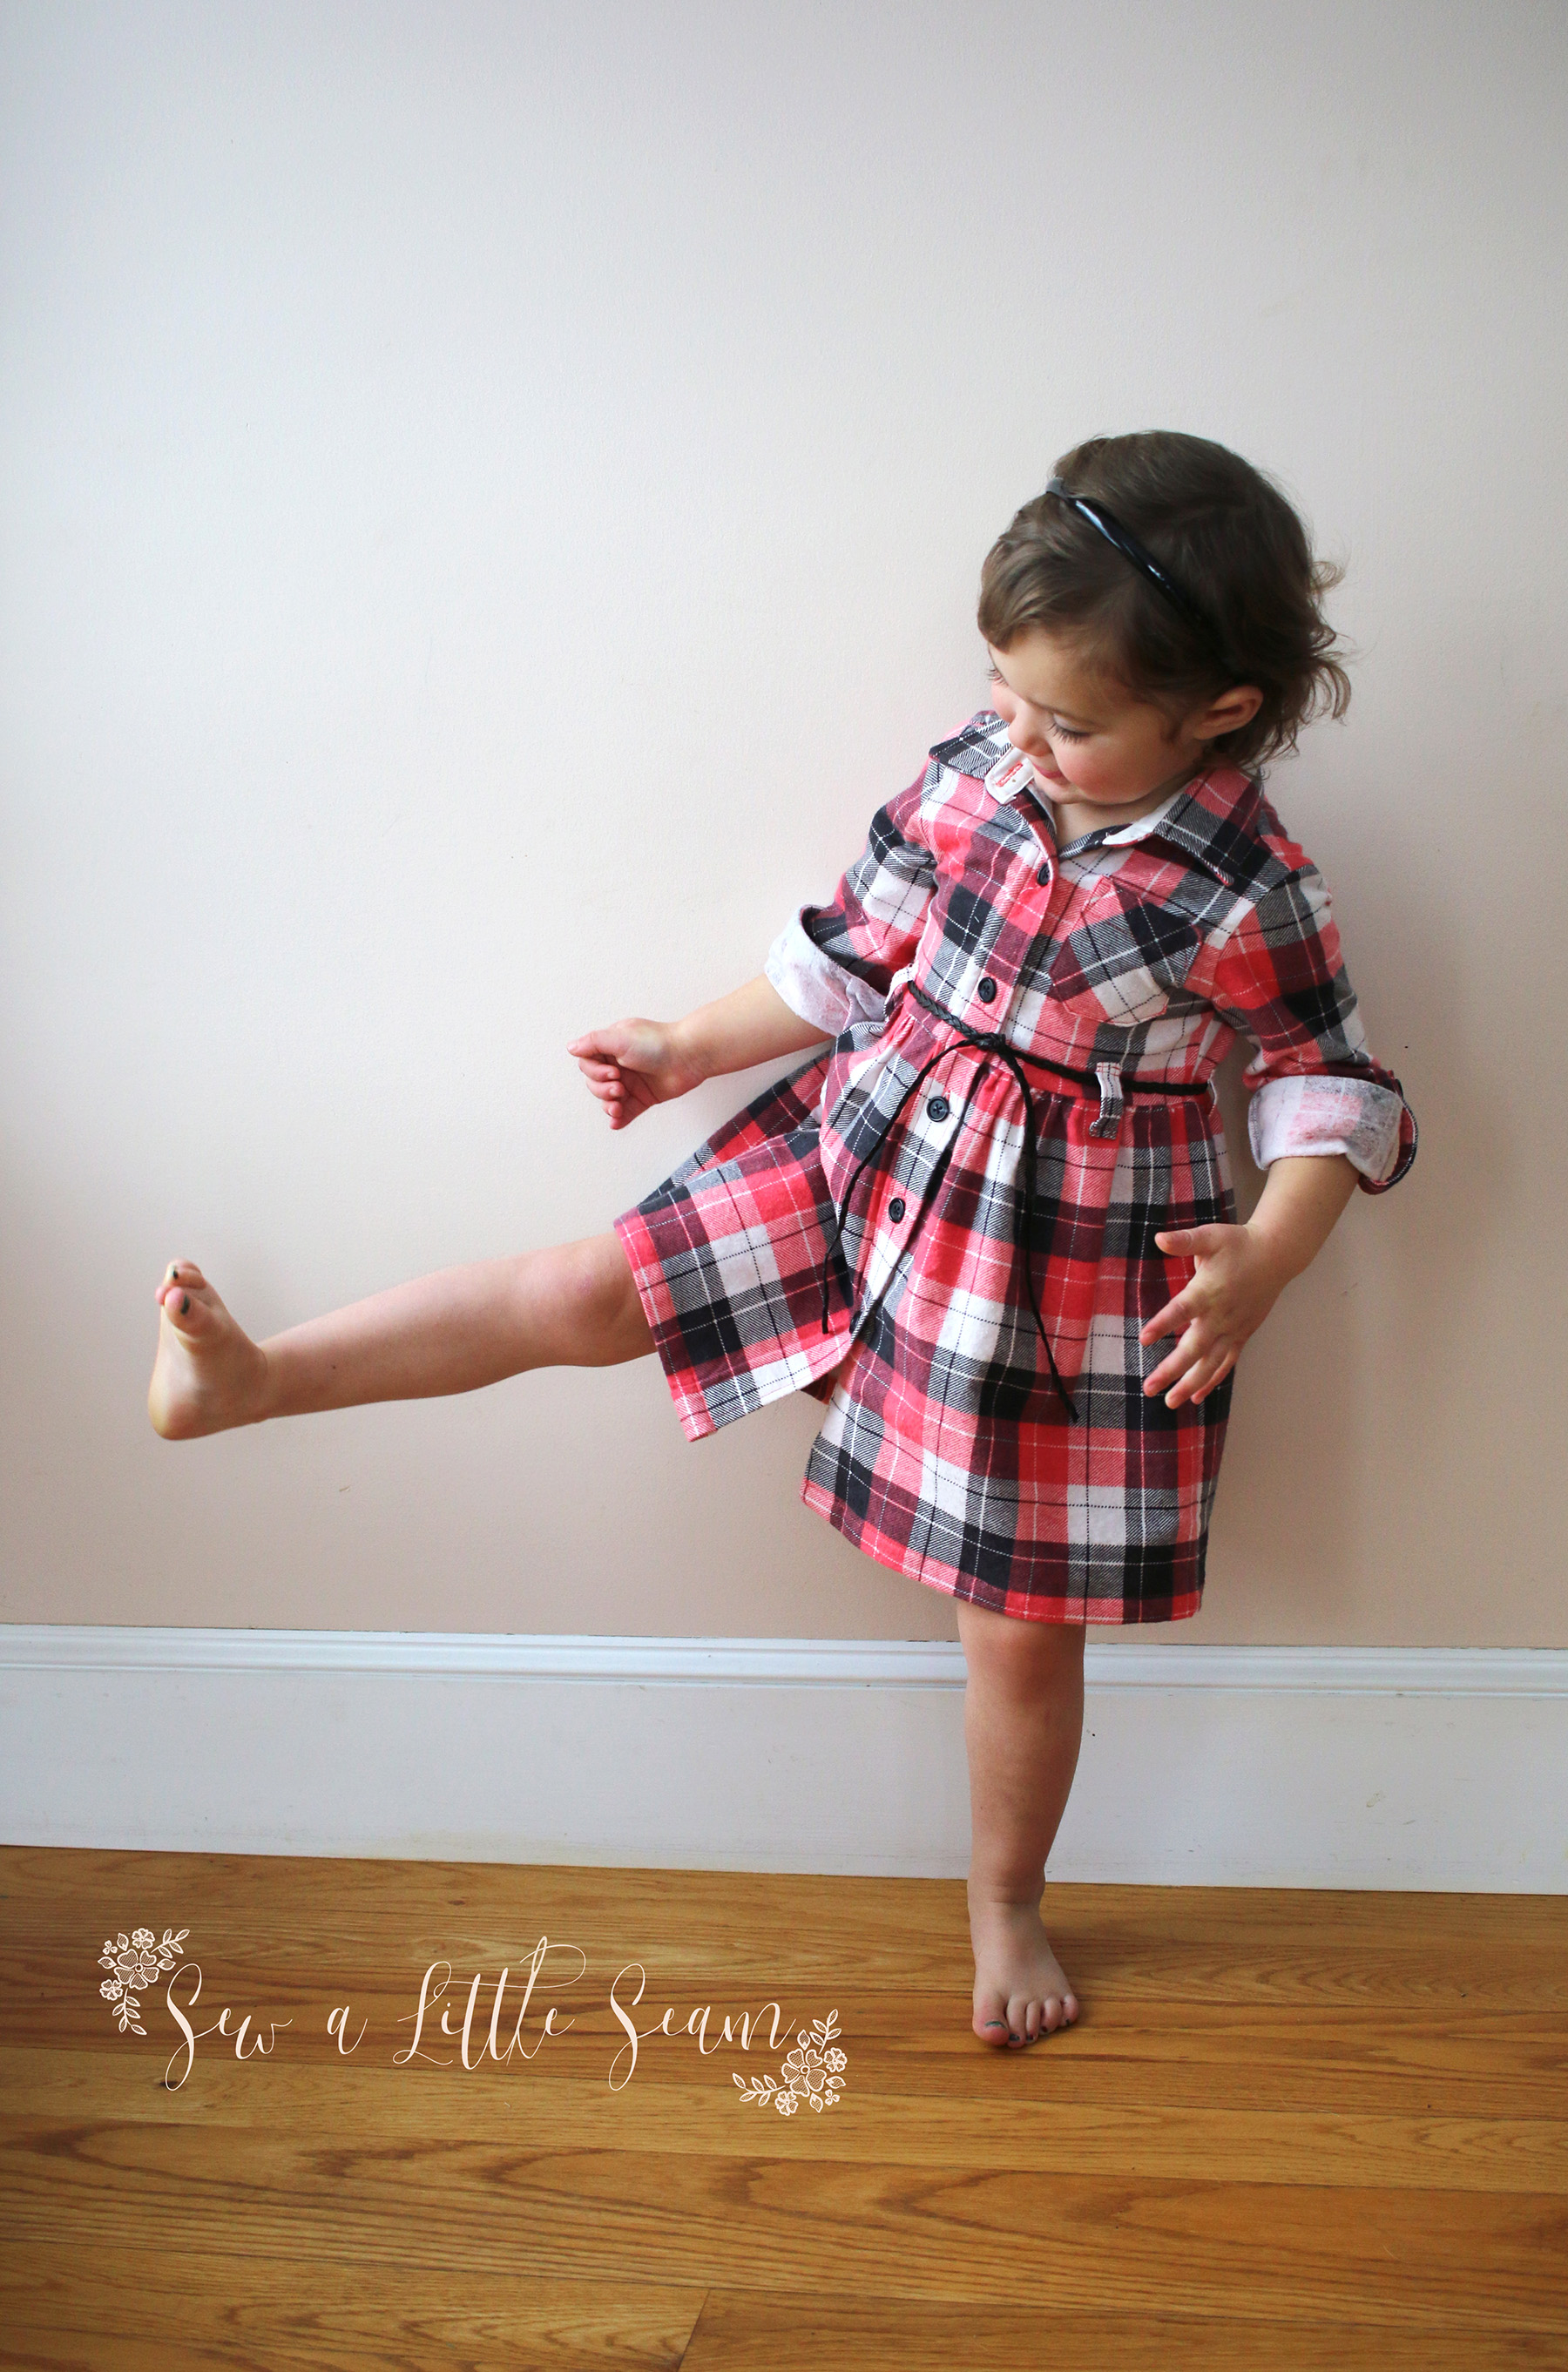
Usually for Christmas I make my daughter some fancy dress that gets worn once and then stored in the back of the closet, so this year I decided to make her something more practical. I combined the Juniper and Birch patterns to make a collared shirt dress. I’ve been wanting to make this combo for awhile now and it was really easy to do. I’ll explain below how I did it.

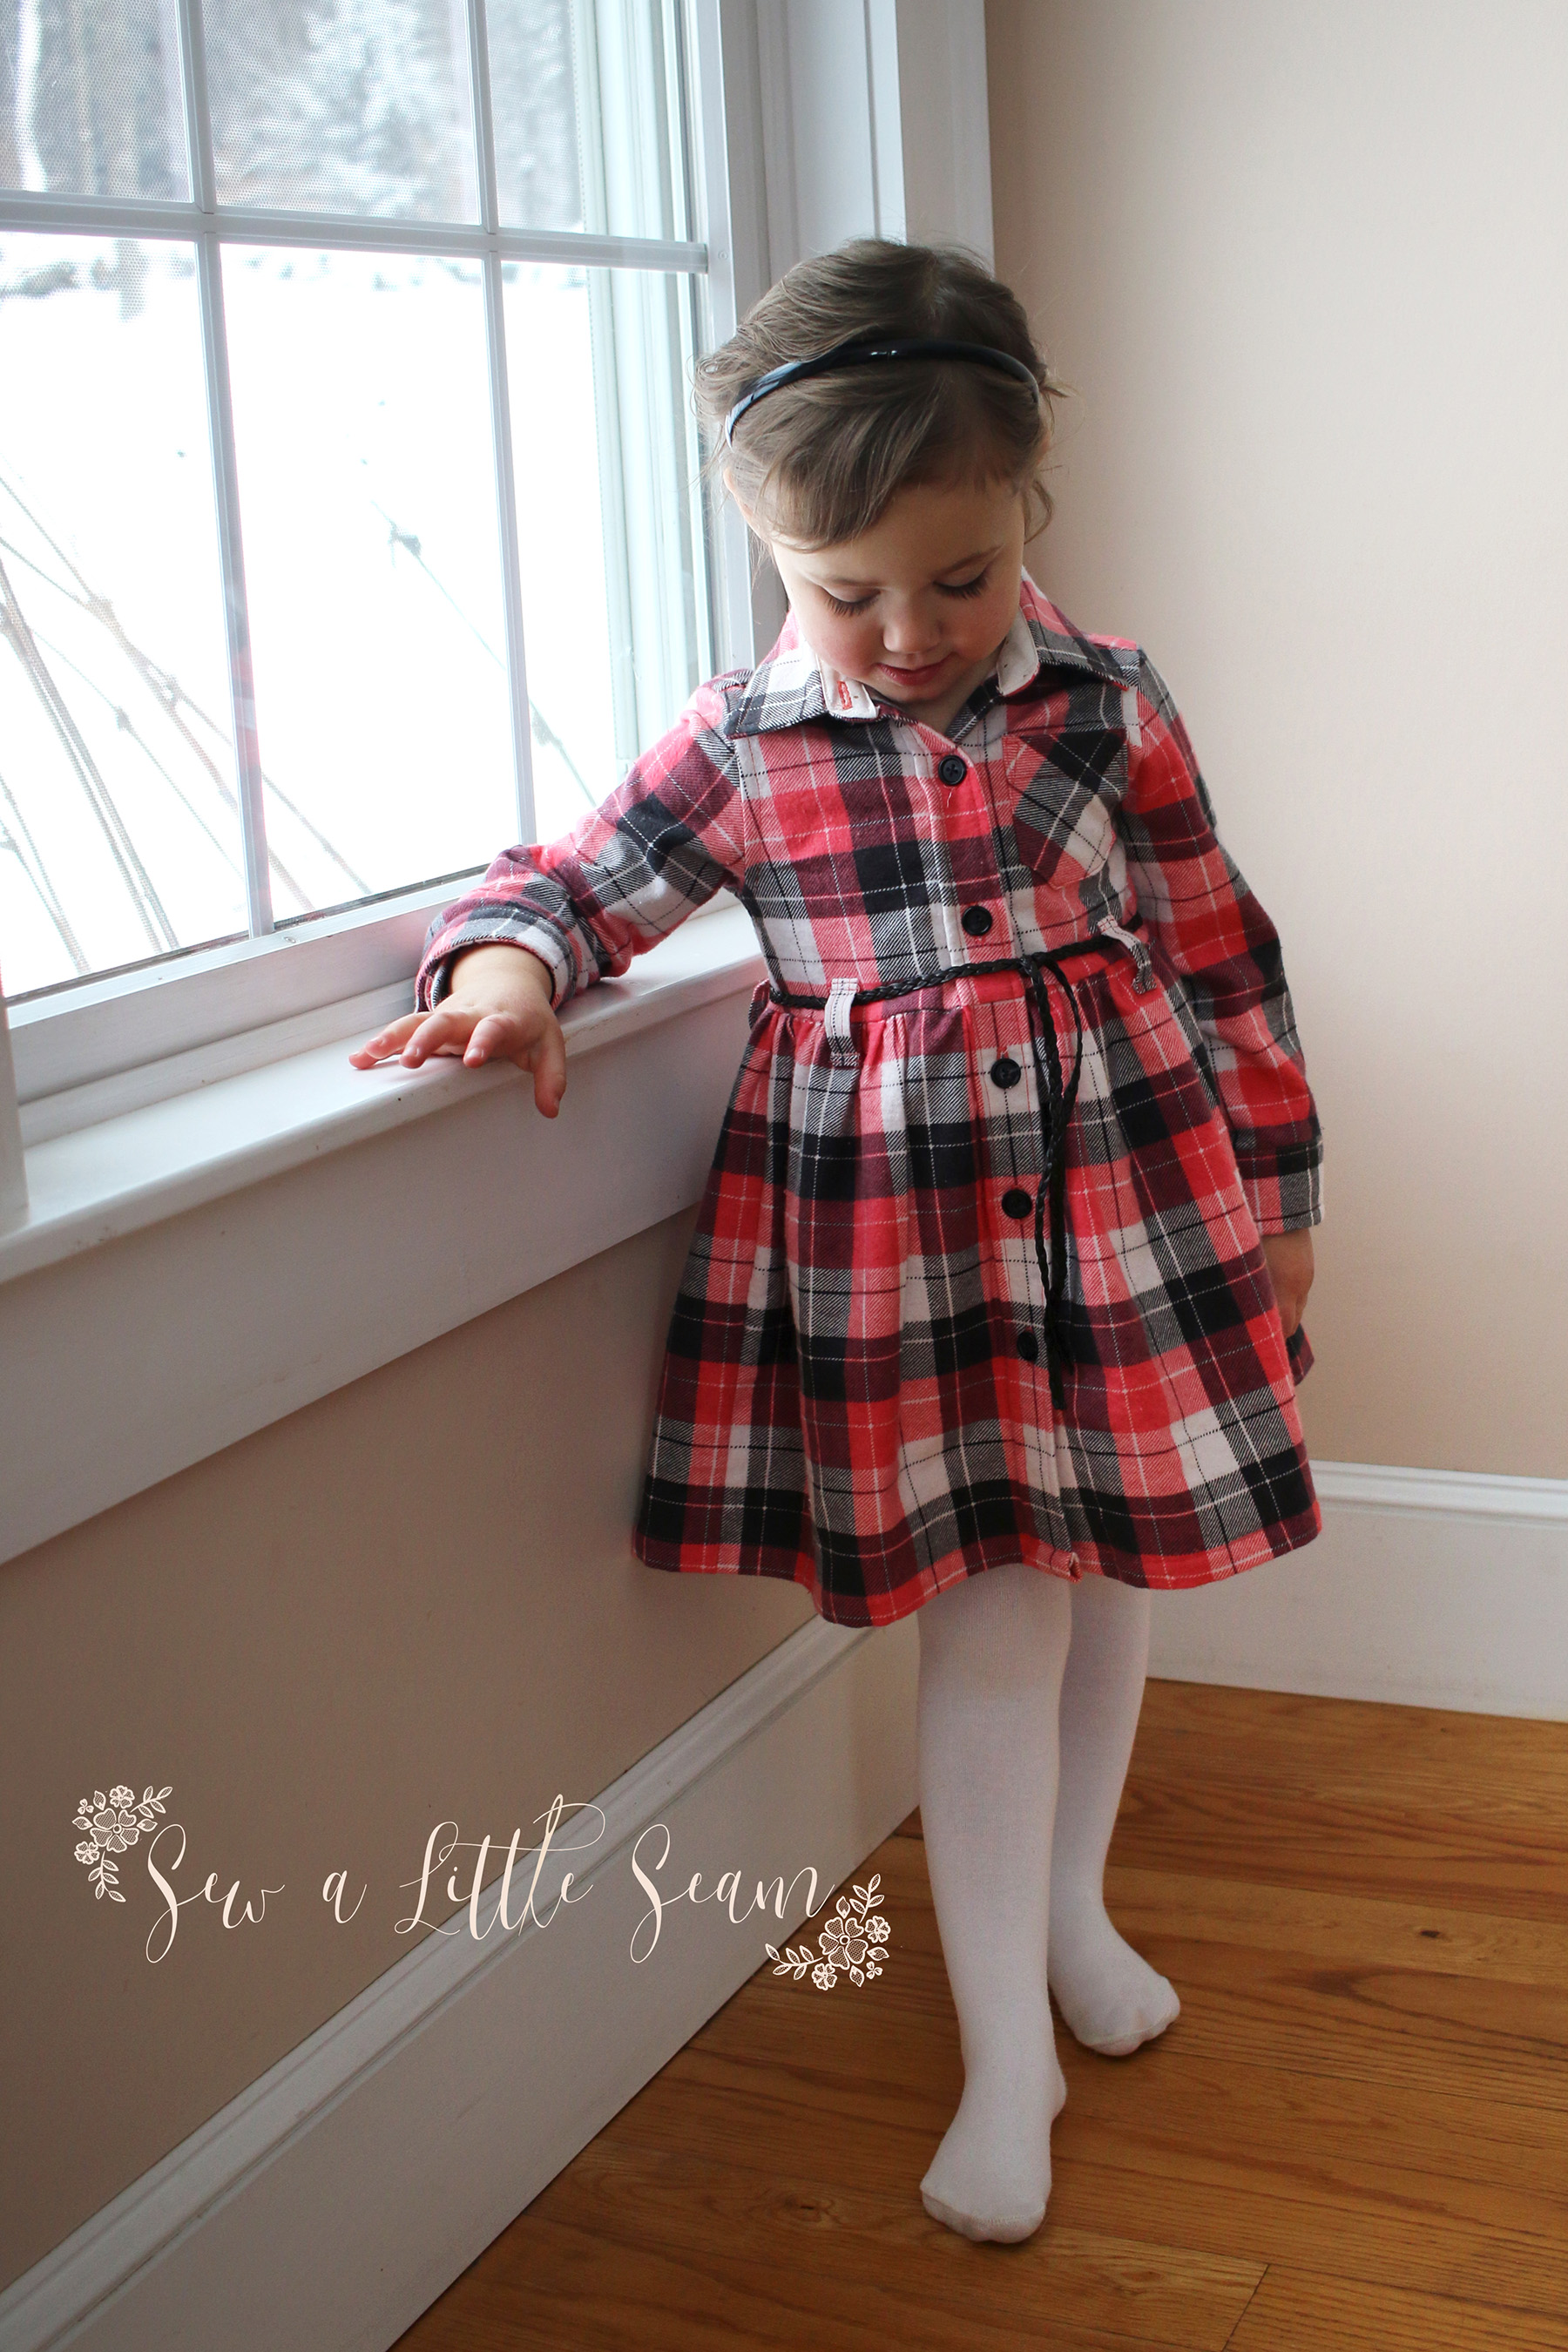
There are quite a few combos you could do when combining the Juniper and Birch–how cute would a hood be!? I opted to use the Birch neckline and collar as well as the placket. The body and sleeves are the Juniper, with the exception of the cuff, which is also the Birch. You could also choose to just use the Birch and use the Juniper cutlines and skirt pieces, but I wanted a more fitted look.
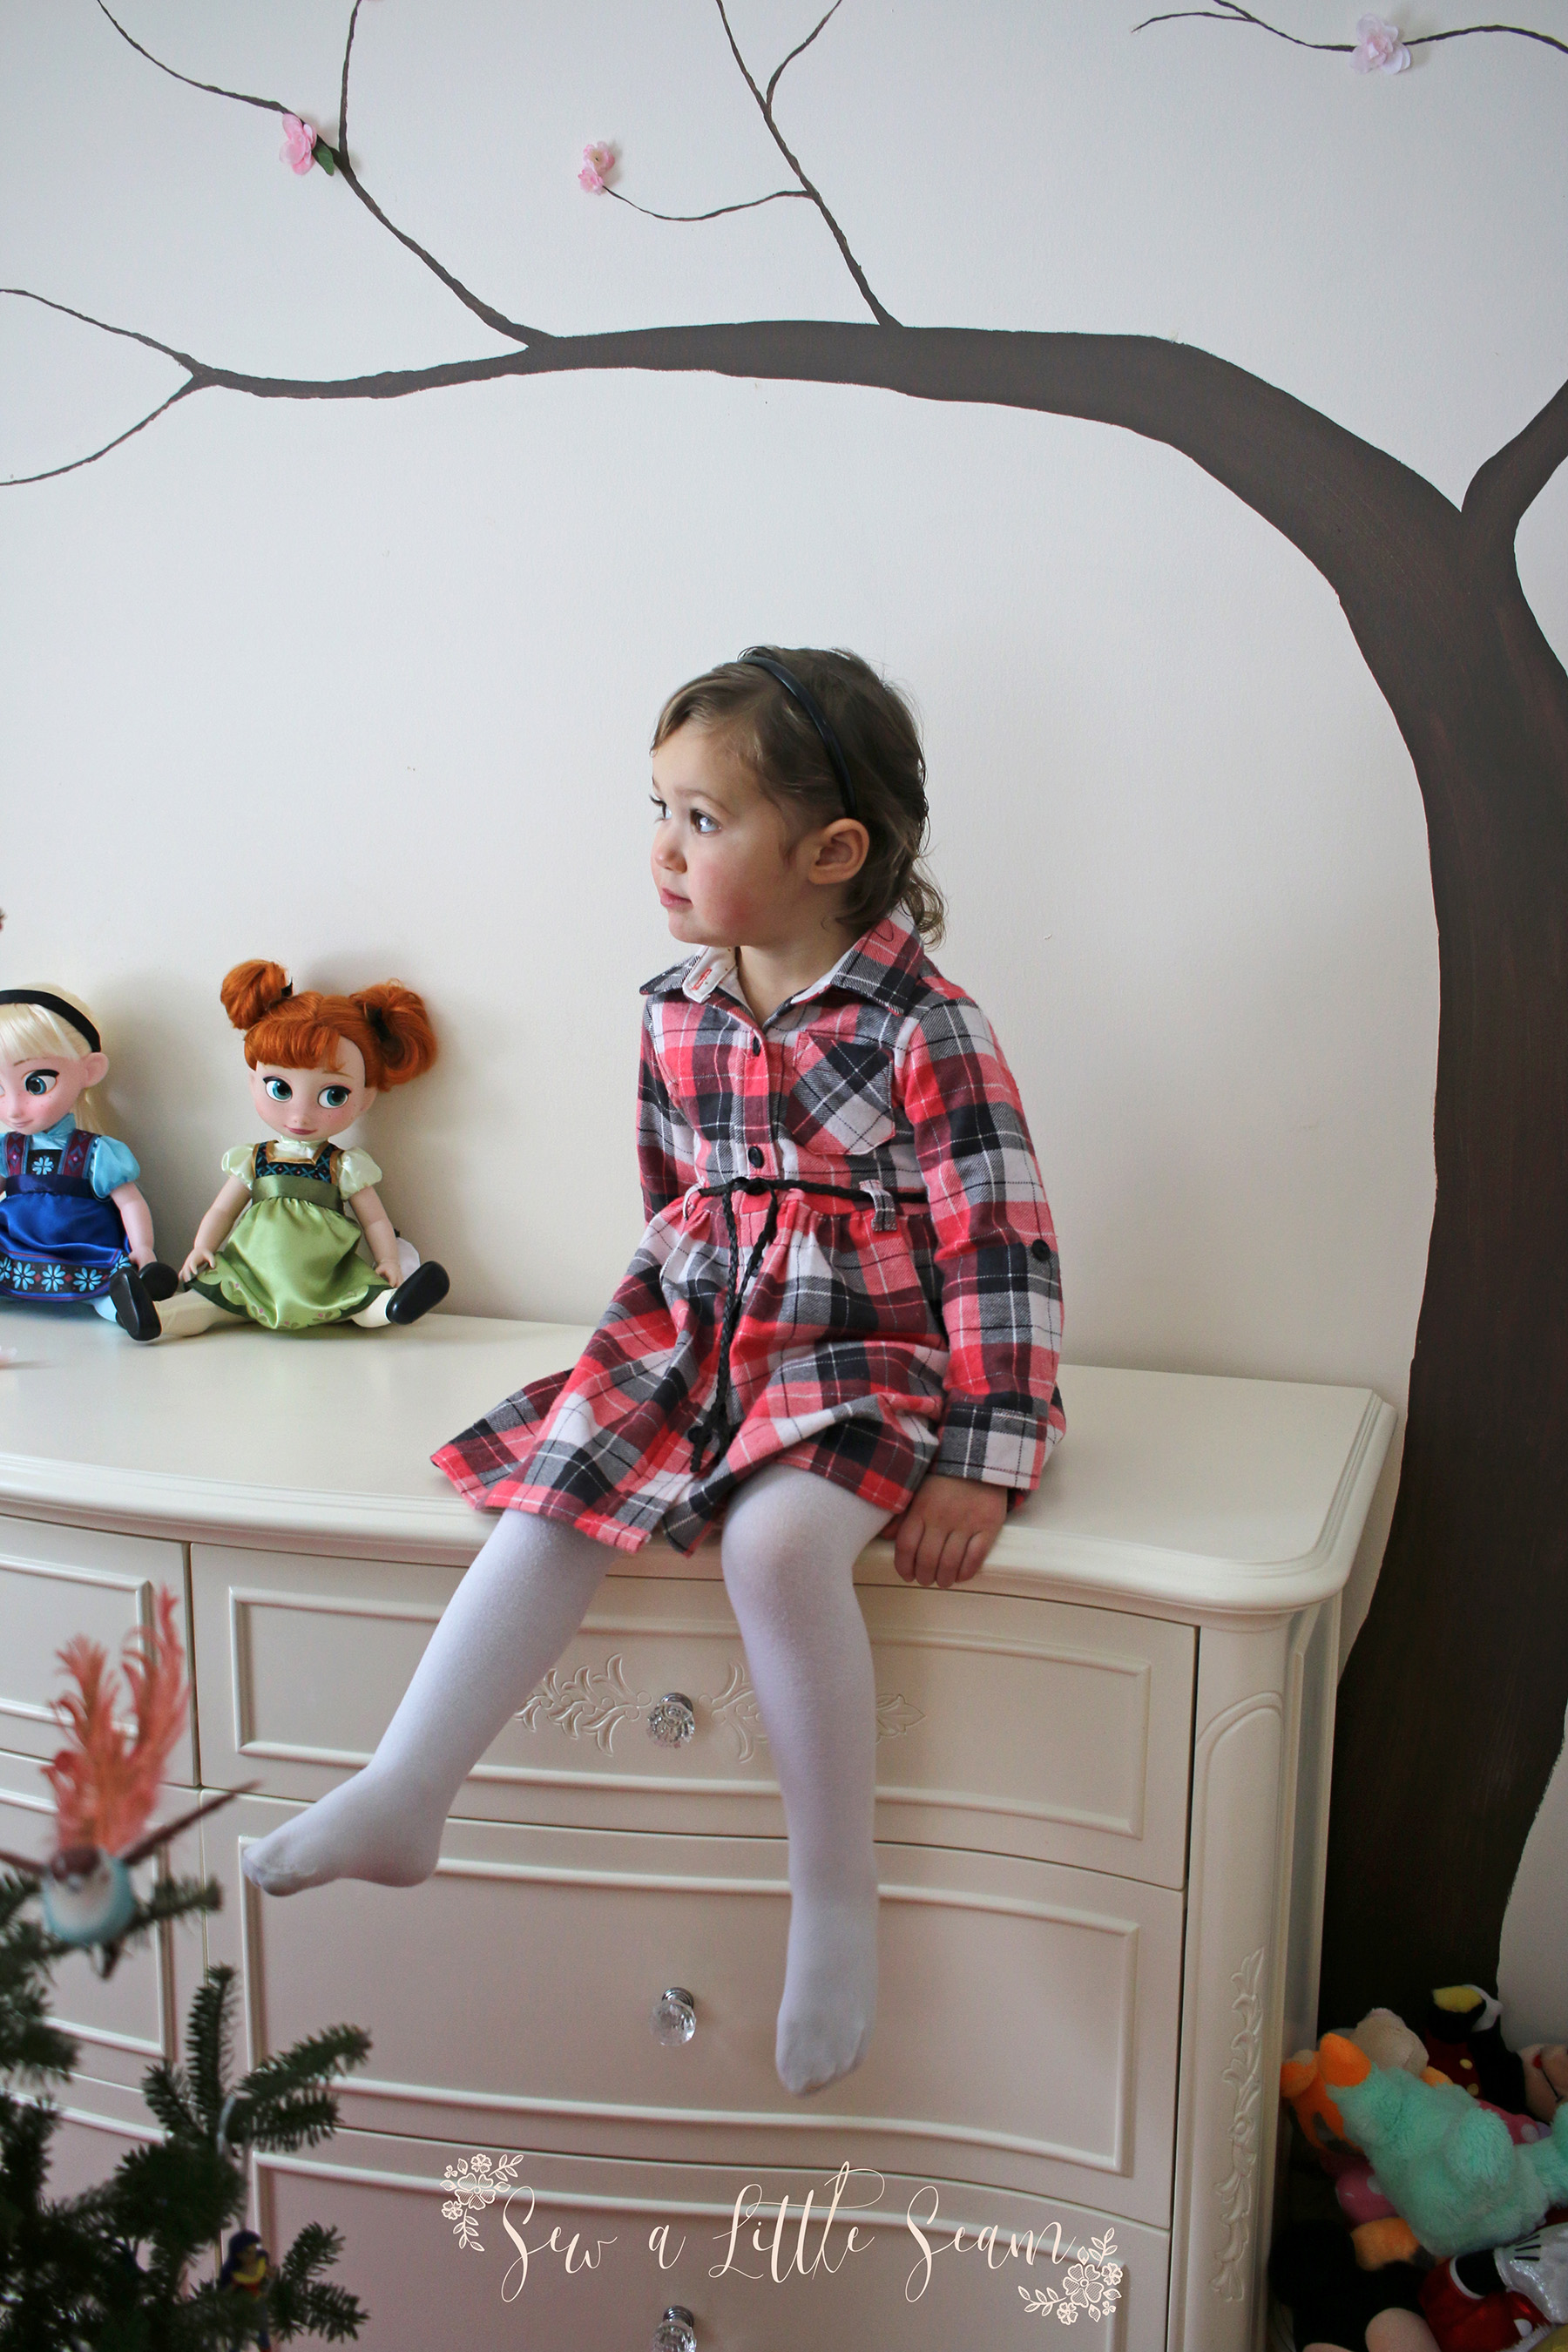
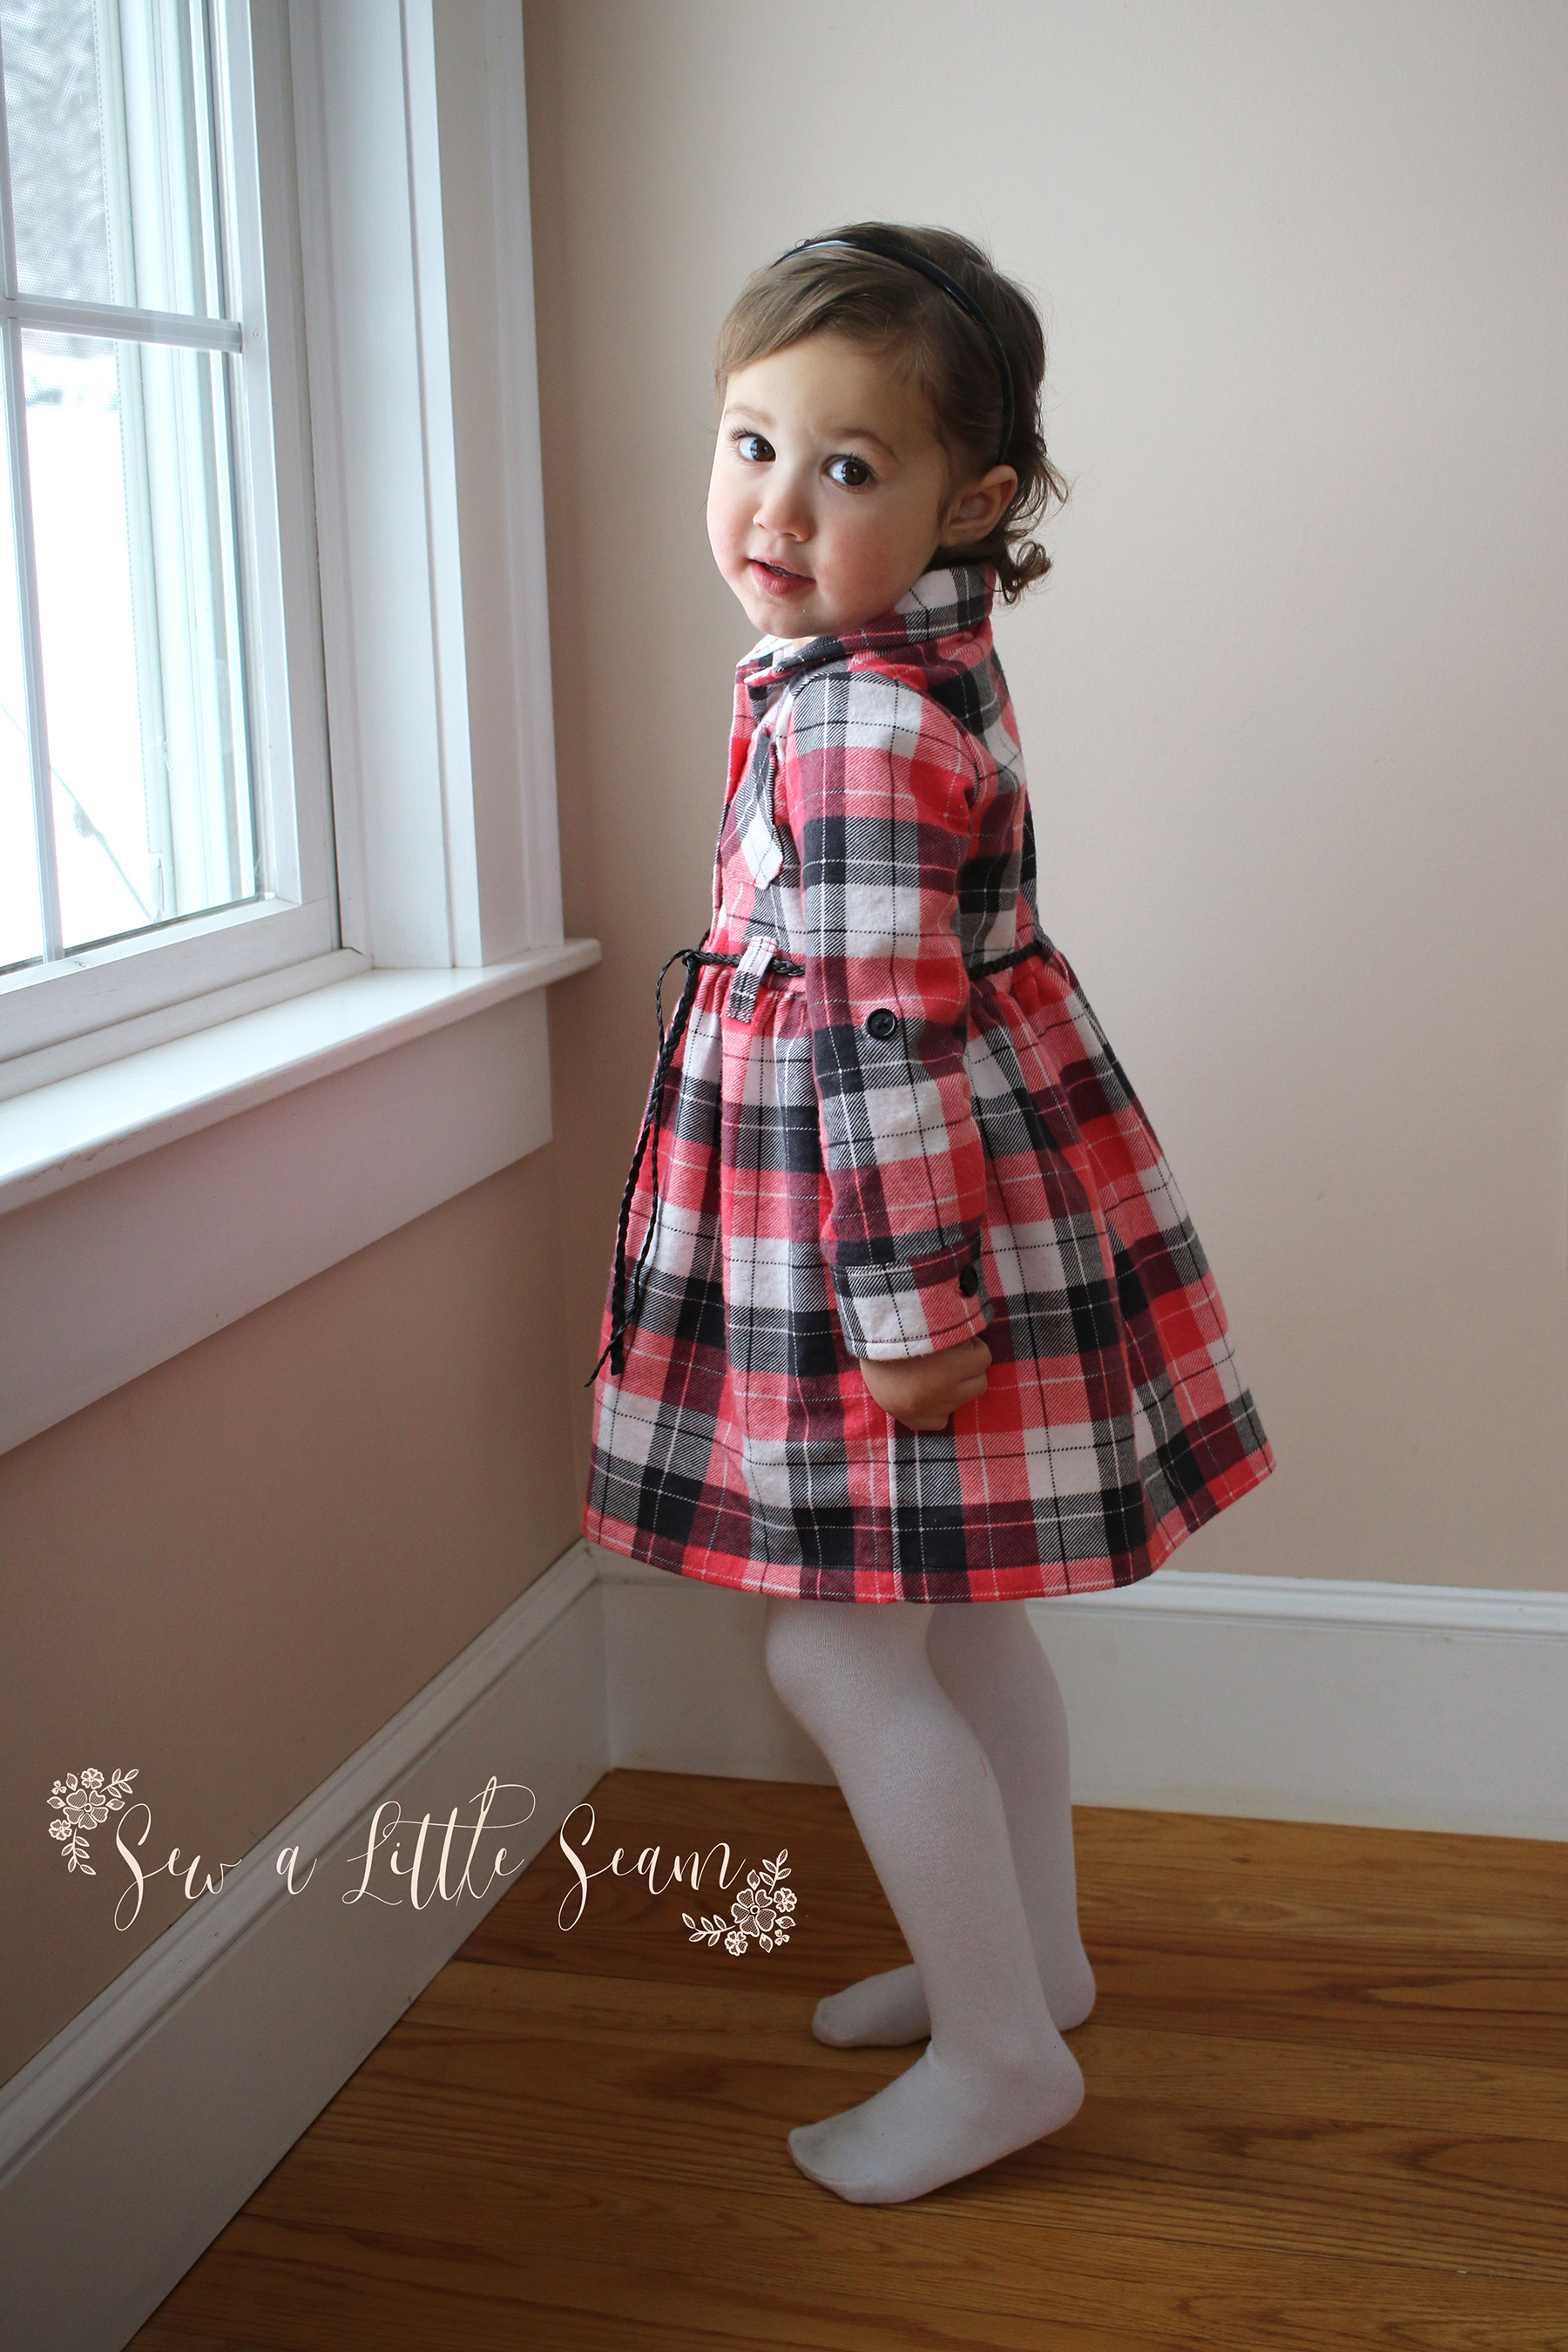
I added the Juniper belt loops so I could add a little belt. And I also used the sleeve tab, which is included in both patterns, but with a slightly different tip–the Juniper’s is rounded, while the Birch’s is pointed.
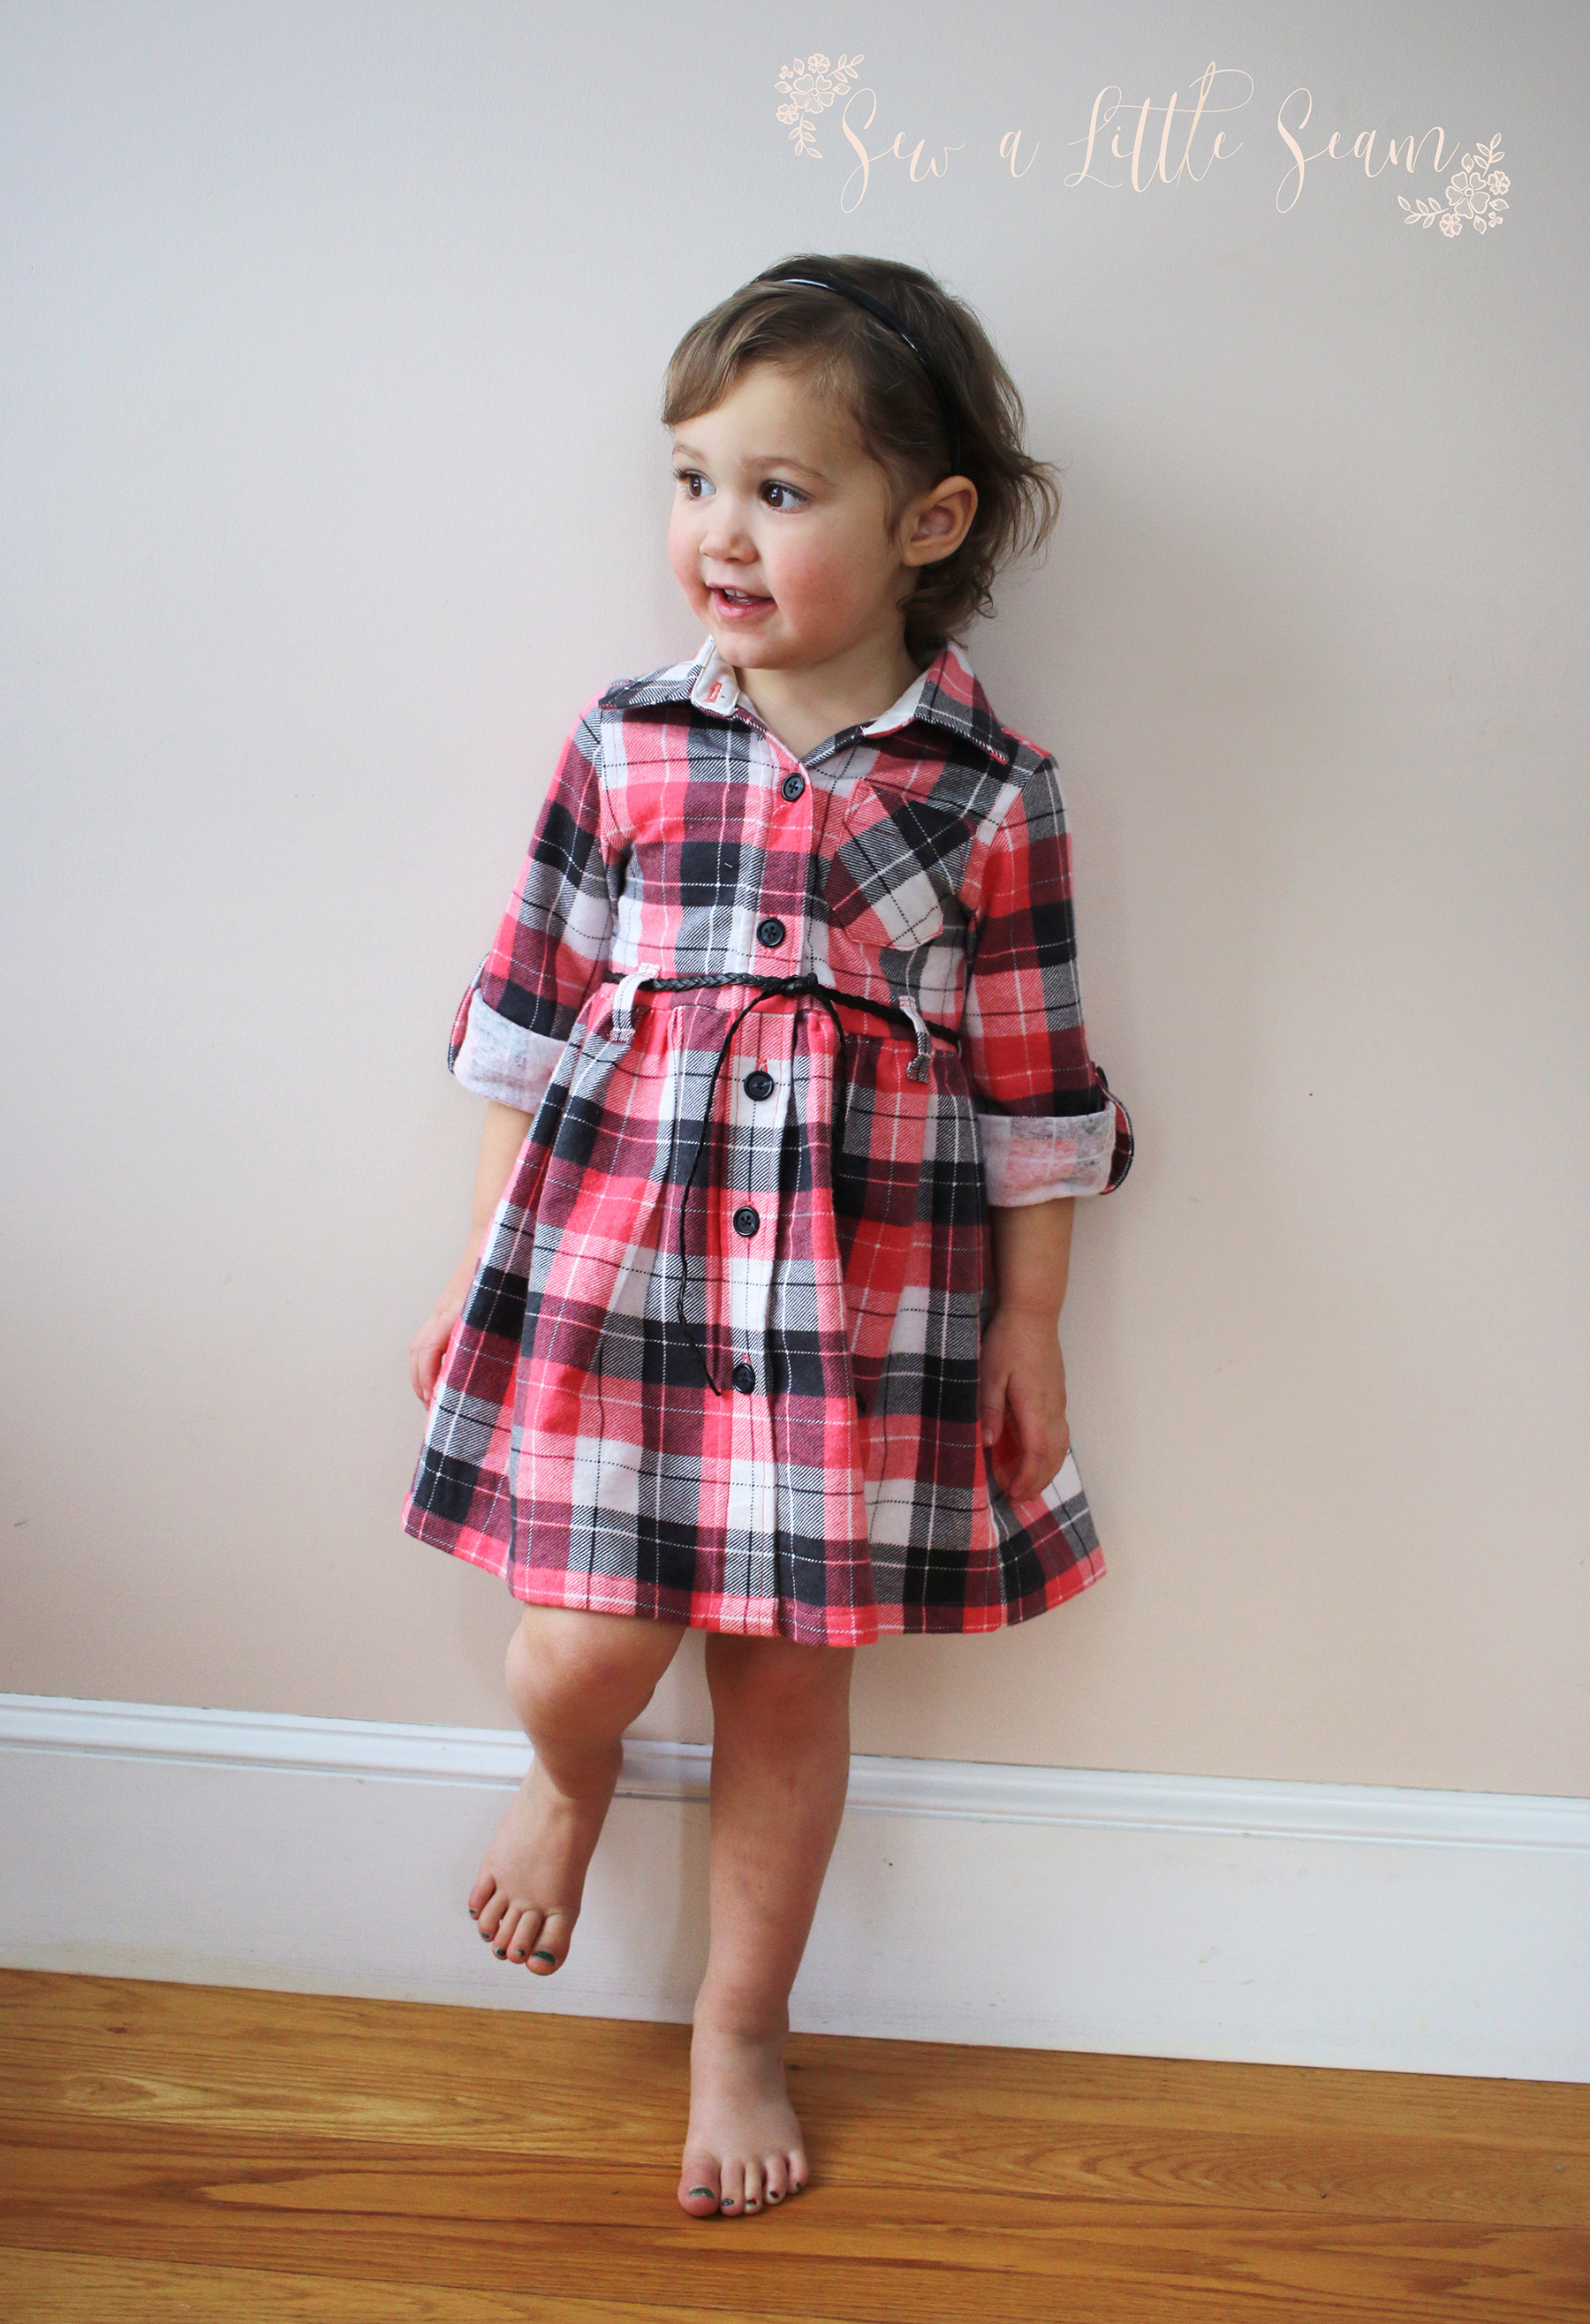
I love the rolled sleeve look, but she preferred the long sleeve. It’s great to carry over into the spring or fall.
So let’s get started on how you can mash-up the patterns.
First figure out which combo you want to do and make sure you keep in mind seam allowances, as they are different between the patterns. You should keep the armscye and sleeves the same…if you are using the Juniper sleeve, use the Juniper armscye for example.
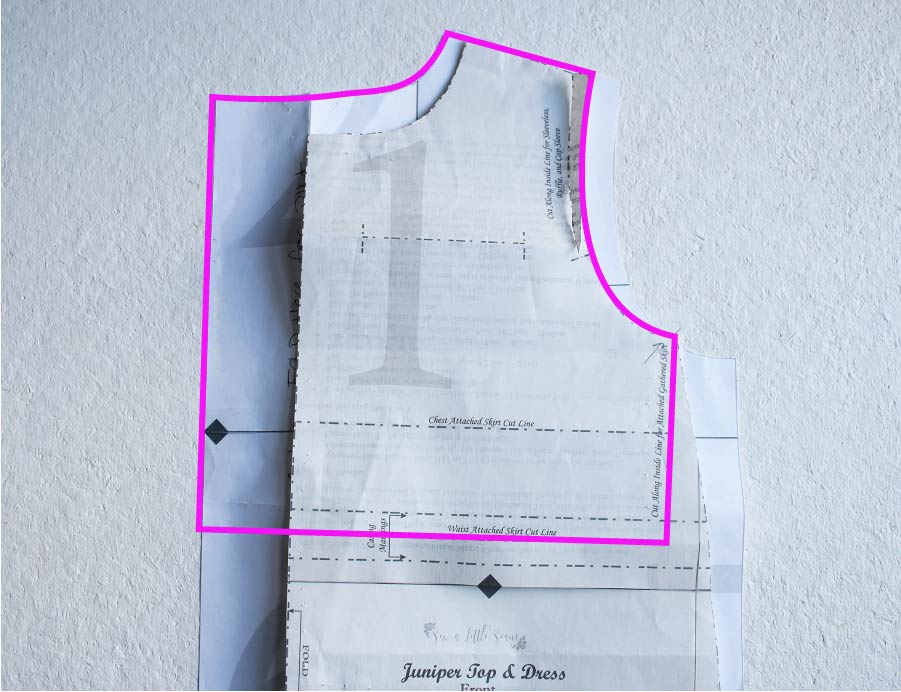
To get the collar version on the Juniper, lay your Juniper pattern piece over the Birch piece, lining up the shoulder and center fronts. Keep in mind the Birch pattern has a different placket, so you’ll want to line the Juniper front up at the partial placket cutline. You’ll see from the pink outline where you’ll want your new neckline to go if you plan on using the Juniper body. You can either include the Birch placket as I did, or use the Juniper placket, which you’ll then trace down the Juniper center front. Trace around the Juniper armscye and then use the proper cutline on the Juniper depending on which skirt you are adding.

Repeat this for the back, making sure if you used the Juniper armscye, you also use that for the back. Then depending on which pattern armscye you used, cut out the corresponding sleeve. If you would like to add the cuff to the Juniper sleeve, use the Birch sleeve to mark your cuff cutline. Line up the tops of the sleeves and then make sure the bottom is the same width as the Birch so the cuff will fit.
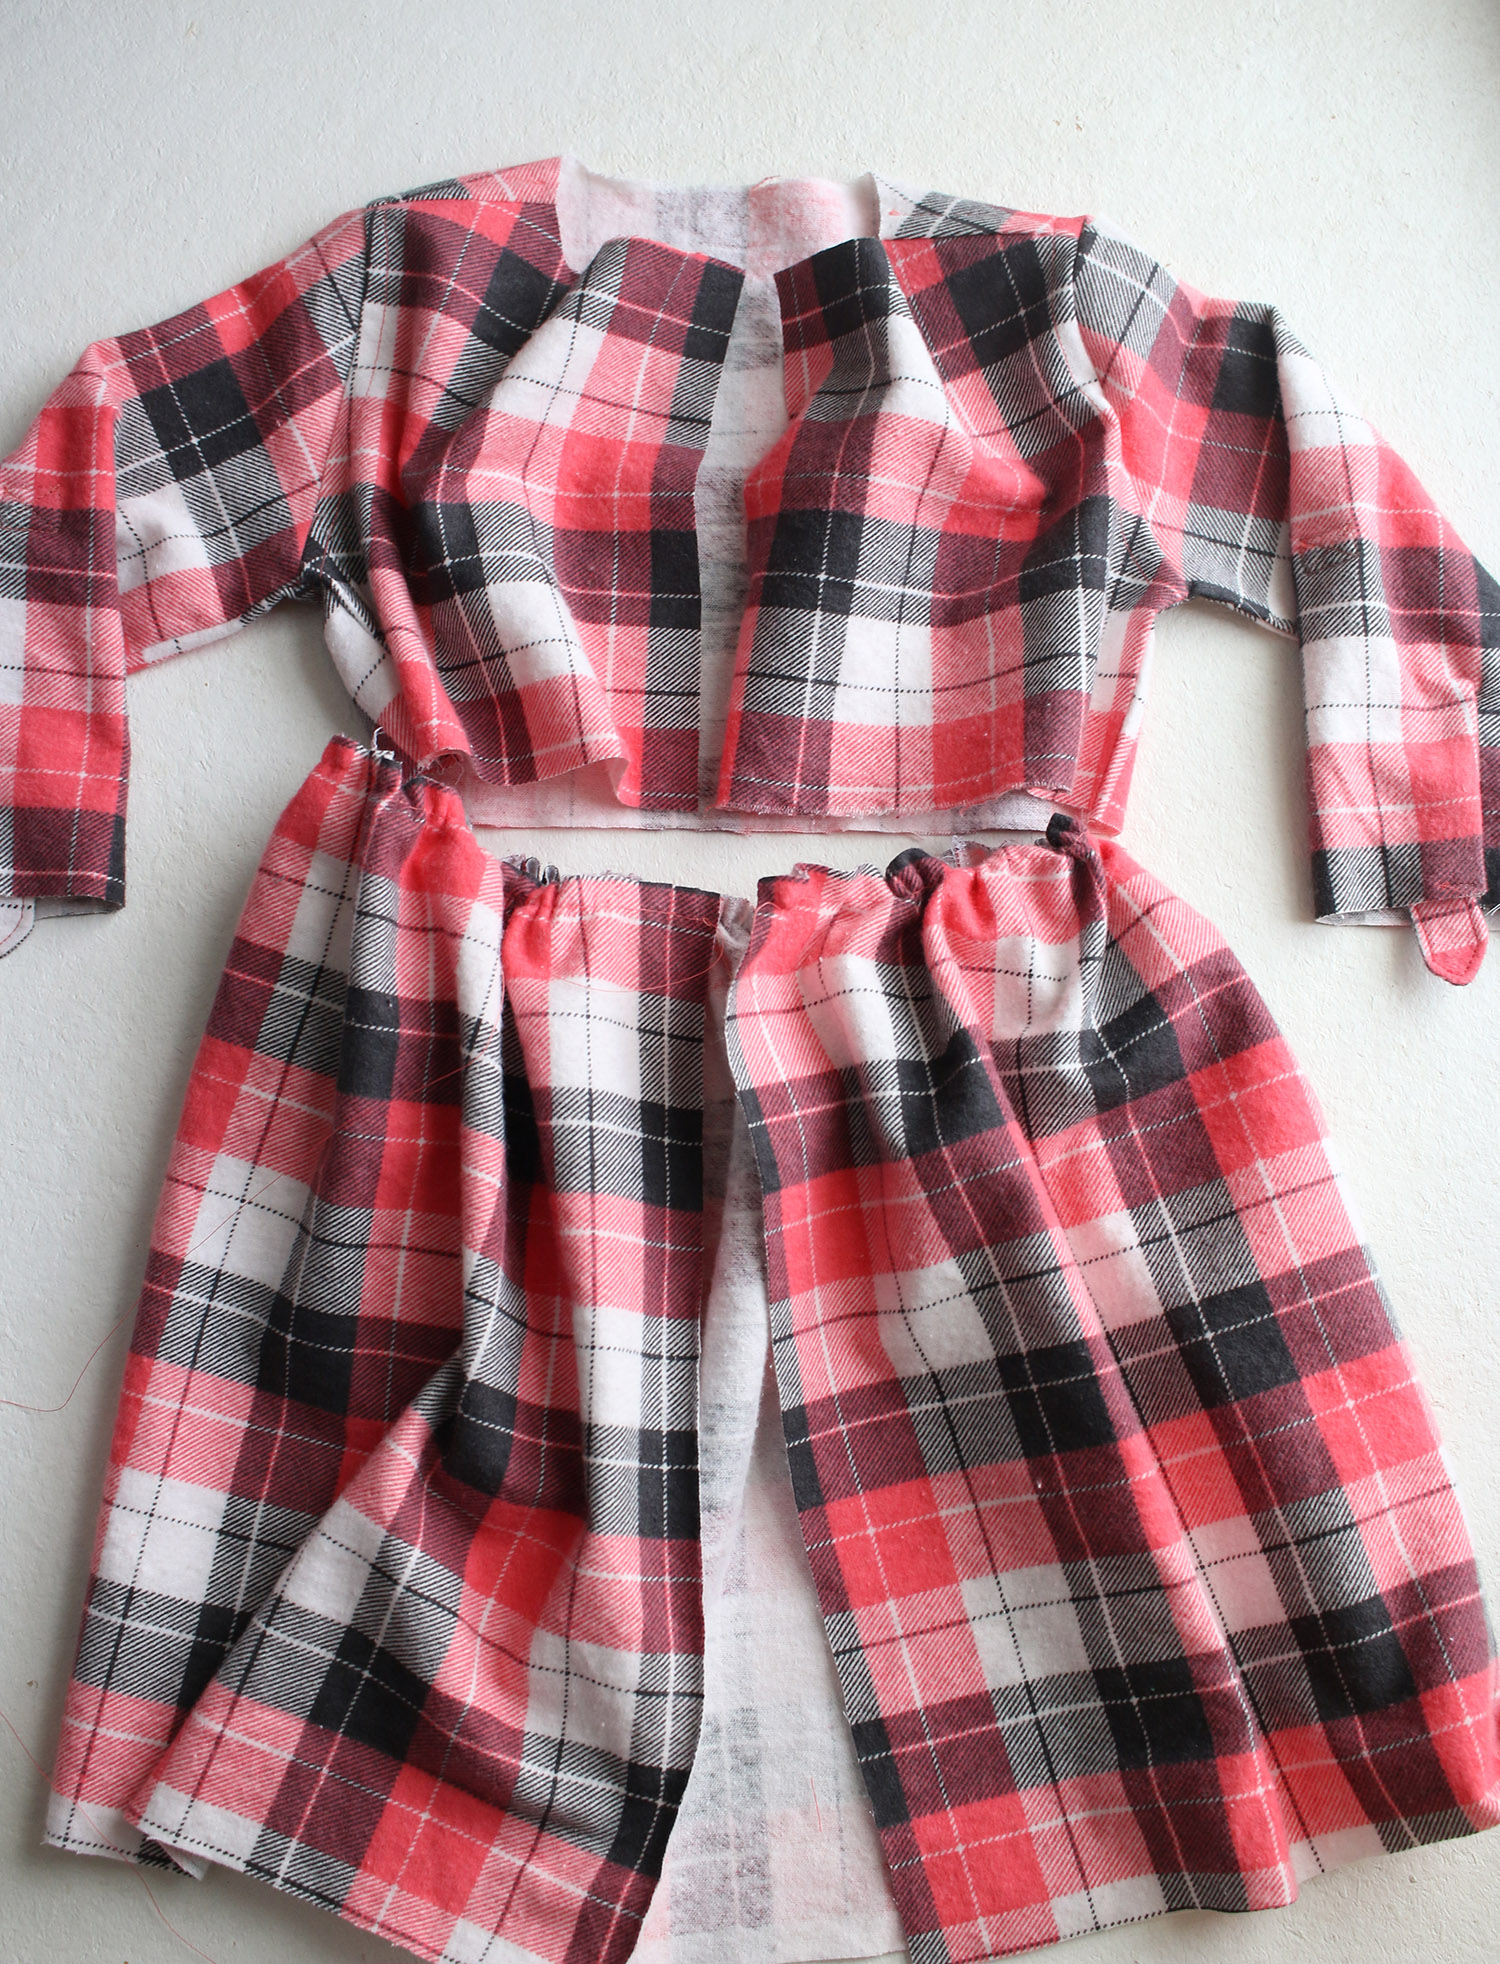
As far as constructions goes, you can follow the directions for each part depending on which pattern you used. One difference will be if you are using an attached skirt with the Birch placket. You will first need to attach the sleeves and sew your side seams for the top, and then sew the side seams for the skirt. Cut your front skirt piece down the middle and then gather so that it is the same width as the bodice. Leave the first 3″ on the sides of both center fronts ungathered, as you will be folding it back for the placket.

Sew on your skirt and then follow the directions for the Birch placket.
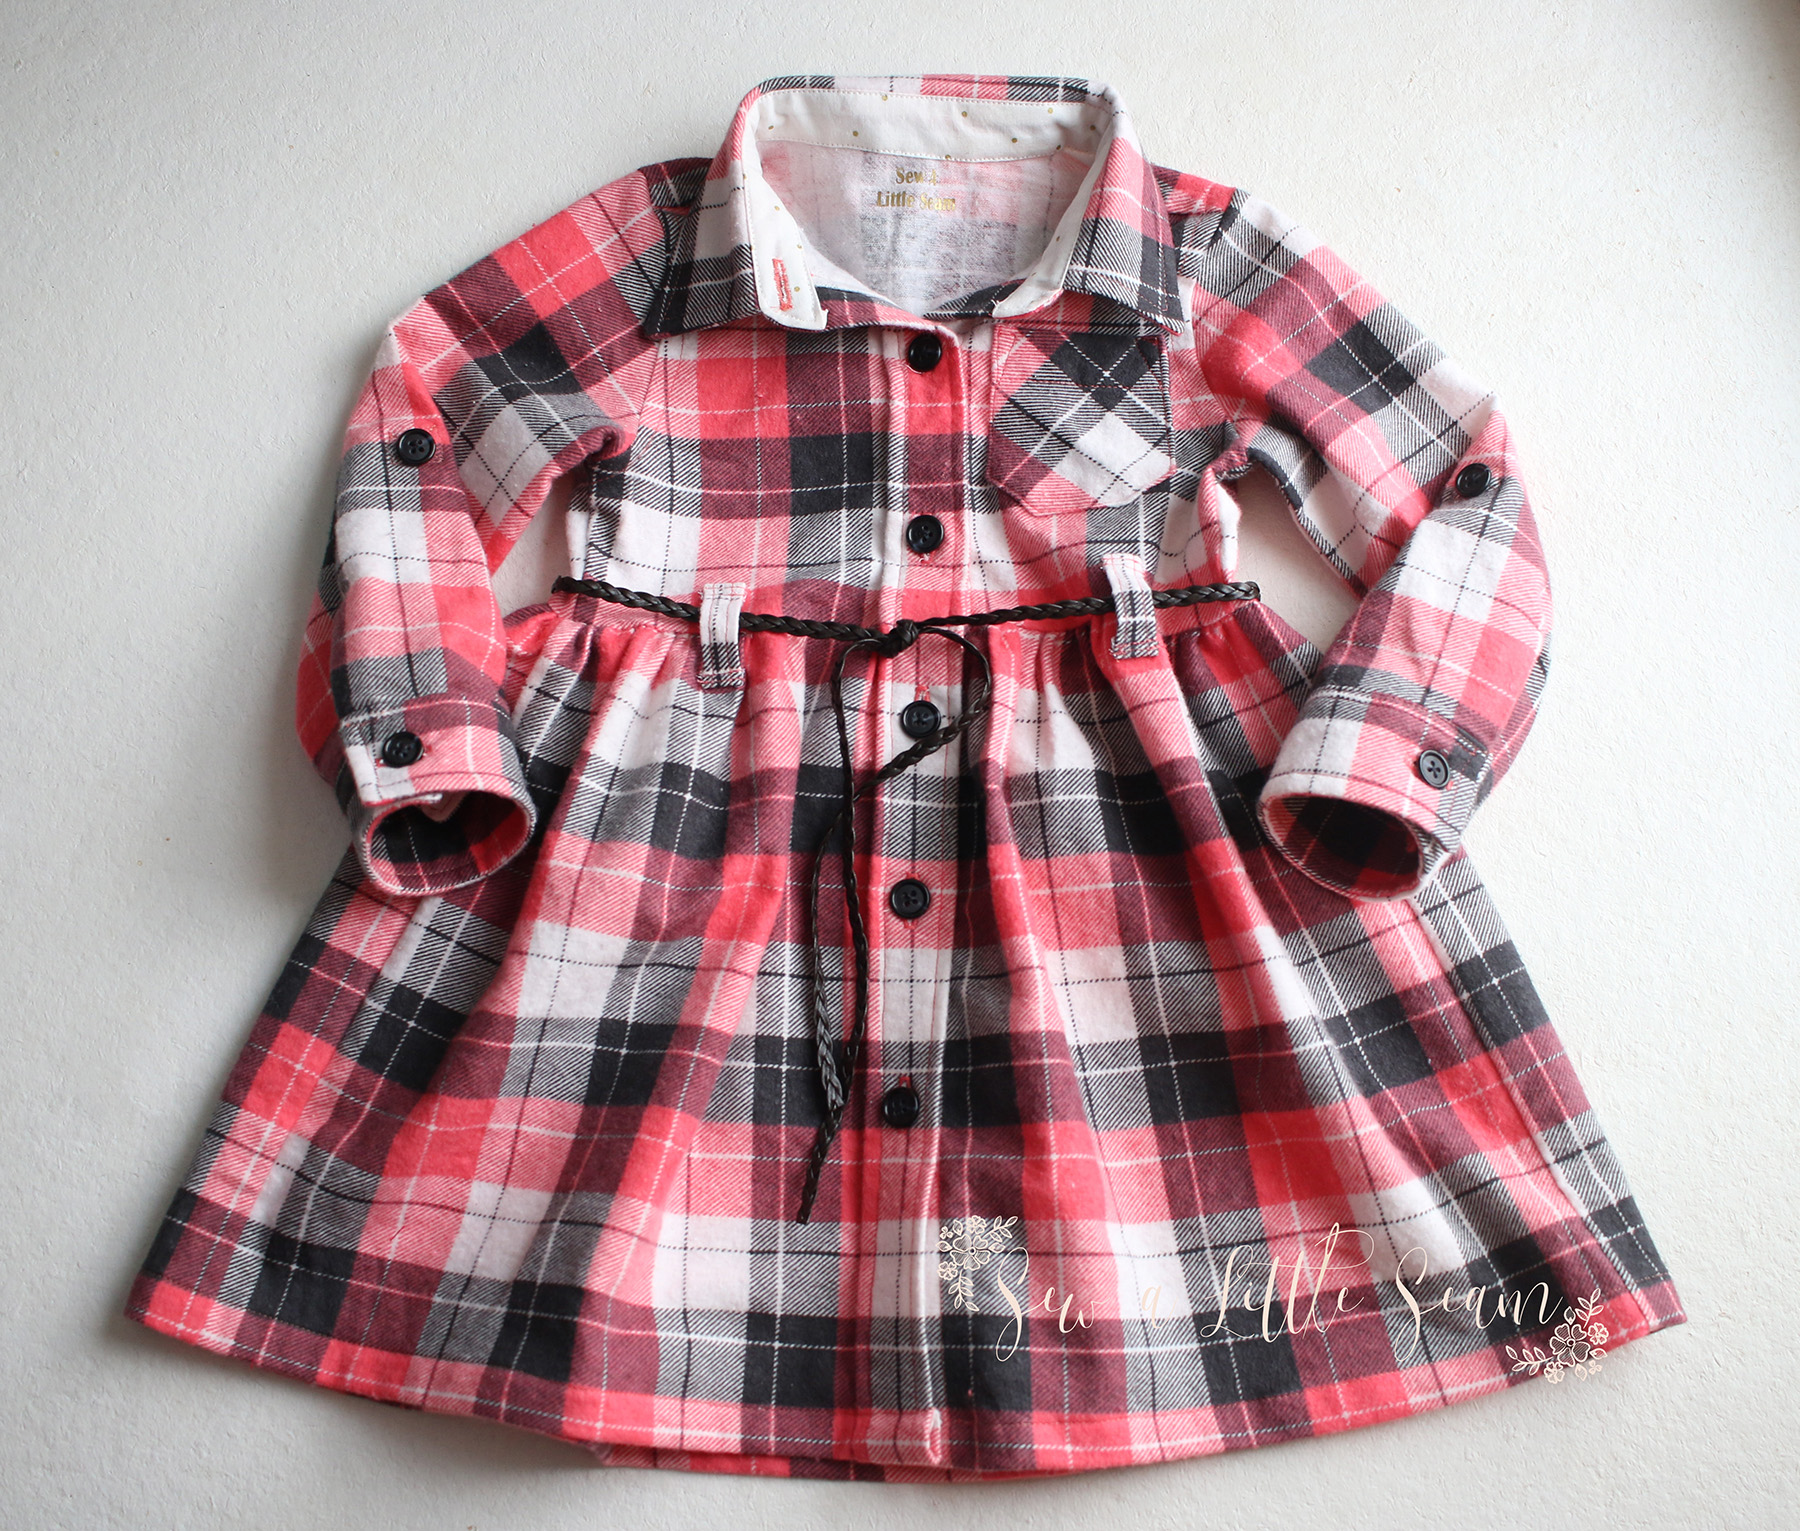
Continue with the directions for adding the collar and you’ll have a really cute Juniper/Birch mash-up. If you have any questions, email me at sewalittleseam@gmail.com. Share your creations on the Sew a Little Seam Facebook group.
