
Lace Poncho Tutorial

I have a super quick and cute tutorial for you today for a lace poncho. I have the dimensions for a 2T size, but I’ll show you how to take a couple quick measurements to make any size.

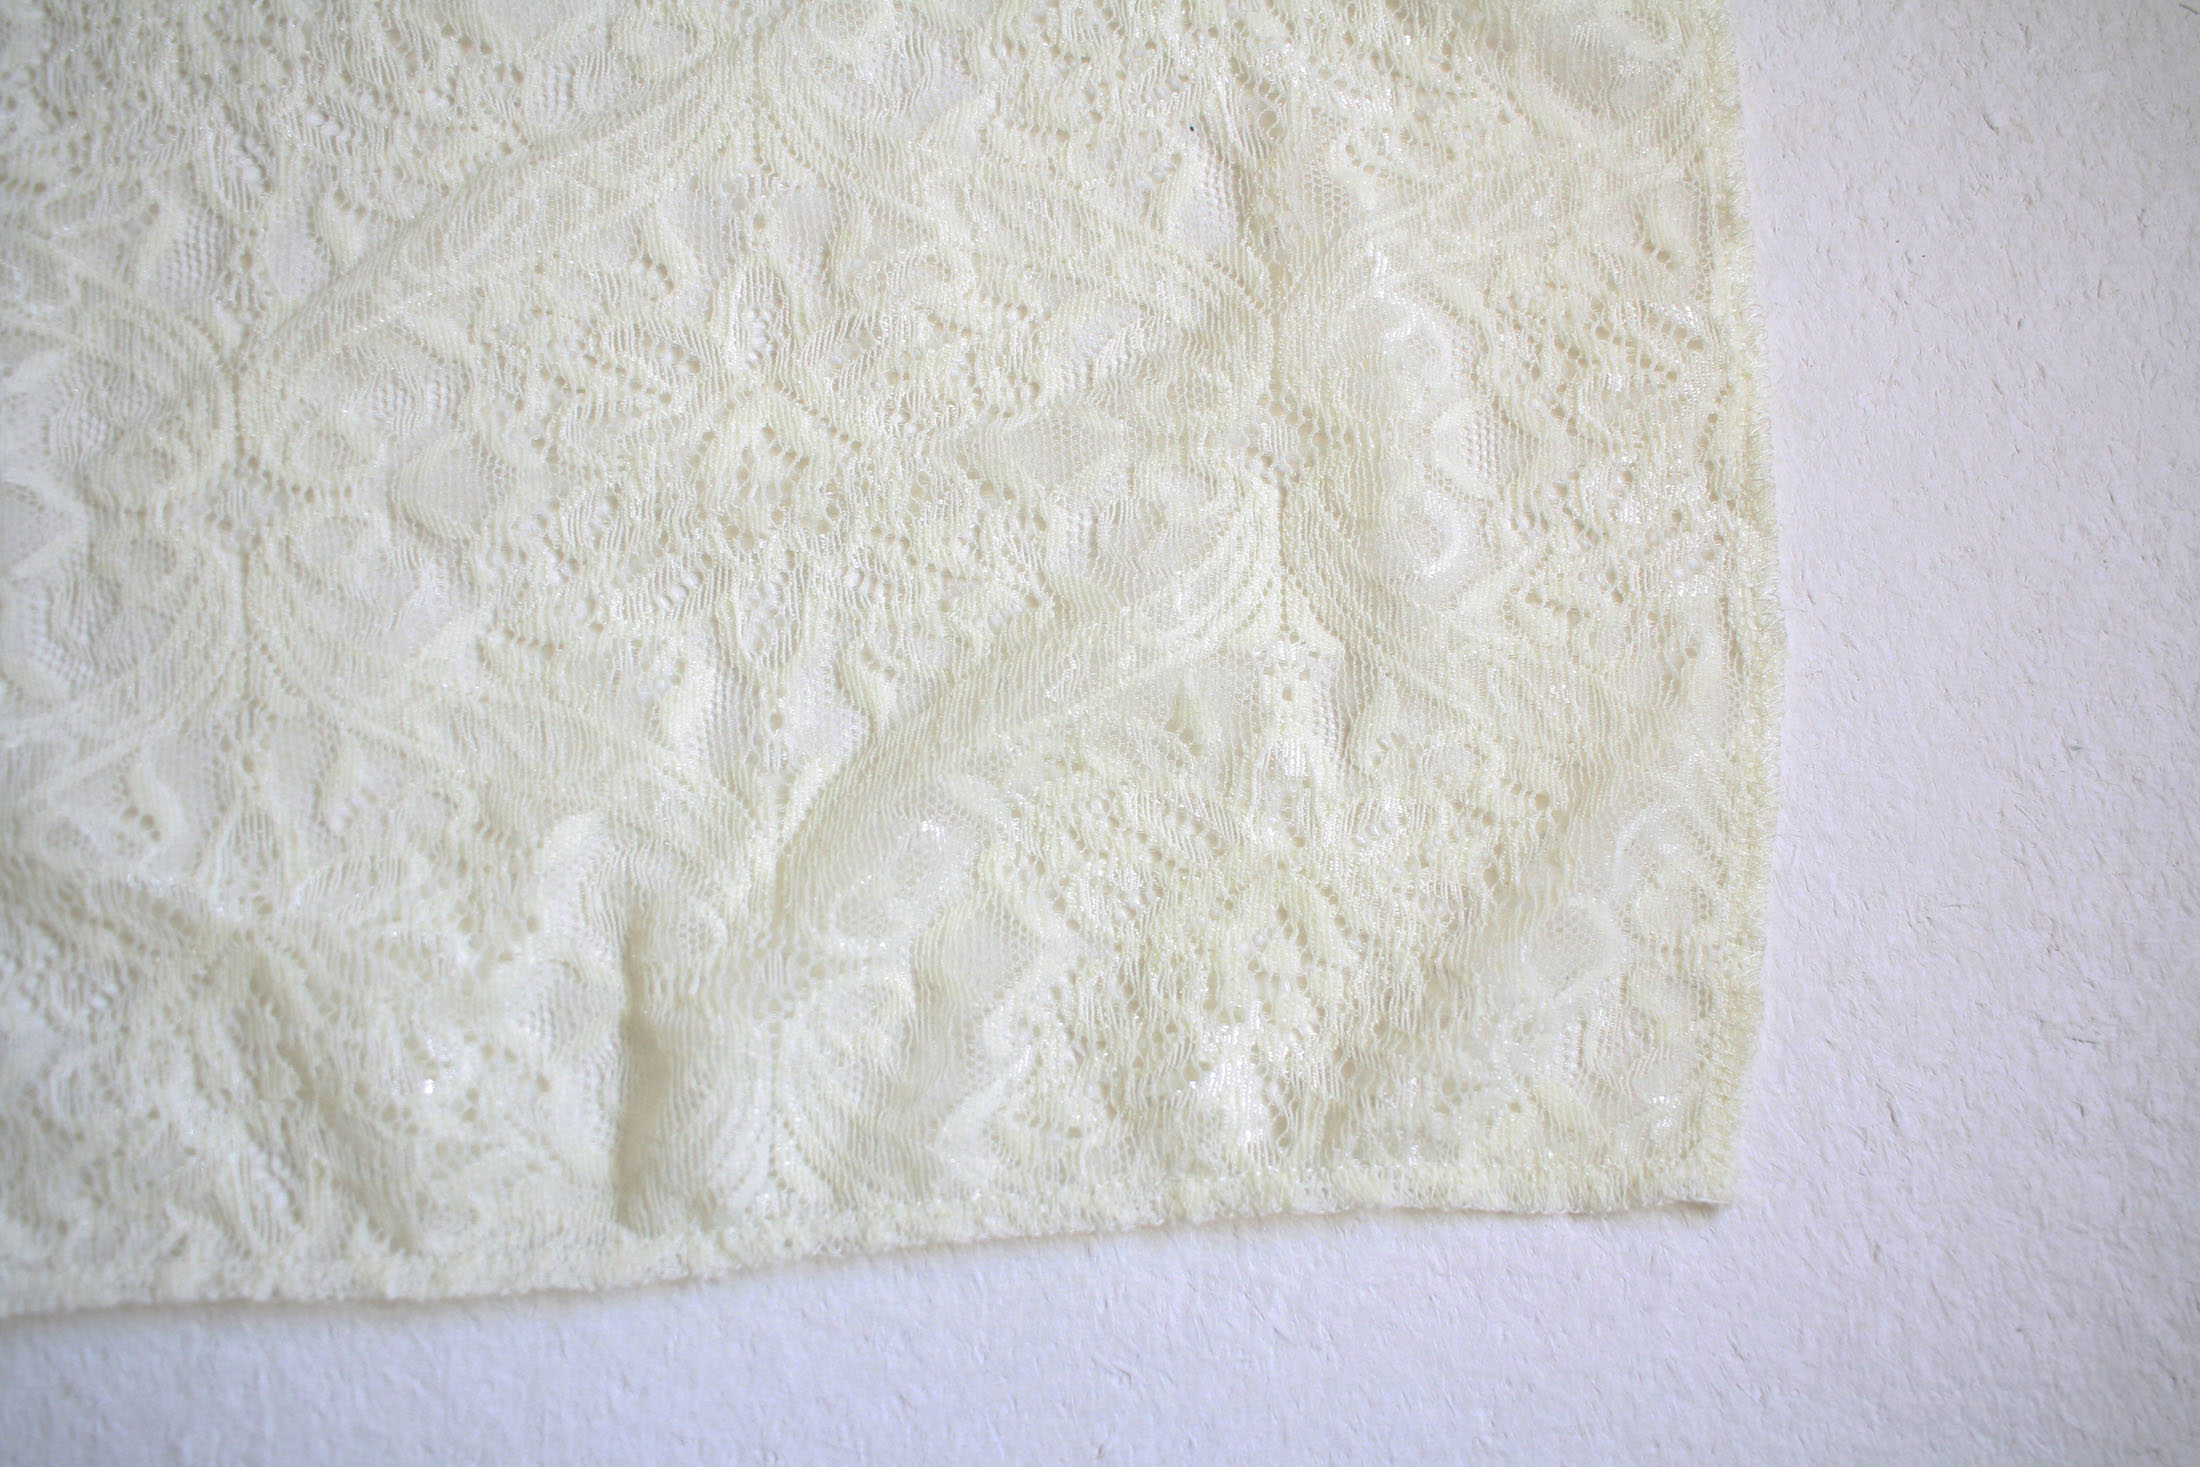
I used a stretch lace with a gorgeous tassel trim from Sincerely Rylee, but you could also use a variety of knits and trims to make it your own.

You can sew this up in less than an hour and have a fun cover up for cooler days. I hope you enjoy and as always I love to see your creations on the Sew a Little Seam Facebook group!

What You Need (Size 2T):
1 yard of stretch fabric
2 yards of trim for the sides
1.25 yards of trim for the bottom
Measurements
You will need a couple measurements before you get started. If you are making a 2T I did the figuring for you.
The first measurement is from one elbow, across the shoulders, to the other elbow. Take this measurement with the arms outstretched like an airplane. This will be the measurement along your fold and opposite end.
The second measurement is from the base of the back of the neck to where you want the poncho to fall in the back. Subtract 1″. This will be your side measurements. The front will end up being shorter.

Fold your fabric in half with raw edges at the bottom and your selvedge along the sides. Cut a rectangle with the elbow to elbow measurement at the top and bottom and the length measurement along the sides. Use the above measurements for the 2T.
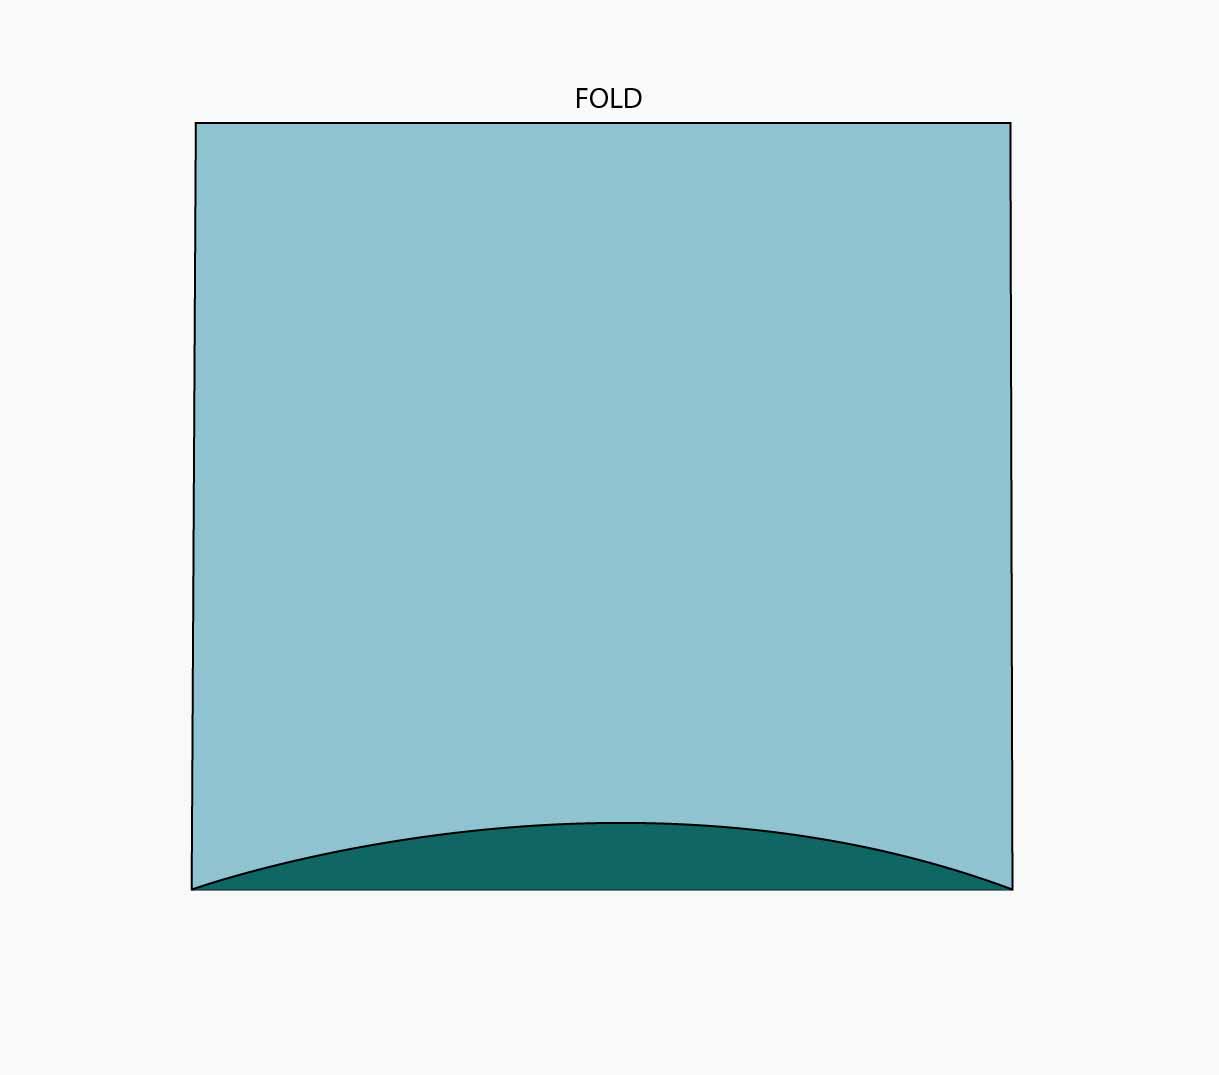
Cut a curve in the front piece. I went up 1.5″ in the center and angled over to each corner. It’s best to fold your fabric in half to do this so they are even on each side.
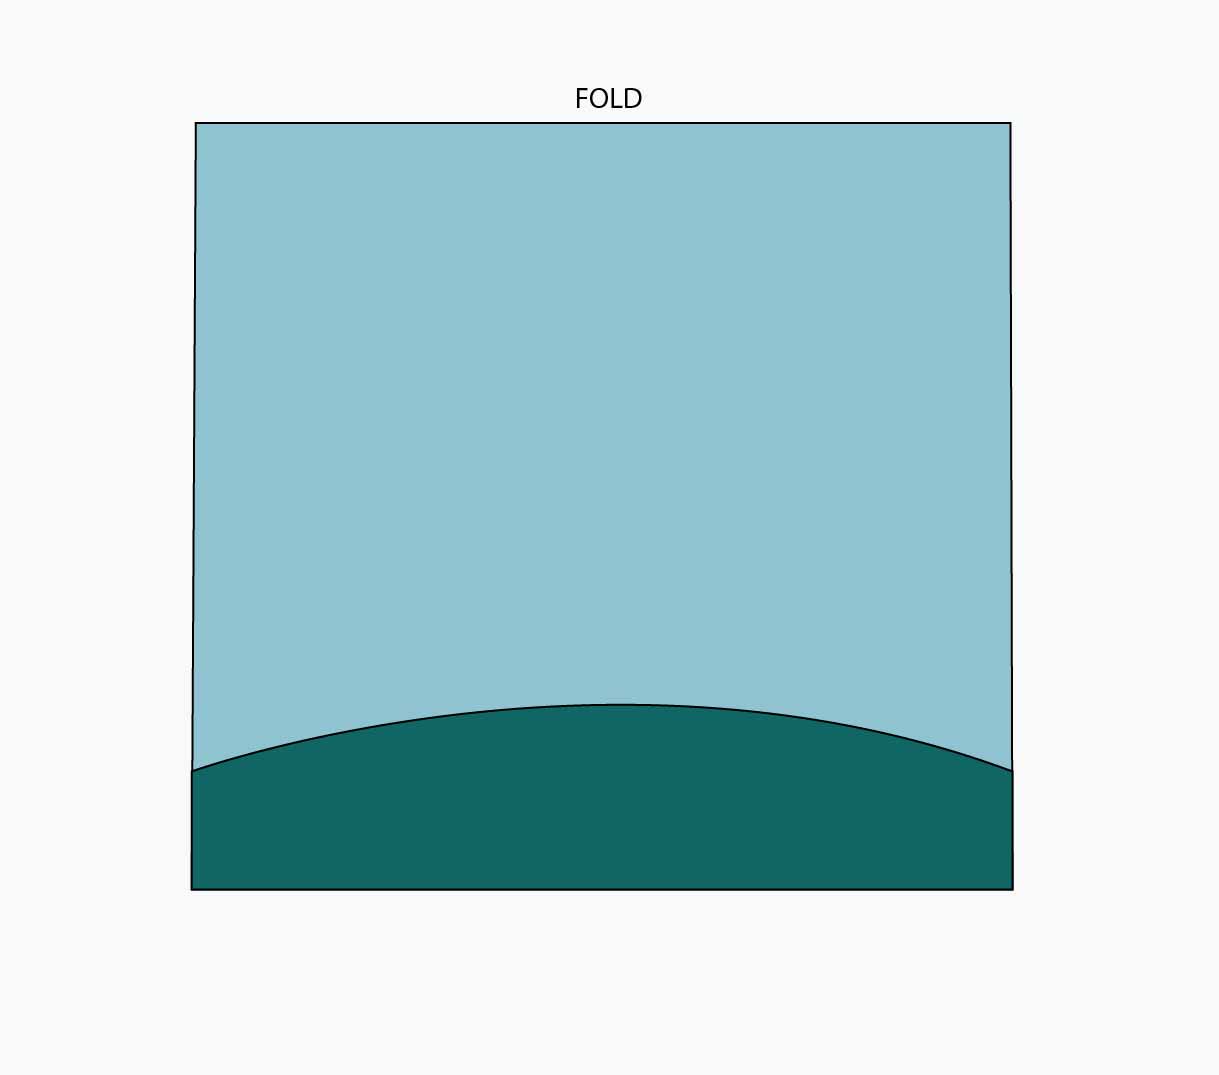
Now pull your front piece up so that the corners are 2″ above the back corners.
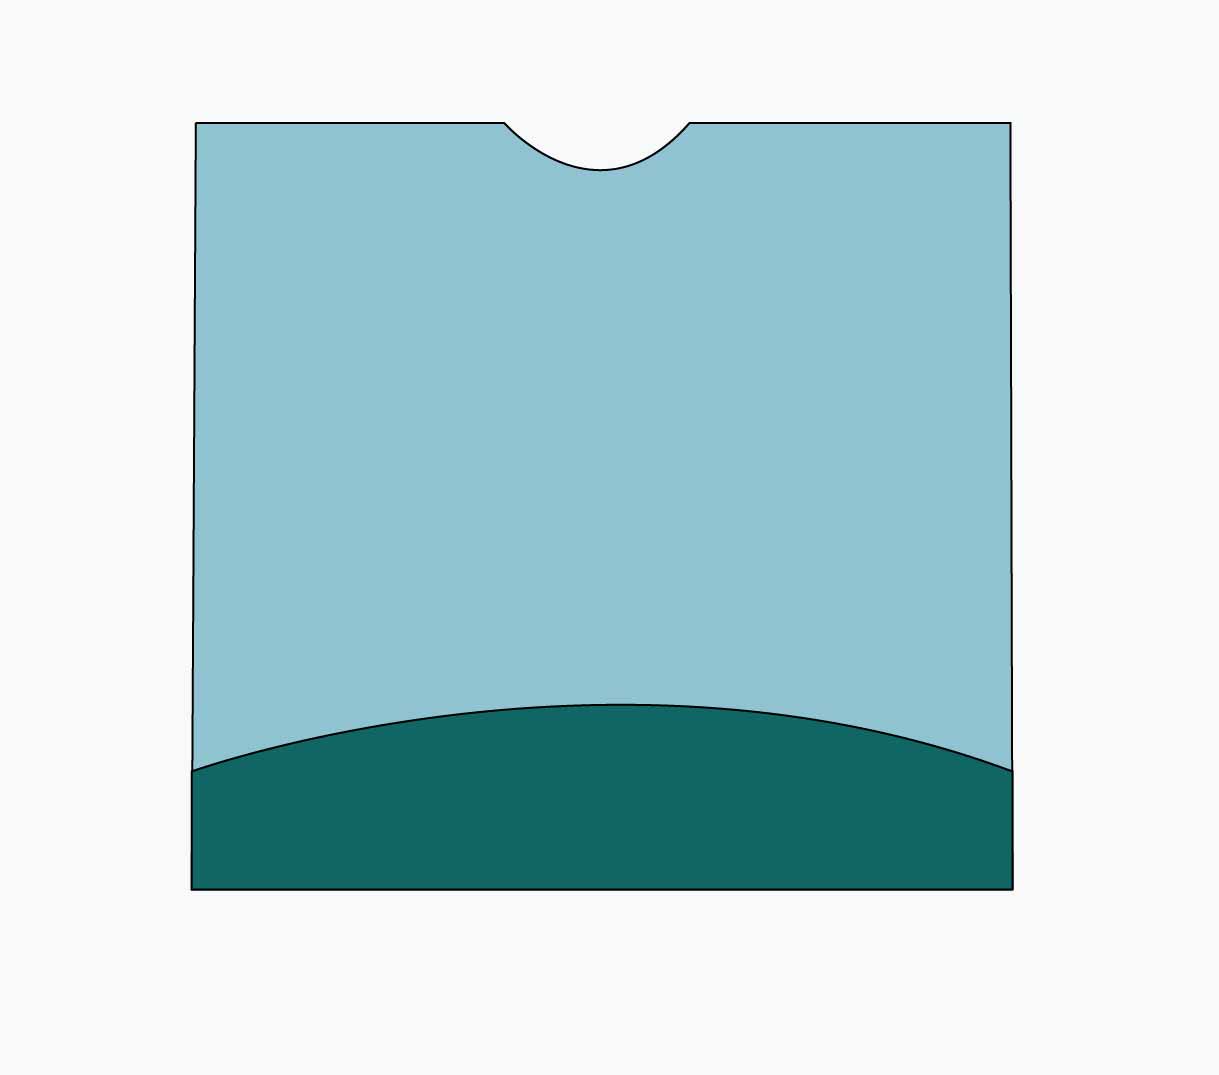
Smooth your fabric so it is laying flat and cut a semi circle in the center as the neck hole. The 2T has a depth of 2″ and a width of 4.5″. It’s best to start small and try it on as you can always cut more. Try it on at this point and make any necessary adjustments.
Next finish all your raw edges by using a serger, a narrow hem, or a rolled hem.

Cut one piece of trim the length of one side and place it wrong side down on the right side of your poncho. The edge of the trim should match with the edge of the fabric. Using a zig zag stitch, sew close to both the top and bottom edge of the trim along the length of the fabric, securing it to the fabric. Repeat for the other side.
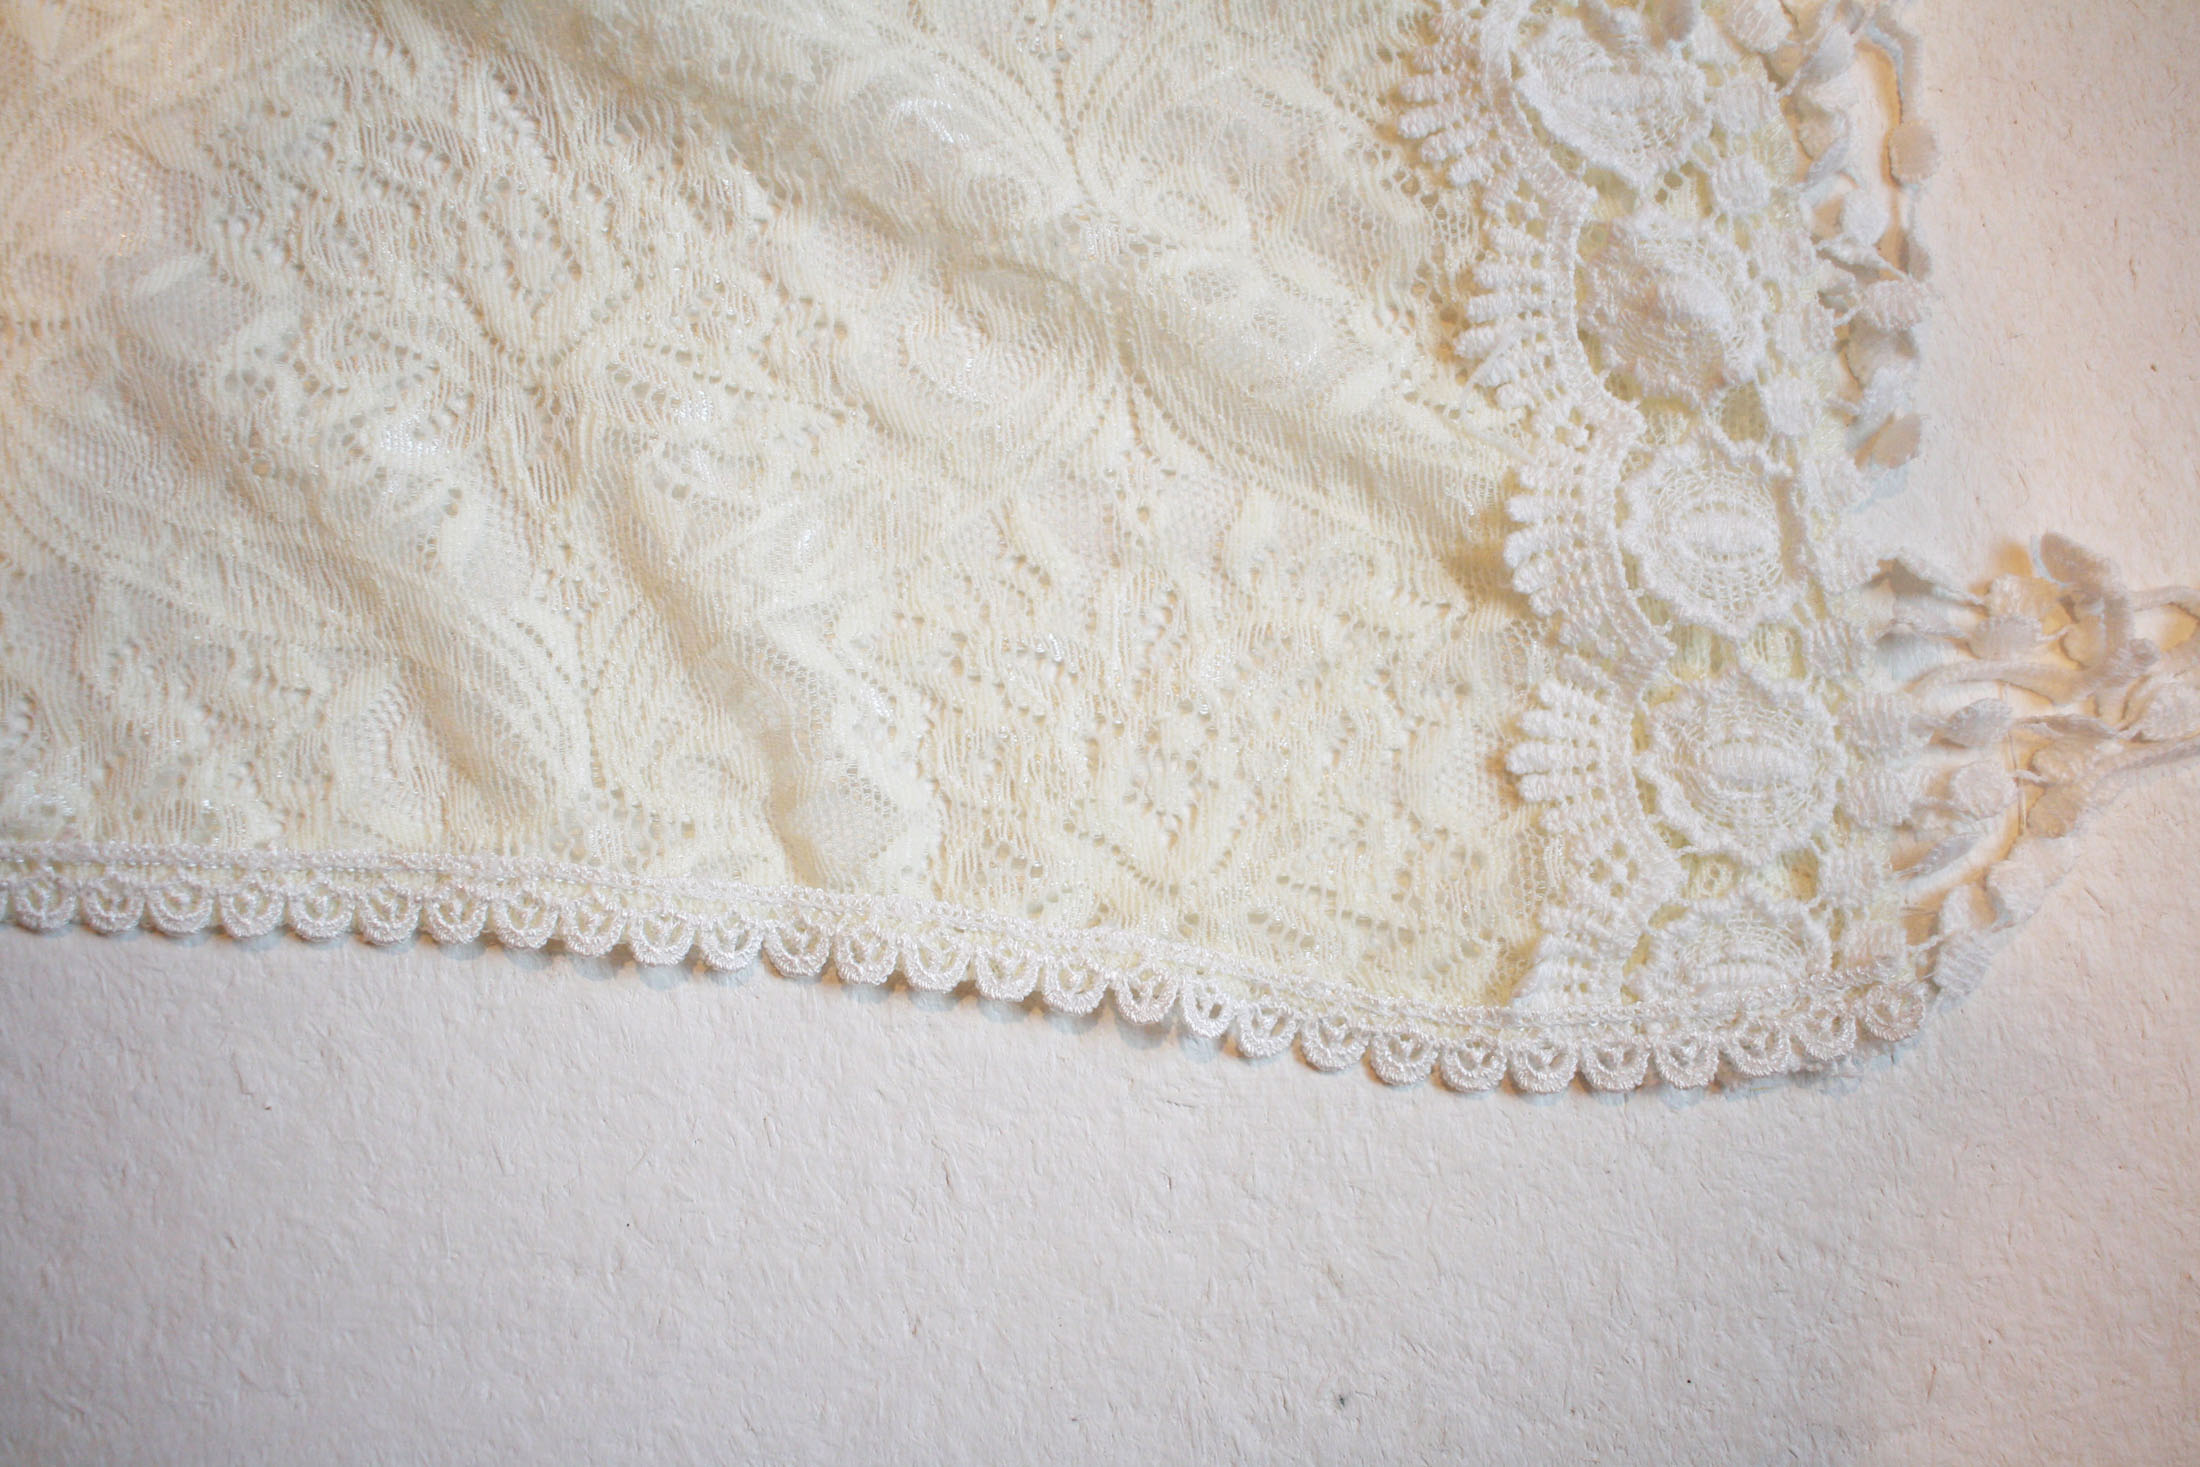
Repeat for the bottom trim. Since this piece was narrow, I only used one row of zig zag stitching.
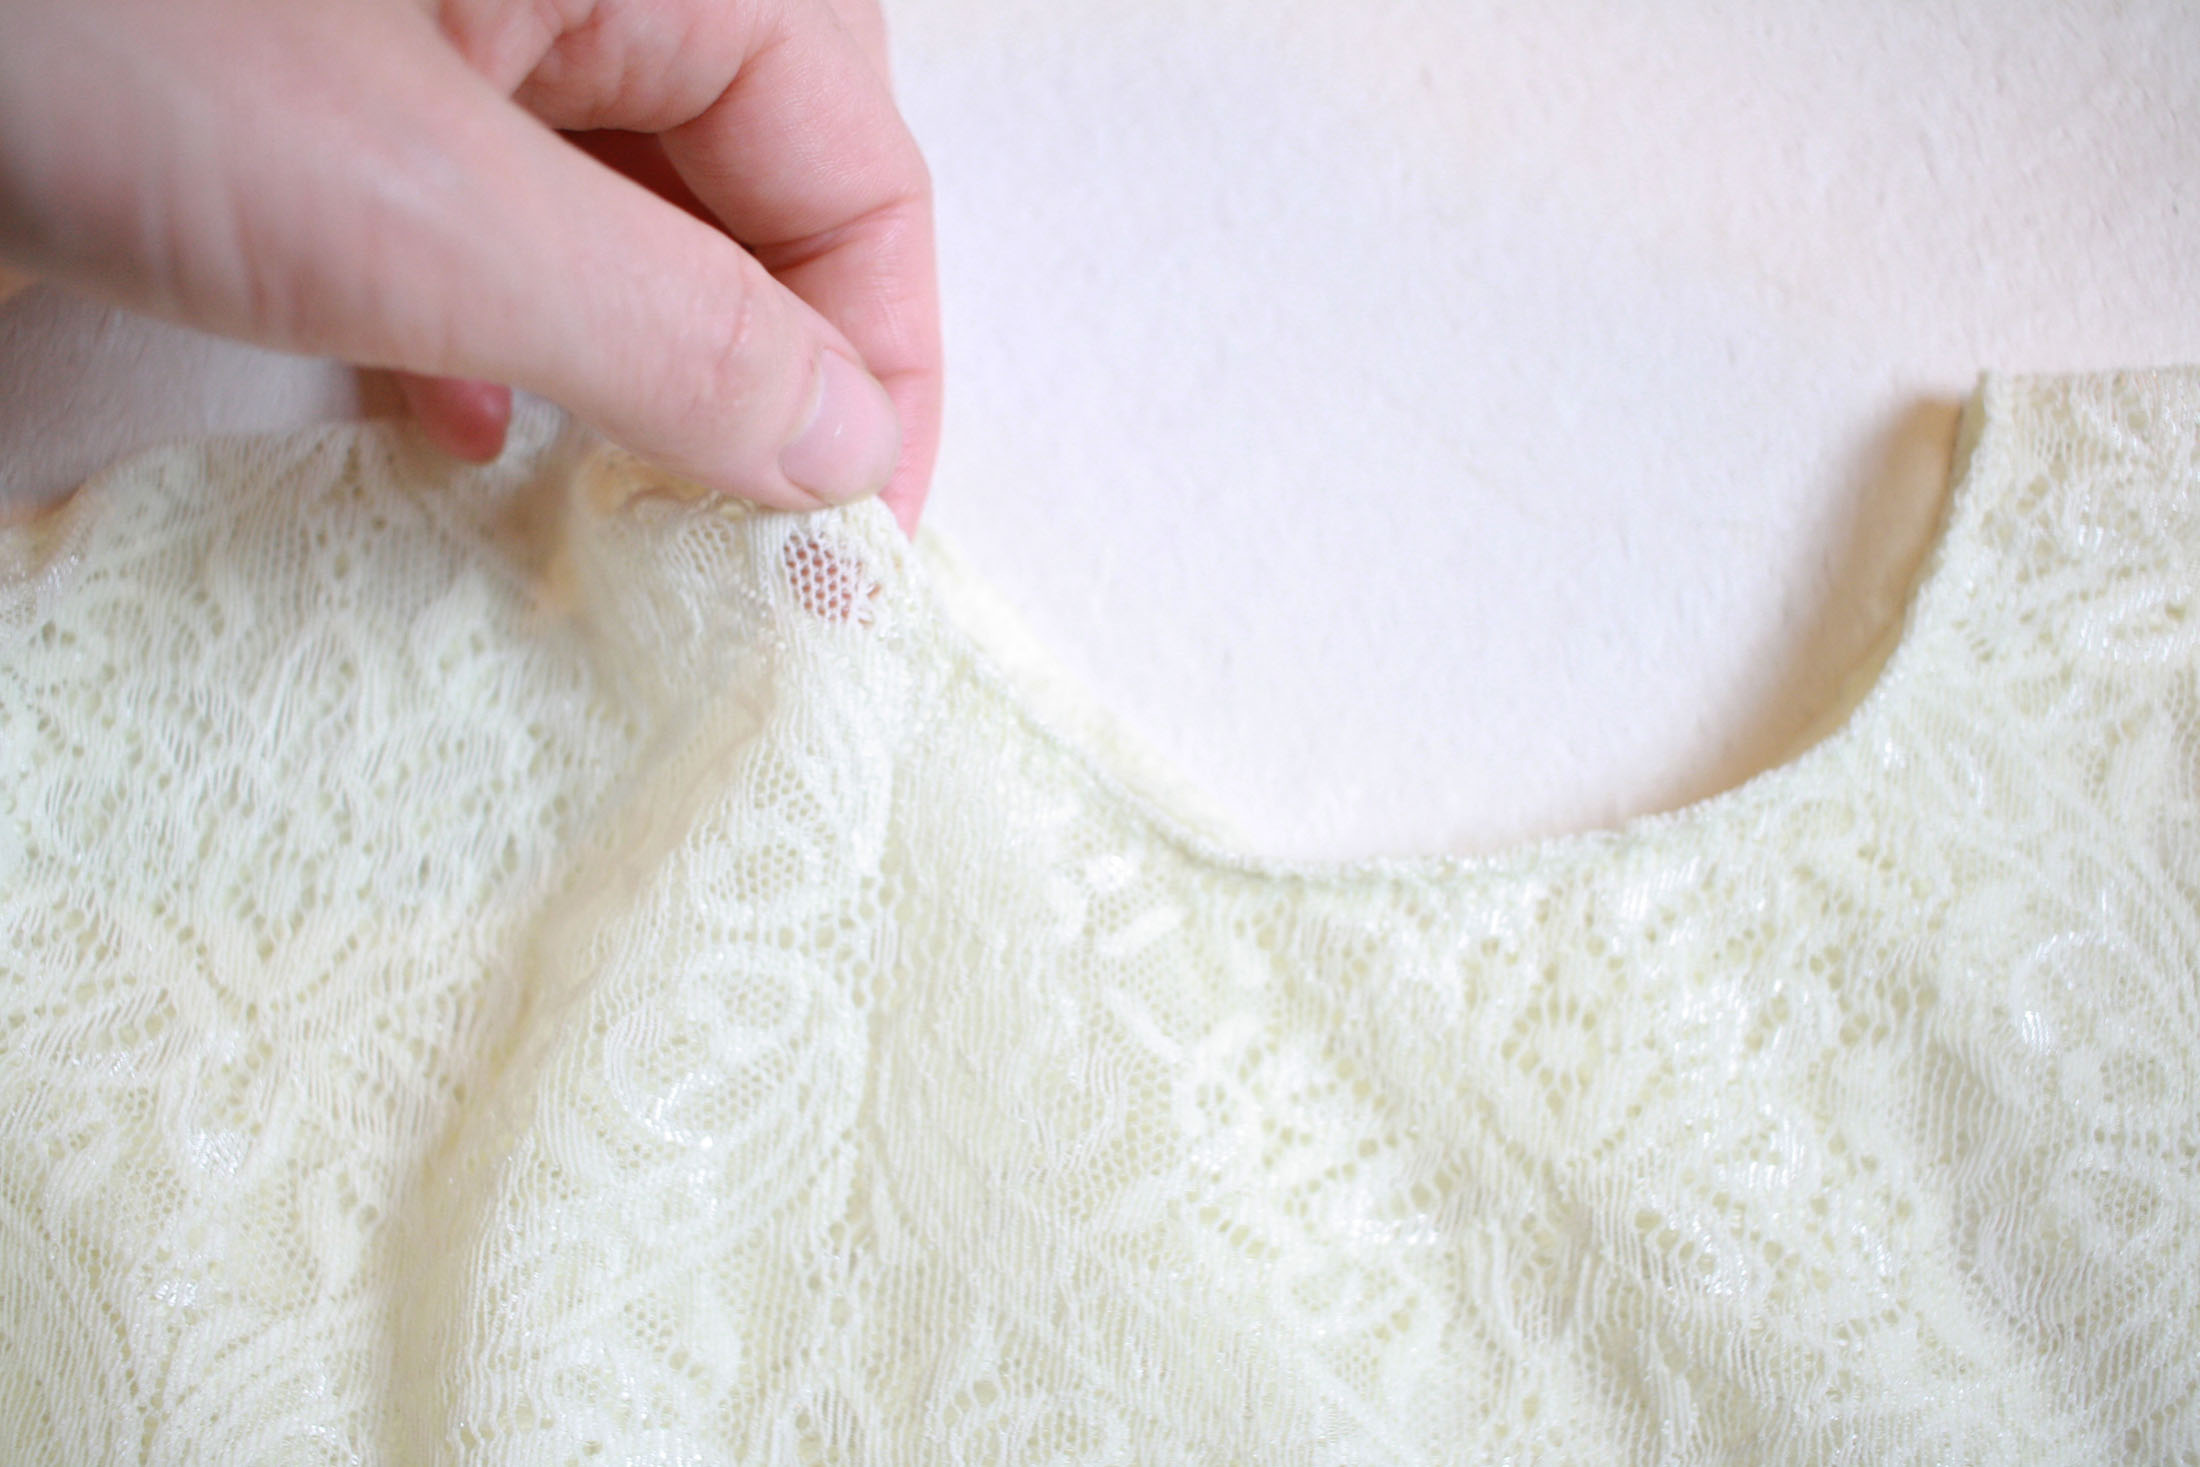
You have a couple options for finishing the neck. You could add a band, or you could turn under, which is what I did. I first finished my raw edges with a serger and then folded and pressed to the wrong side by 1/4″ and secured with a zig zag. You could also choose to fold under twice if you don’t have a serger so all raw edges are enclosed.
That’s it! Your poncho is now finished! You could also choose to add a button or snaps along the sides if preferred.
If you have any questions, feel free to join the Facebook group or email me at sewalittleseam@gmail.com.
