
French Terry Skirt Tutorial
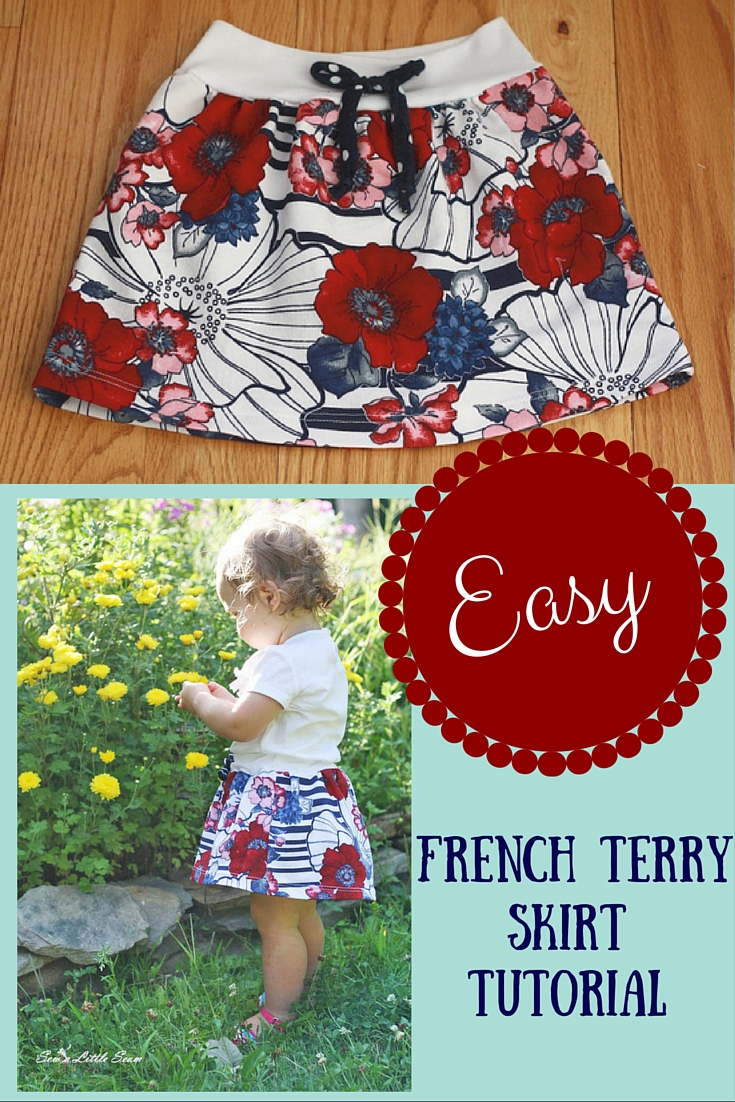
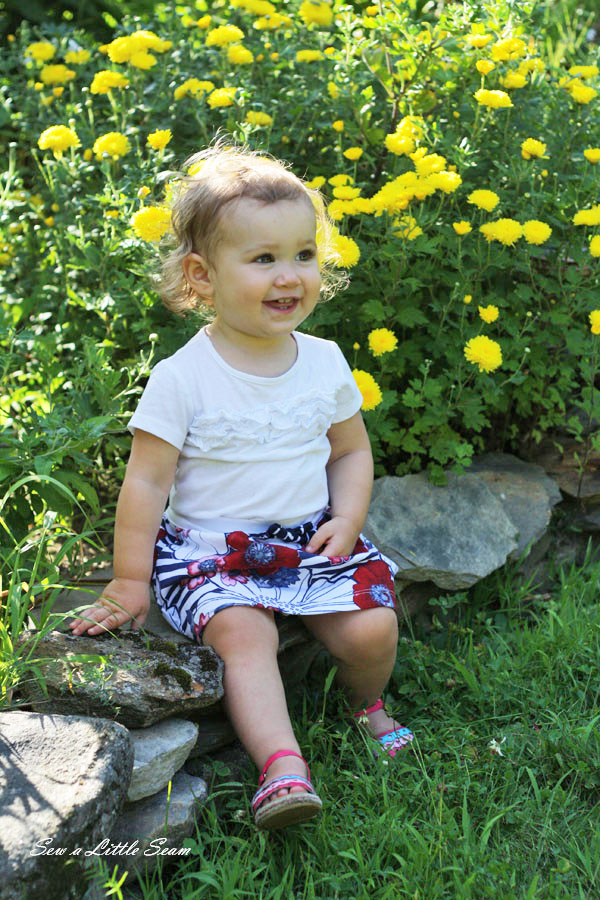
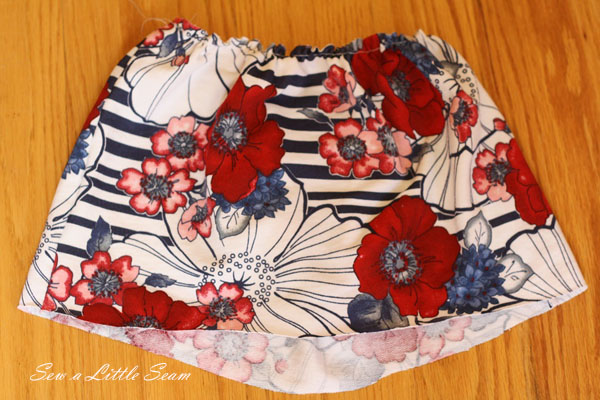
This week I made a cute little French terry skirt for Brynn and I’m going to show you how I made it. This is a super easy and quick sew and you don’t even need a pattern!
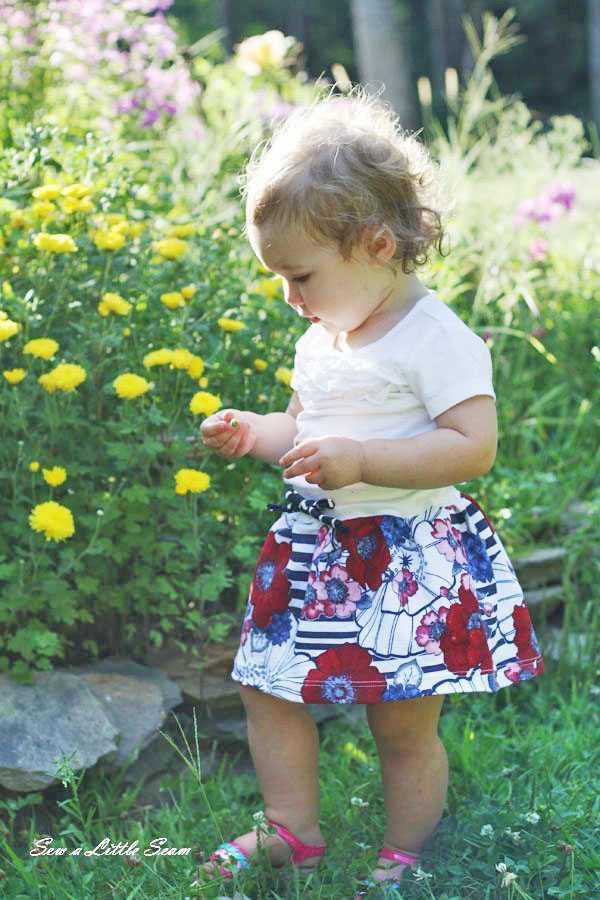
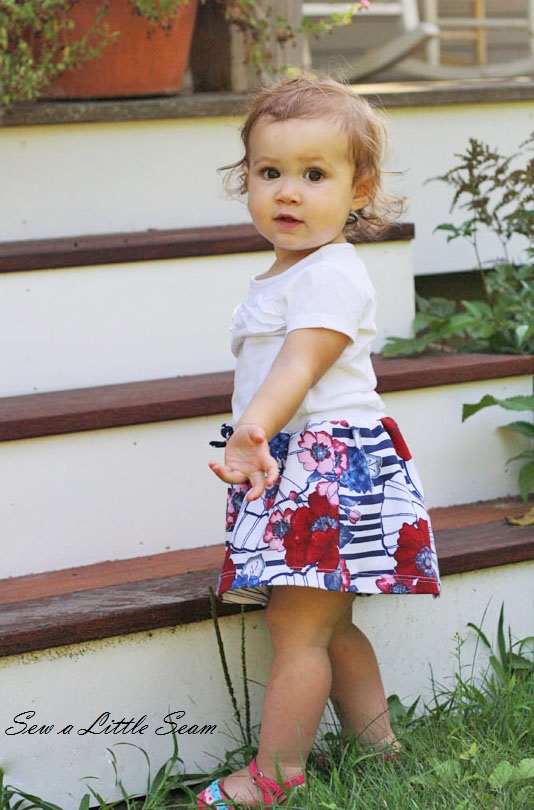
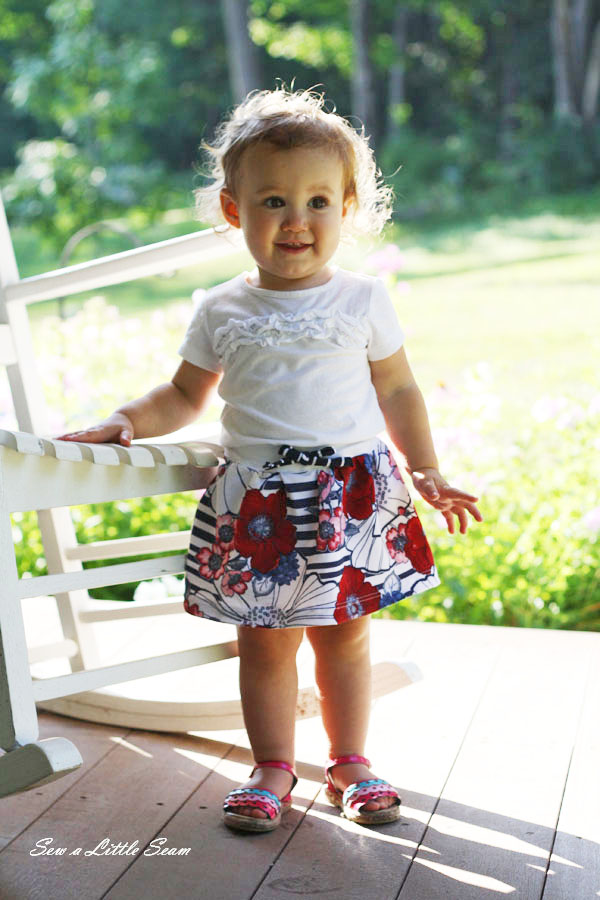
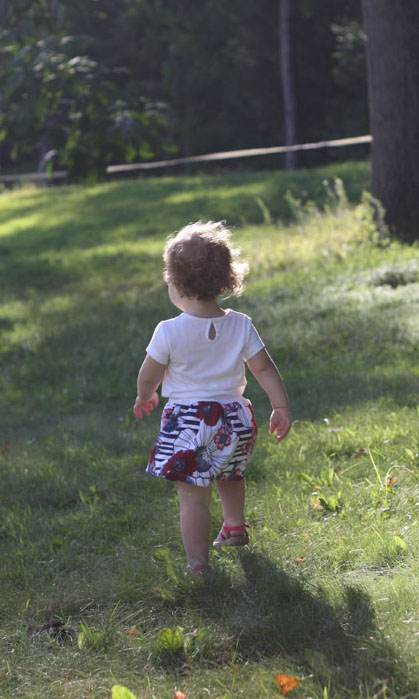
I actually don’t dress Brynn in skirts very often…in fact this might be the first time she’s ever worn a skirt, but I definitely need to dress her in them more often. They are great for getting on and off quick and also super comfortable.
Brynn says, “Yeah, mom, why don’t you dress me in skirts every day?” And I love sewing with French terry. It has a smooth outer layer with a looped inner layer that you find in some sweatshirts and sweatpants. (Not the same as regular terry, which is what towels are made of). Because it’s a thicker, less stretchy material, it is easy to sew.
This fabric came from a Girl Charlee KnitFix. I also made a zip up hoodie with it, which you can see here.
And now for a tutorial on how I made this skirt. (Note: this is for an 18 month size, but you should be able to adjust it pretty easily to suit your needs)
What You’ll Need:
1/4 to 1/2 yard of French terry fabric
1/4 yard of baby rib knit, regular rib knit, or a lycra material
A medium weight ball point needle like the ones found here
1″ elastic, such as this
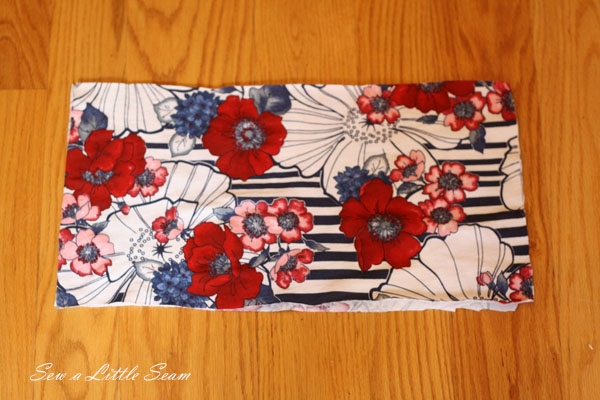
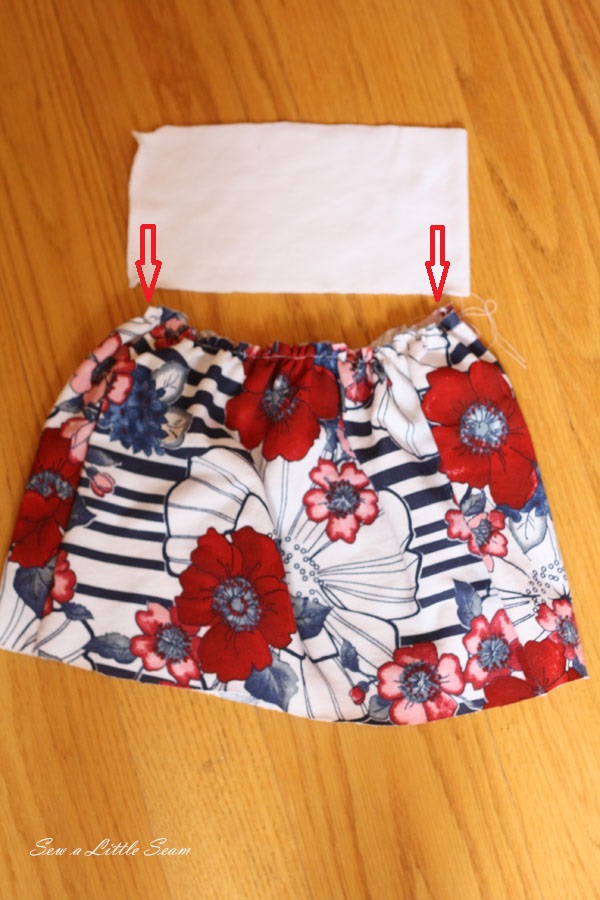
To start, cut two rectangles 9″ x 17″. You can figure out the dimensions for a different size by measuring across a pair of leggings or skirt that fits your child. For example, my daughter’s pants were 8″ from seam to seam at the waist. I like to double that number when gathering a skirt, so that would be 16″ and then add a 1/2″ seam allowance to both ends for a total of 17″. To determine the length, you can either measure a skirt that fits your daughter, or measure her from where you want the skirt to sit, to where you want it to fall. We will be adding a 1 1/2″ band and a 1″ hem, which will cancel each other out, so you don’t need to worry about any allowances. If you’re worried about the length, always go longer since you can cut it shorter if needed.
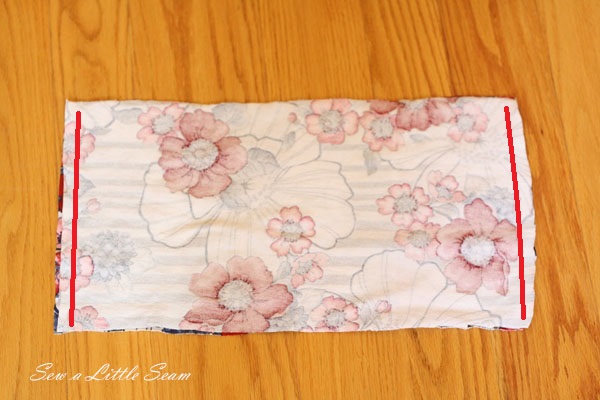
Turn right sides together and sew along both short edges.
I used a stretch stitch for all of this project. For the seams, I like to use the overlock stitch, shown above in blue. But, you can also just use a regular zigzag stitch.
Then sew a basting stitch 1/4″ from the top of your skirt all the way around, making sure you don’t backstitch at the beginning or end so that you can gather it. (To create a basting stitch, increase you thread length and tension as high as they will go).
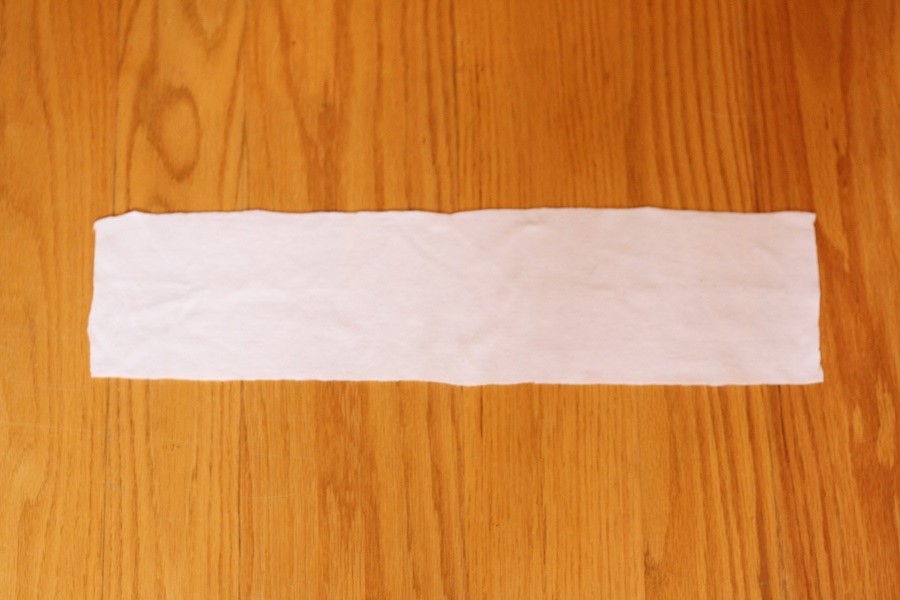
Next, we will create the band by cutting a 4″ x 17″ piece out of your rib knit material. If you are making this for a different size, you can figure out the length you need the same way as mentioned above. Measure across a pair of leggings or skirt that fits your child. For example, my daughter’s pants were 8″ at the waist. So, I doubled that number to account for the front and back, and then added a 1/2″ seam allowance to both ends to equal 17″.
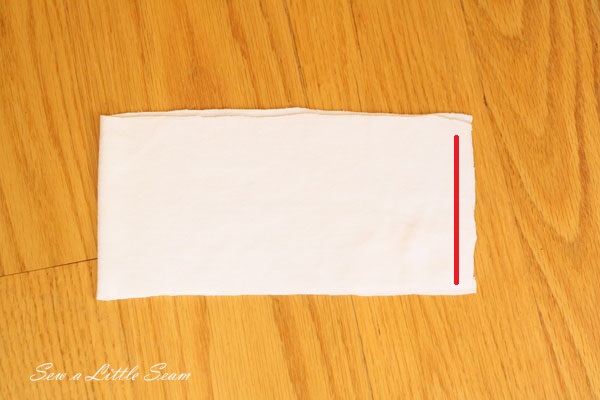
Fold your band with short sides together and sew along the edge, so you have a circle.
Now take your skirt and make sure you have it gathered to be the same width as your band. If you need to gather it more, take a hold of either piece of the basting thread you sewed earlier and pull gently as you slide your faric along the thread.
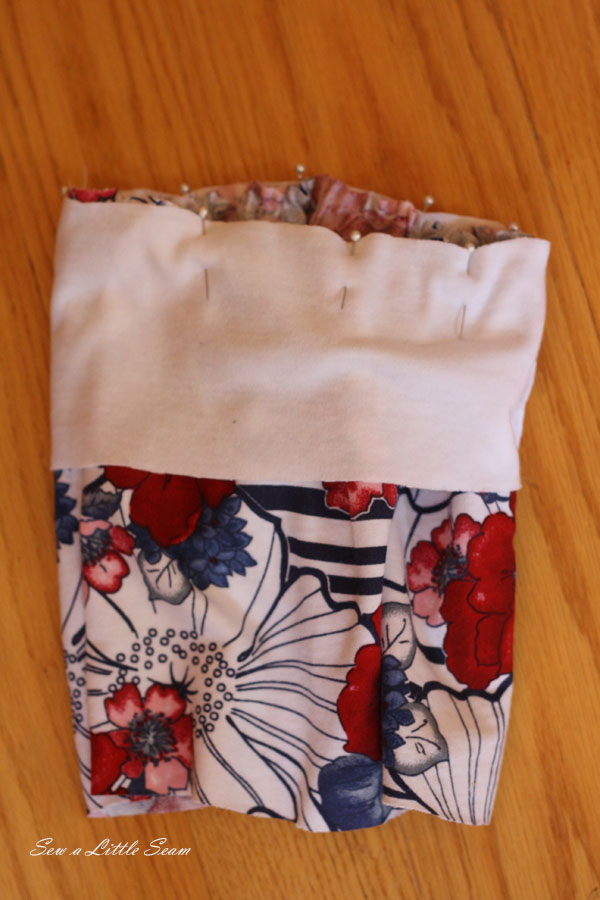
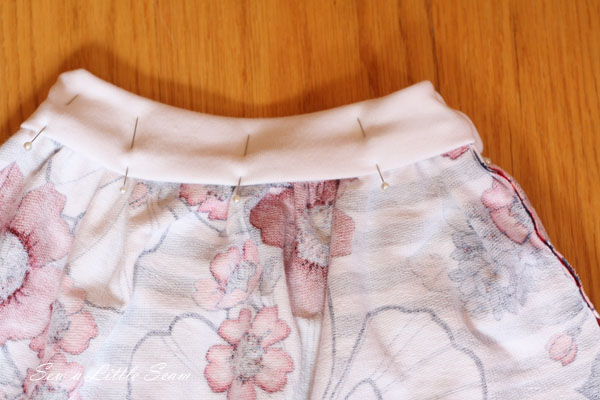
Once they are the same width, slide your band over the skirt, keeping the band open to one layer, so that one raw edge of the band matches up with the top raw edge of the skirt. Be sure to keep right sides together if your band has a right and wrong side. Pin your band in place evenly around the skirt and sew along the top edge.
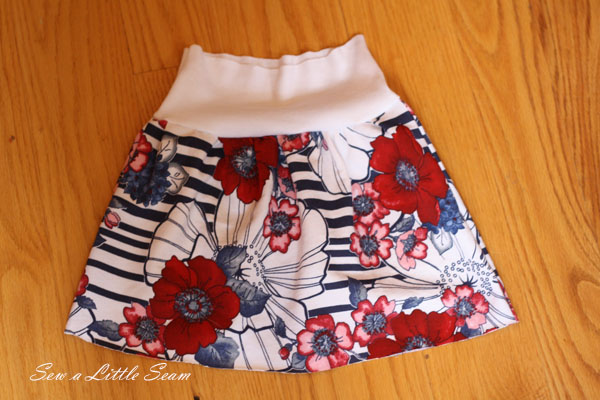
You will end up with this, when you flip the band up.
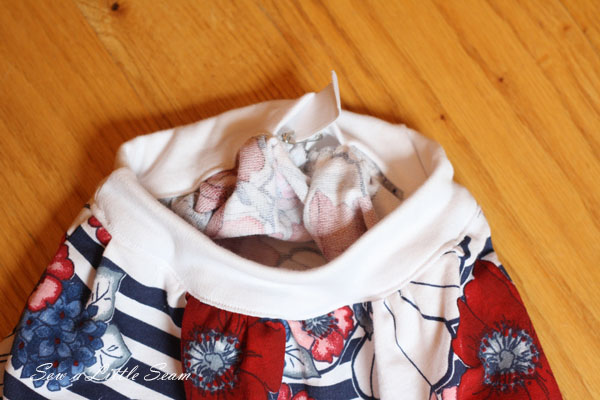
Next, flip your skirt inside out.

And fold your band down over the seam.
Then, tuck a 1/2″ of fabric under so that the raw seams aren’t showing, and pin in place. You may want to pin from the front, because I prefer to sew from the front in the next step. I pulled my pins out as I went, but if you are afraid you might miss some, pinning from to the front is safer.
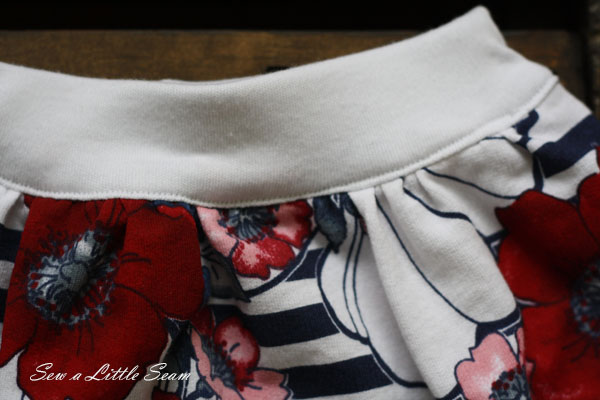
Next, topstitch along the bottom of the band, making sure you catch the fabric on the back that we just folded under. I used a straight stretch stitch, which will look like the straight stitch on your machine, but with three lines instead of one. Using a stretch stitch will keep your thread from breaking as the band is stretched. Sew around the band, stopping about 1″ from where you began so that your elastic can be threaded through the hole.
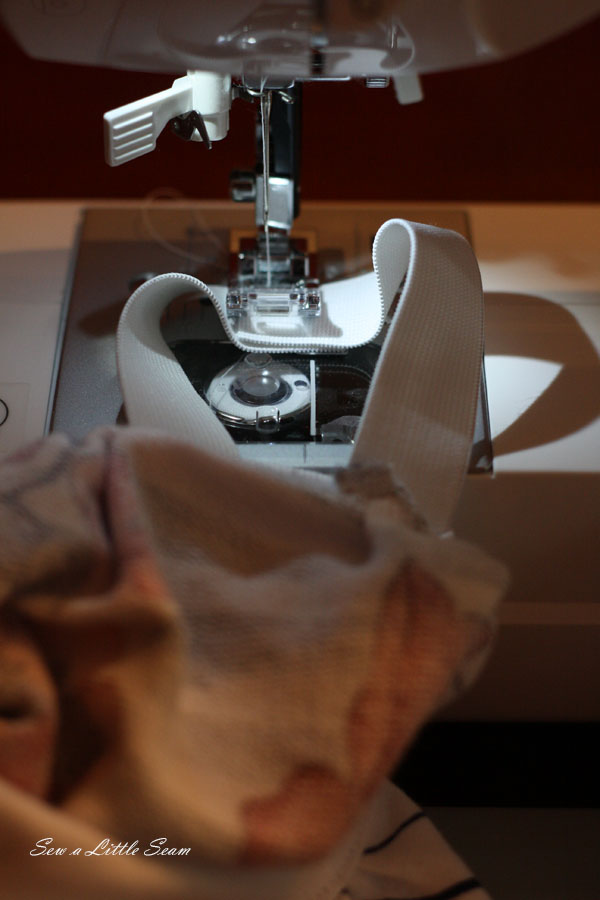
Take your 1″ elastic and secure a safety pin to one end so you can push it through the opening in the band all the way around until it meets up at the other end. At this point, I like to attach the safety pin to the elastic and check the fit on my daughter before I sew it together.
Once you are sure of the fit, lay once piece of elastic on top of the other and stitch them together. You can now topstitch the rest of the way around the band, closing the hole you had left open.
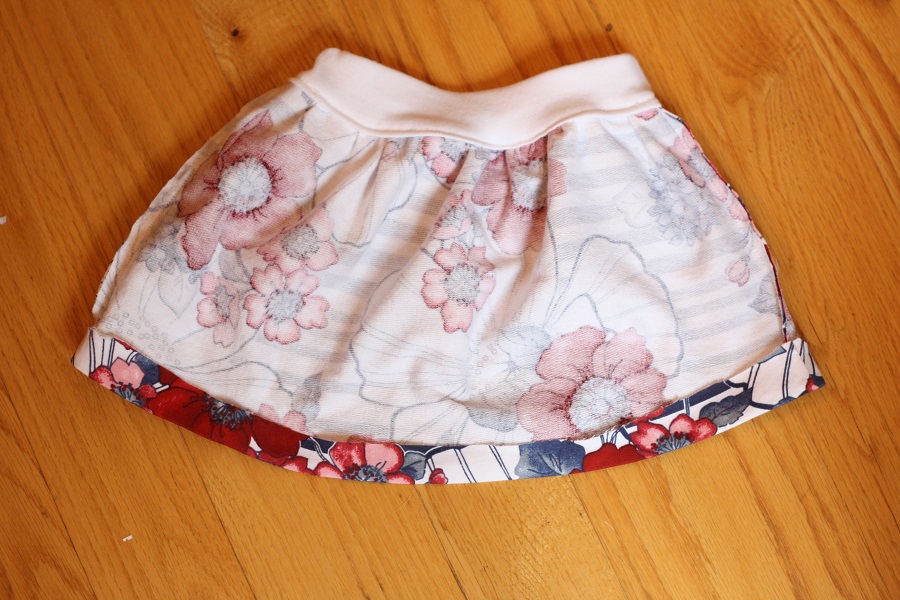
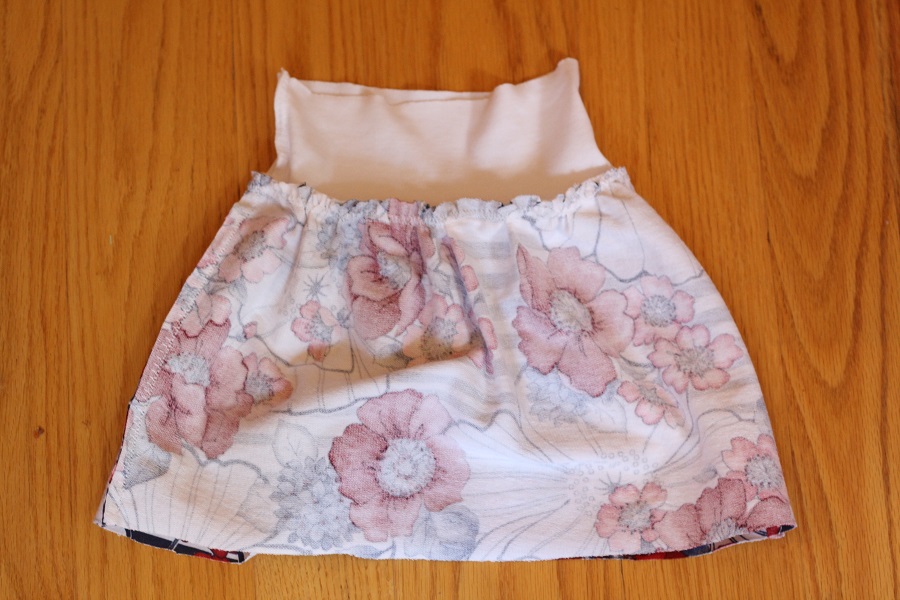
Now we will finish our hem. Press up 1″ of your skirt with your iron. You can pin in place if you want to make sure if doesn’t move when sewing. I used a double needle to finish my hem, but you can also just use a regular needle and sew along the top of the hem. (As a note, I ended up cutting the front of my skirt up 1″ higher than the back to account for the extra room needed in the back for the bum).
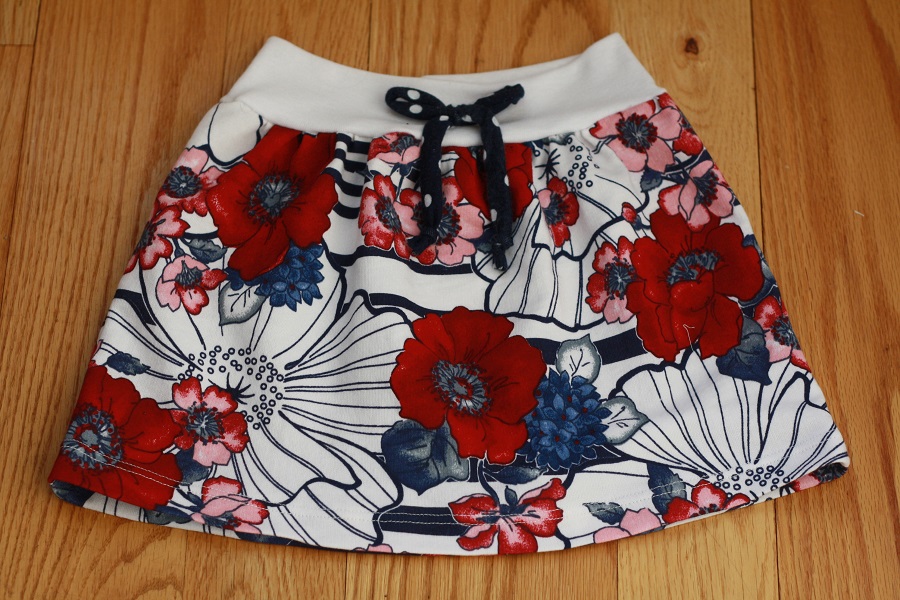
The final step is to add a little bow to the top. You can make one by sewing two strips of fabric into a tube with right sides together, making sure you leave both ends open. Push your fabric through one end of the tube so that it is now right side out. Since I used a knit fabric, you can just knot the ends if you like, or you can tuck them inside the tube a bit and topstitch along the edges. Then just hand stitch it onto the front of your skirt, just going through the back layer of the bow, so you can’t see the stitching from the front. Then you’re done!

Thanks for the free patterns and tuts ??