
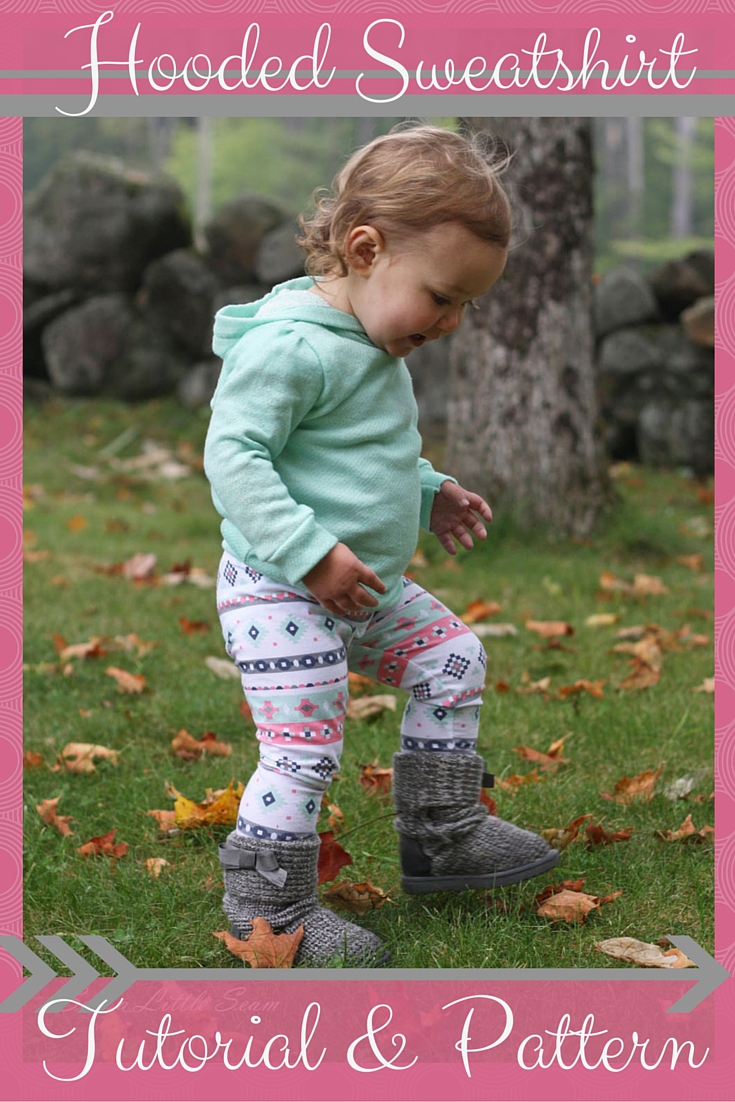
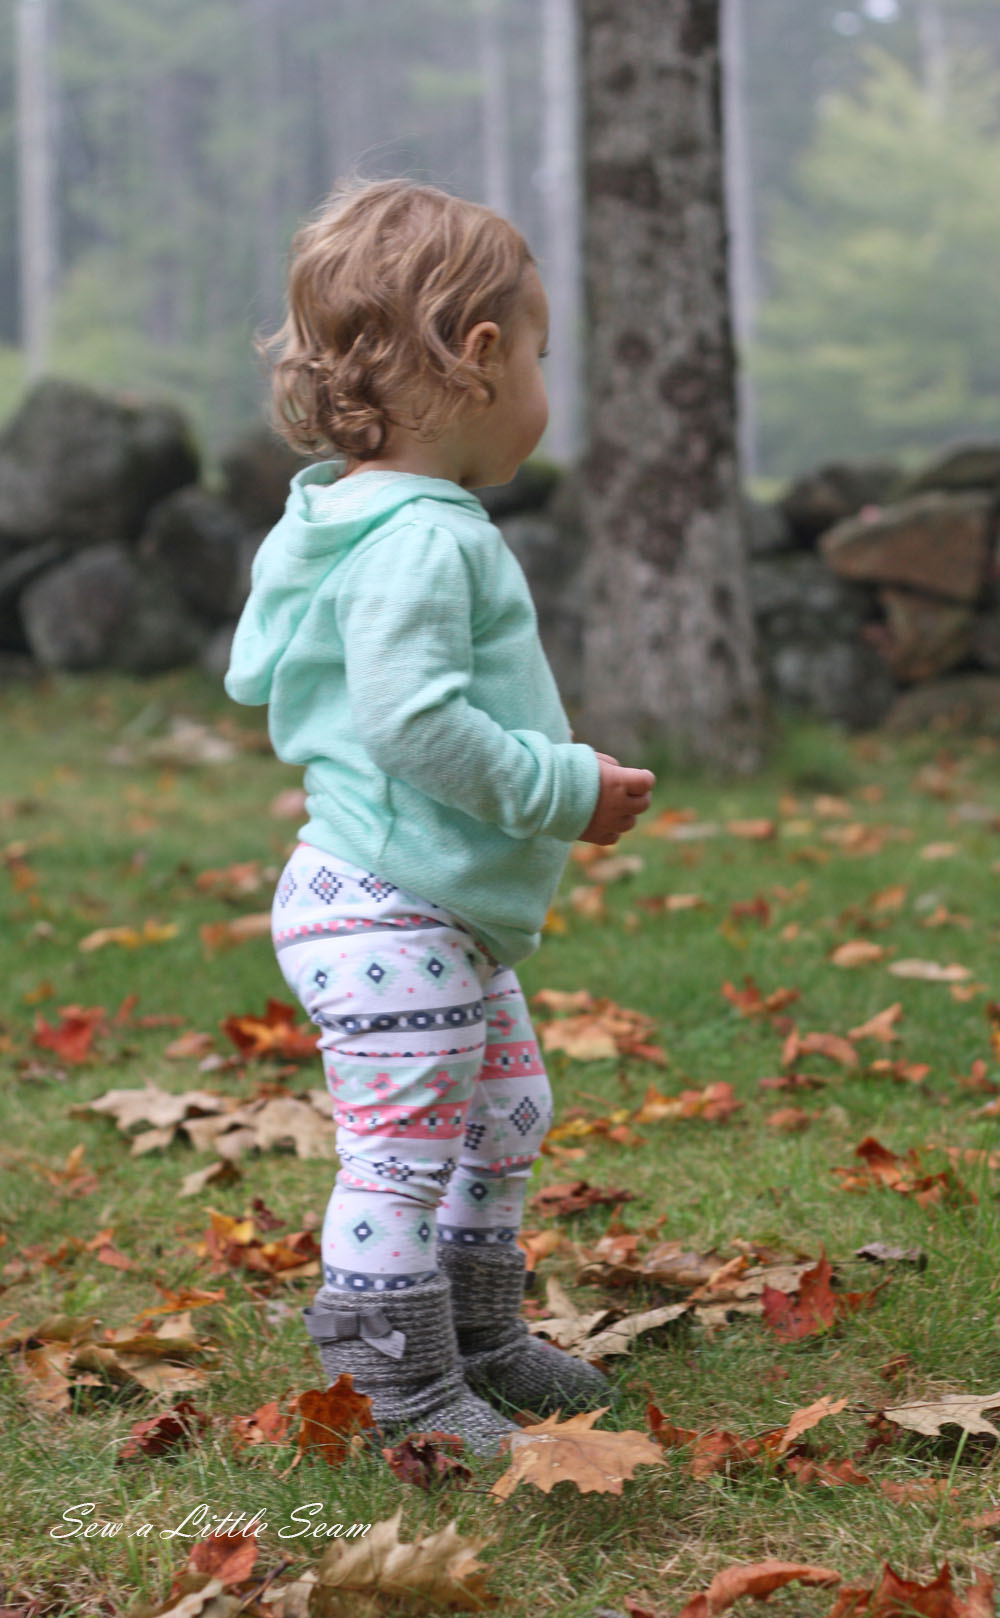
Cool Weather Series: Hooded Sweatshirt
If you’ve been following along with the Cool Weather Series, you’ve seen a few different style options you can make with a simple shirt pattern. Today I’m going to show you how you can add a hood to a pattern. You can use the free pattern that I’ll post below or you can draft your own.
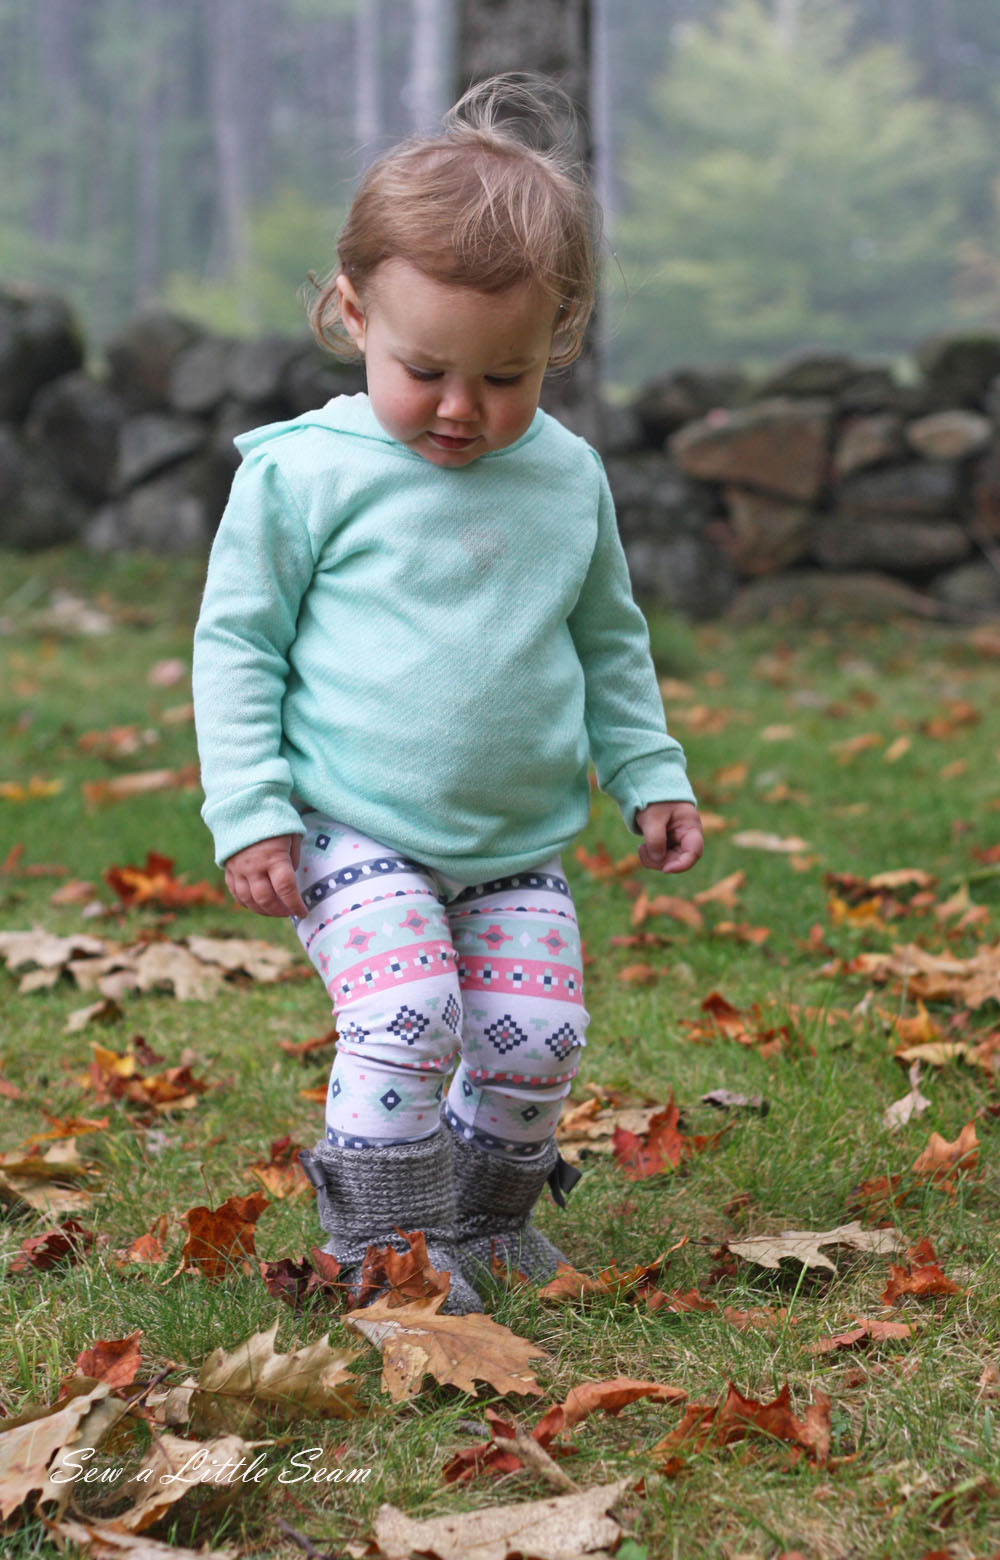
I made Brynn’s sweatshirt with a super soft French terry from Raspberry Creek Fabrics and it matches the Art Gallery print that I used for the leggings perfectly. I also picked that fabric up from Raspberry Creek.
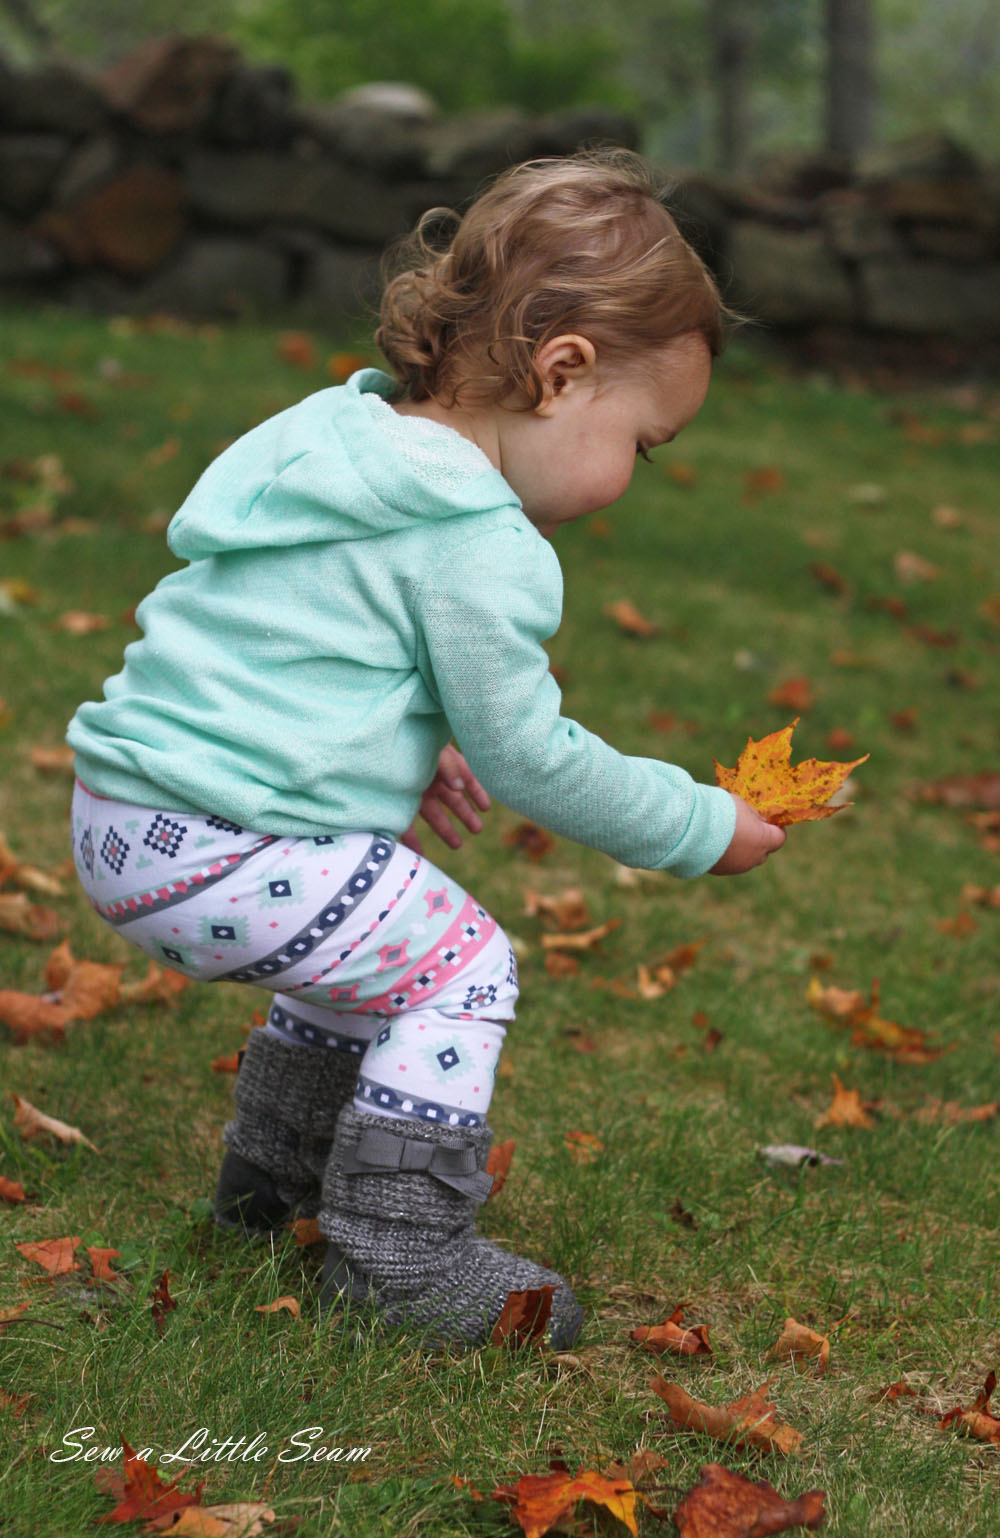
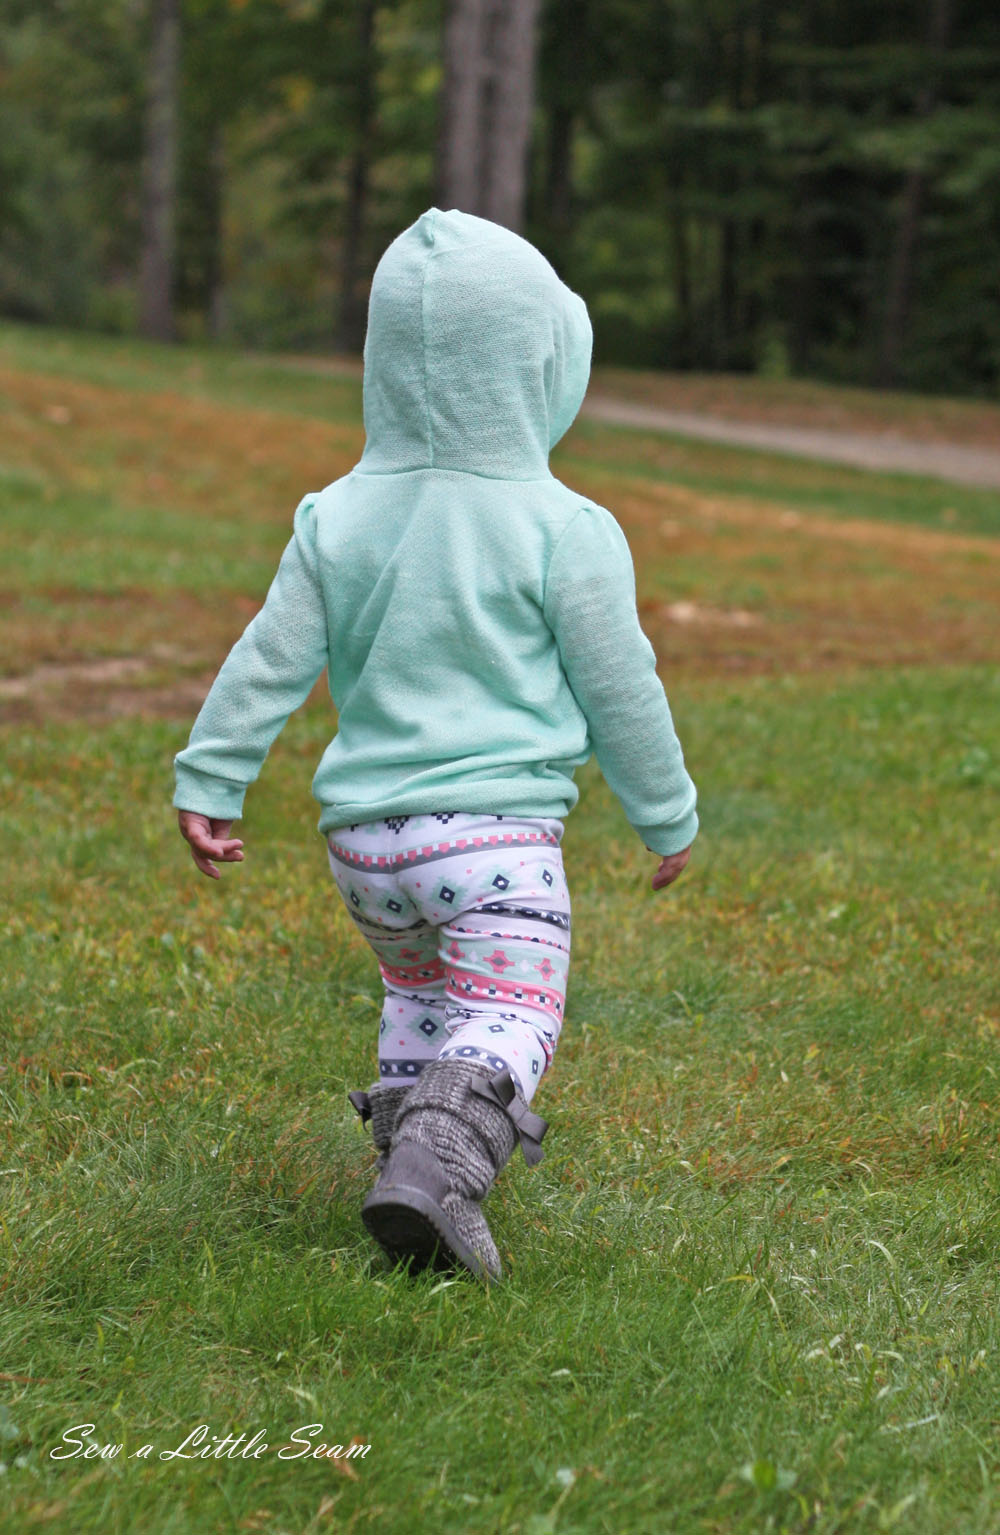
It looks so cozy. Everything that I make for her, I want to make for myself. It’s just a lot faster making mini things. At the moment I only have the 18 month hood pattern, but in the next few days I plan on adding a hood for the size 4 and size 6 patterns as well. If you follow me on Facebook, I’ll announce it there when they are ready.
So now down to the tutorial.
First, sew up your shirt by downloading the sweater pattern and following the tutorial HERE. Just don’t add the neckband since we will be adding a hood instead.
Next, download the hood pattern: Brynn Hood 18 Months

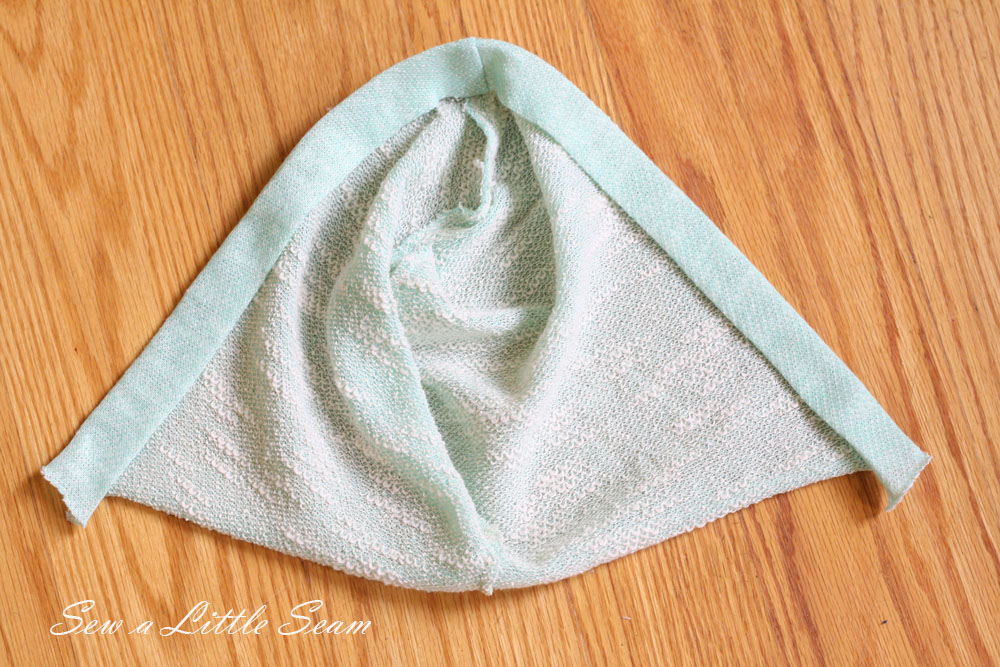
Cut out two mirror images. Place them with right sides together and sew along the rounded edge as shown above. Trim your seam.

Next fold over the sides 1/4″ and press.
Fold over one more time, this time 1″. The sew about 1/8″ away from the inside fold. * If you want to add a lining to your hood, cut out two pieces in your lining material, cut off the excess so that it will tuck under the main fabric’s fold and then sew around your folded edge.
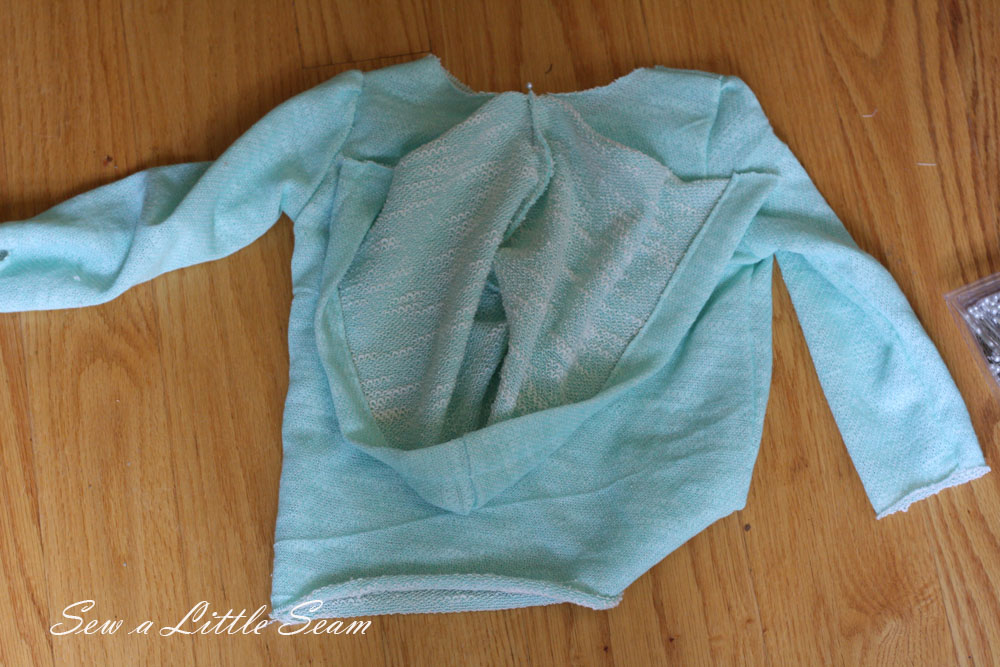
Fold your shirt in half to find the center and pin the center of your hood to the center of your shirt back. Continue pinning all the way around until you get to the front.
When you reach the front, you should have enough left that both sides cross over about an inch. It is okay to stretch your hood a bit throughout the neck to fit if needed.
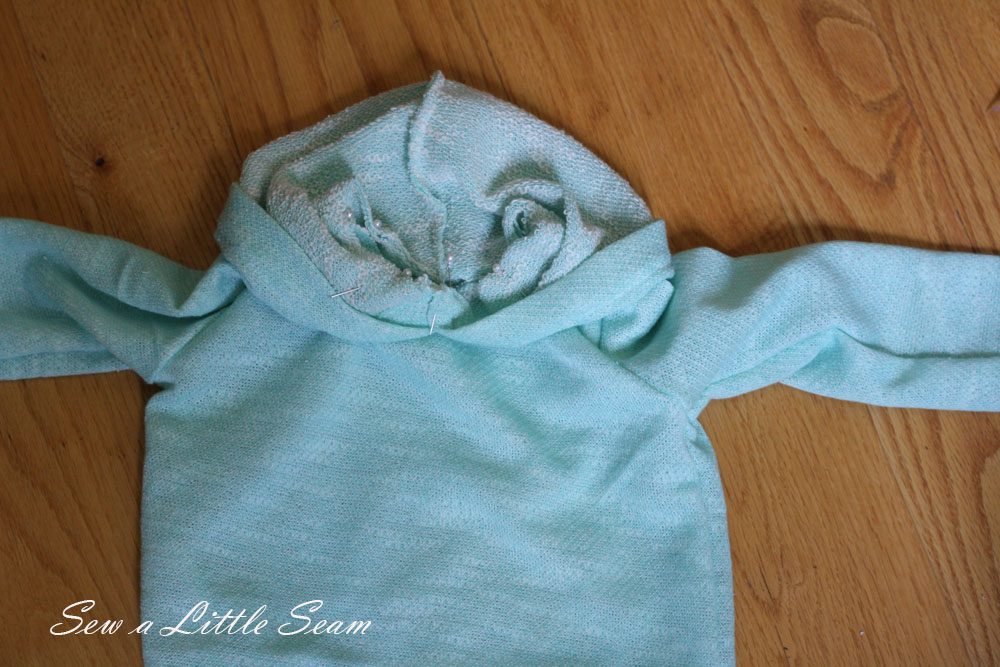
Fold the right side of your hood over the left side and pin in place. Make sure that the raw edges of both sides line up along the raw edges of the shirt.
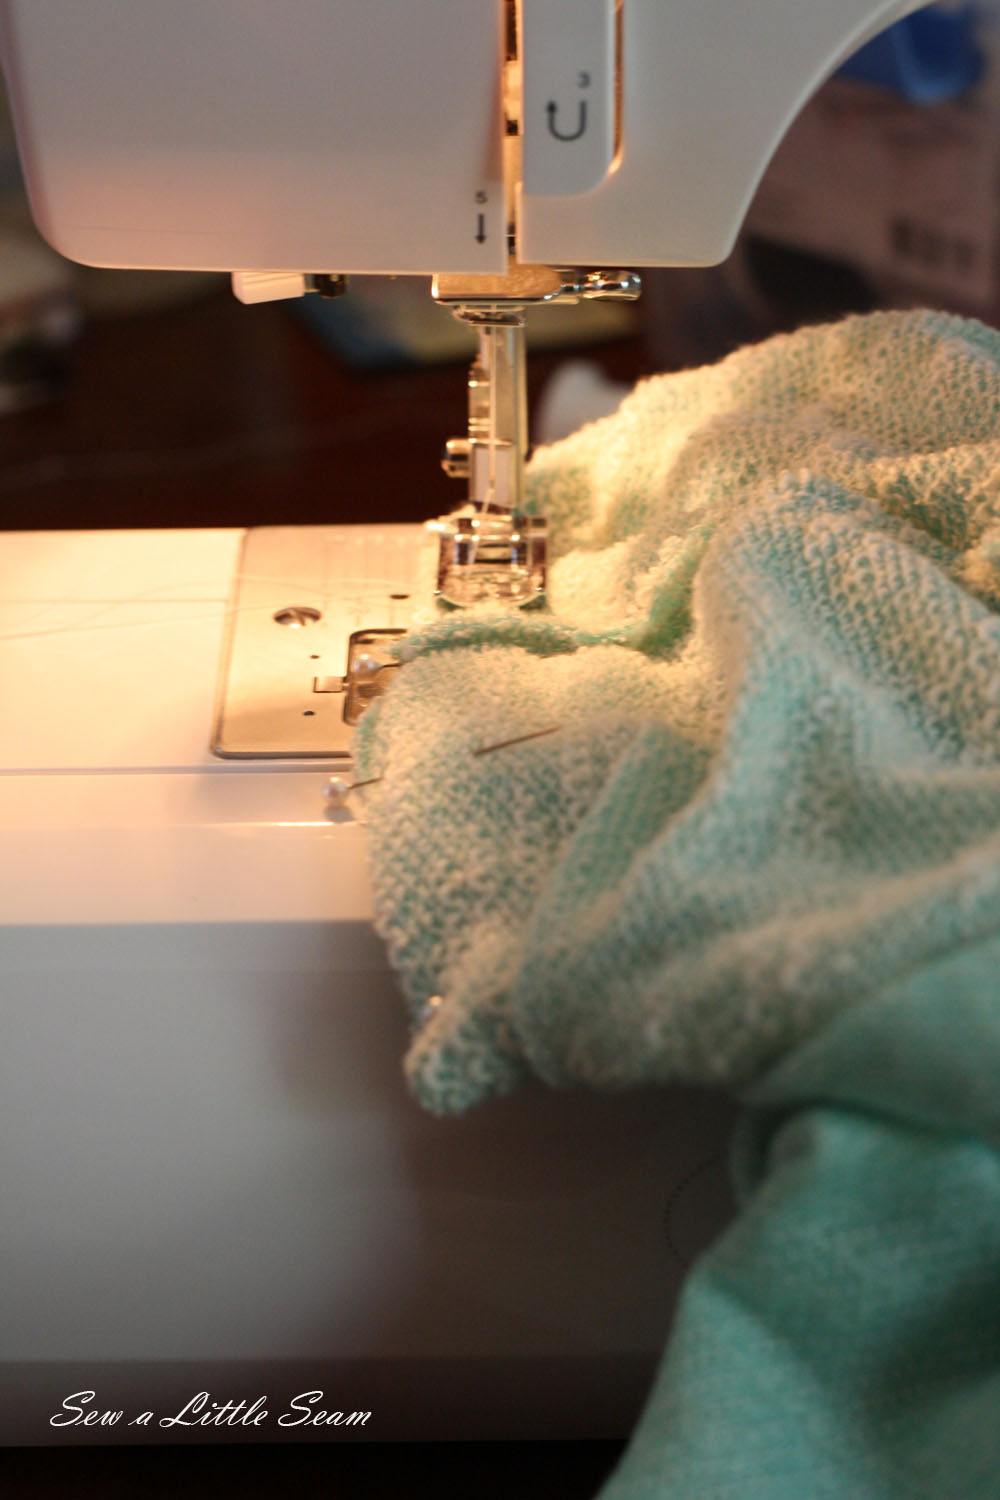
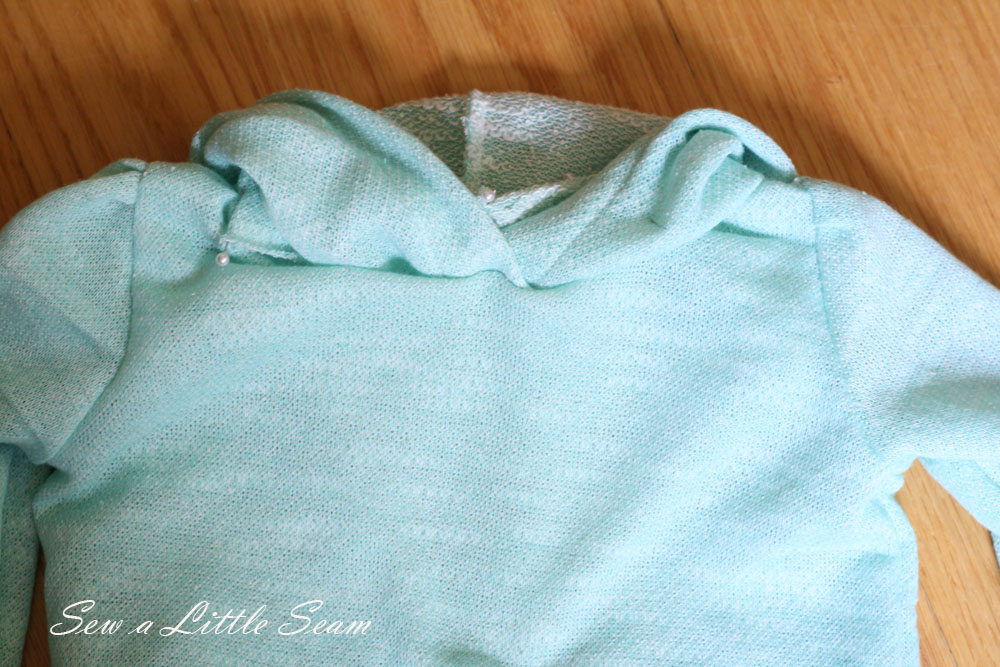
Sew your hood to your shirt, trim your seams and you’re done. If you would like to bind the seams of the neck for a more professional look, you can see how I did that HERE with a cardigan.
