
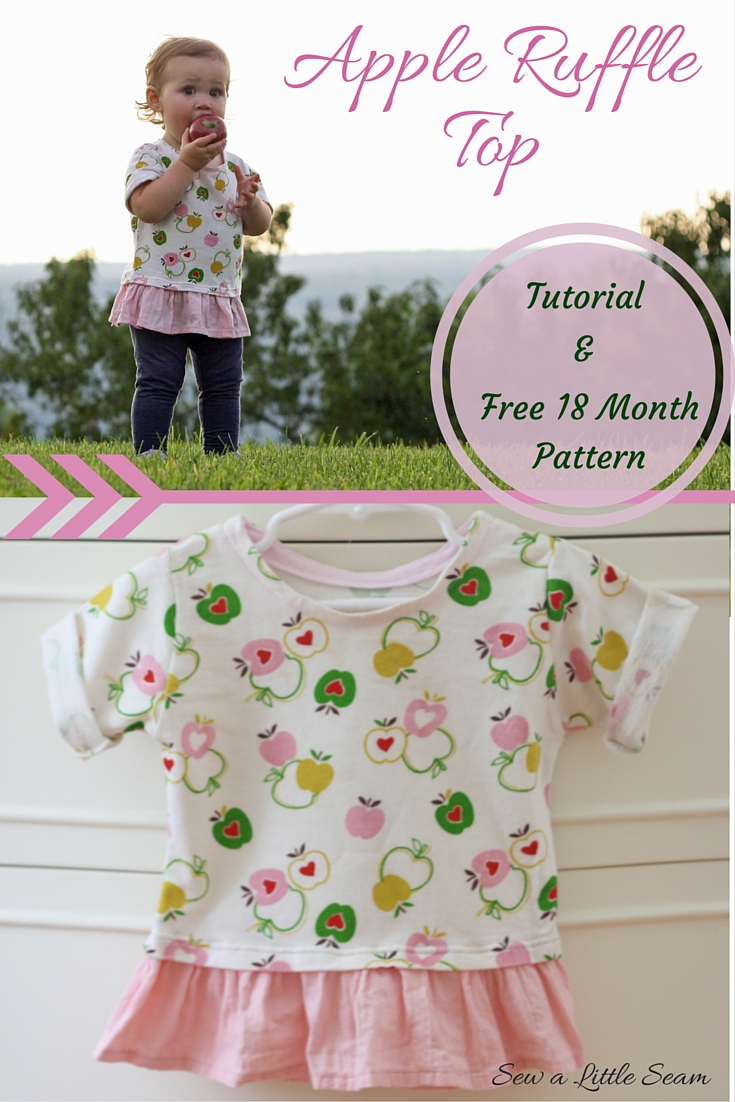
Cool Weather Series: Apple Ruffle Top
We have a family tradition of going apple picking every year. When I was little my parents would always take me and my brother along with our grandparents and sometimes our cousins to an orchard in Western New York. We would climb the trees and fill up our bushel baskets full. Then on the way home we would stop for ice cream. I carry on the tradition with my kids and every year we go to an orchard in New Hampshire. It has acres and acres of fruit trees and amazing views.
Those days as a kid are still some of my favorite memories and I love continuing to create memories with Nathan and Brynn. The first year Nathan went he was 11 months and now he’s five. Last year Brynn was only five or six months on her first trip and the difference a year makes is huge.
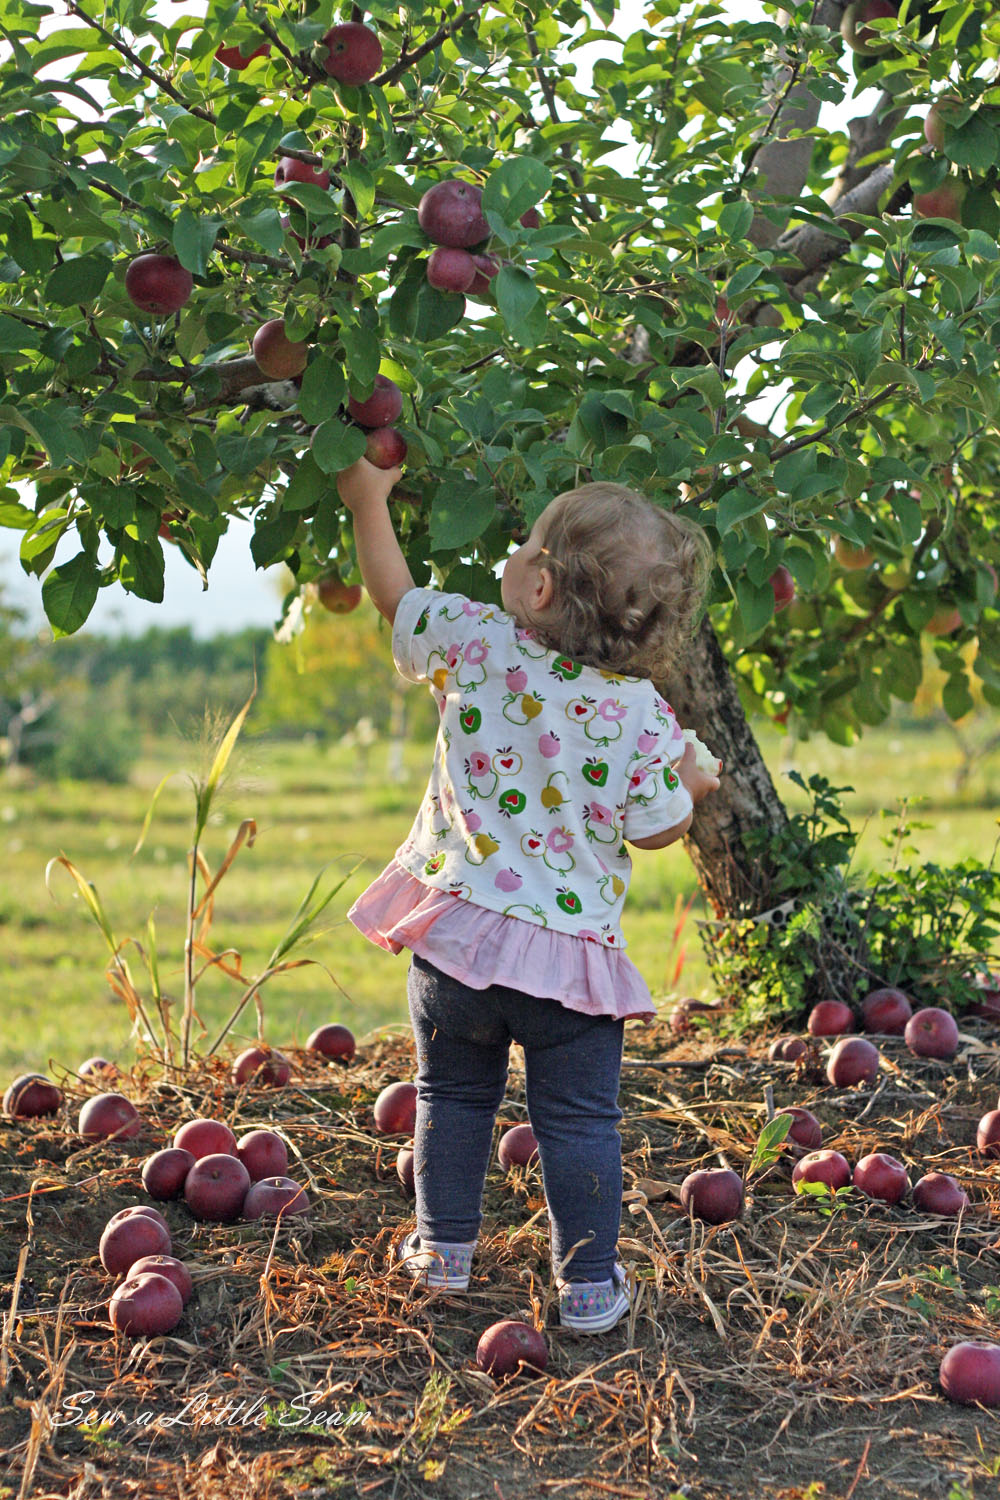
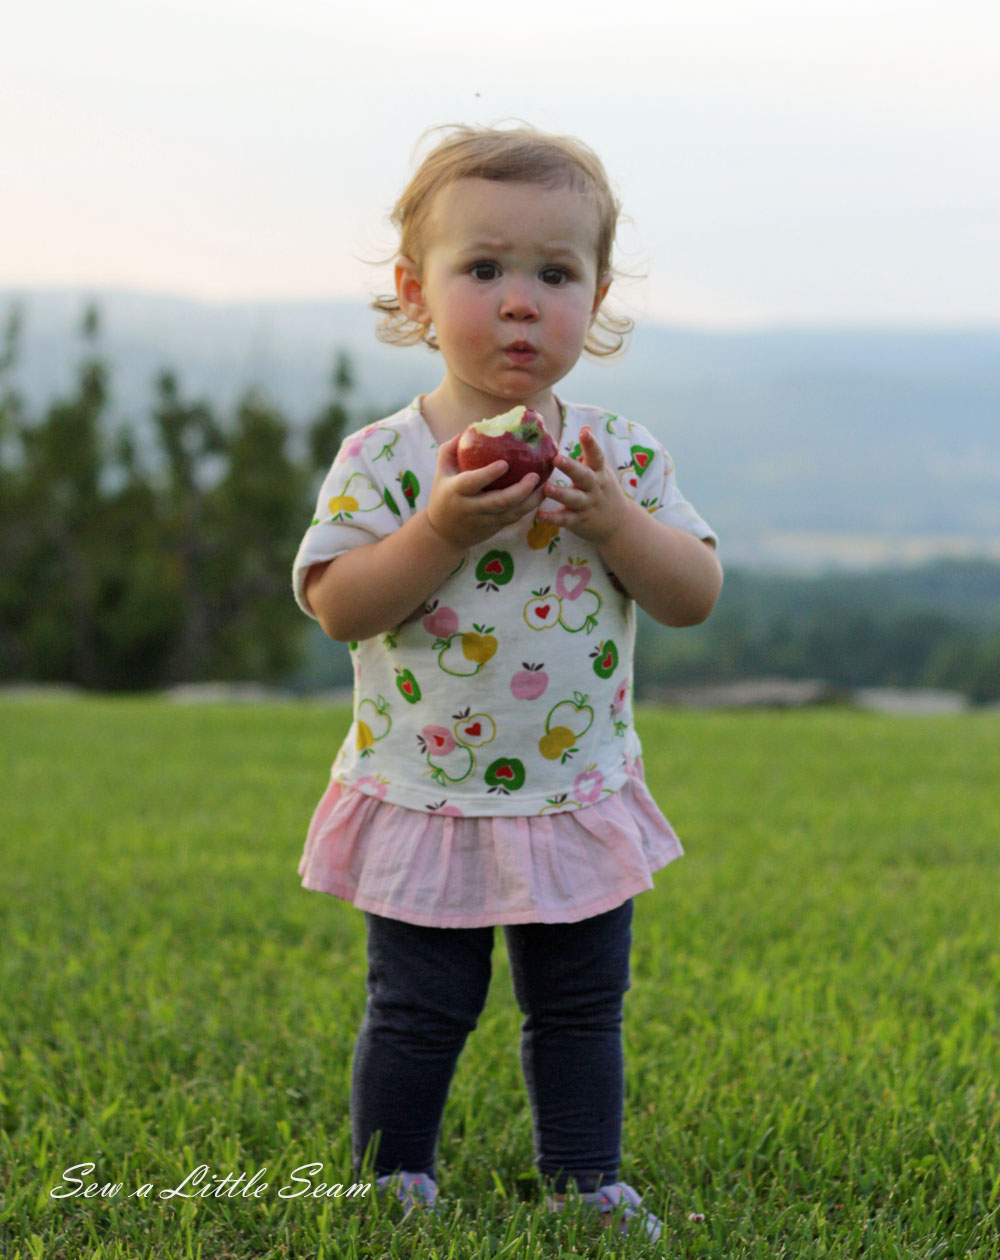
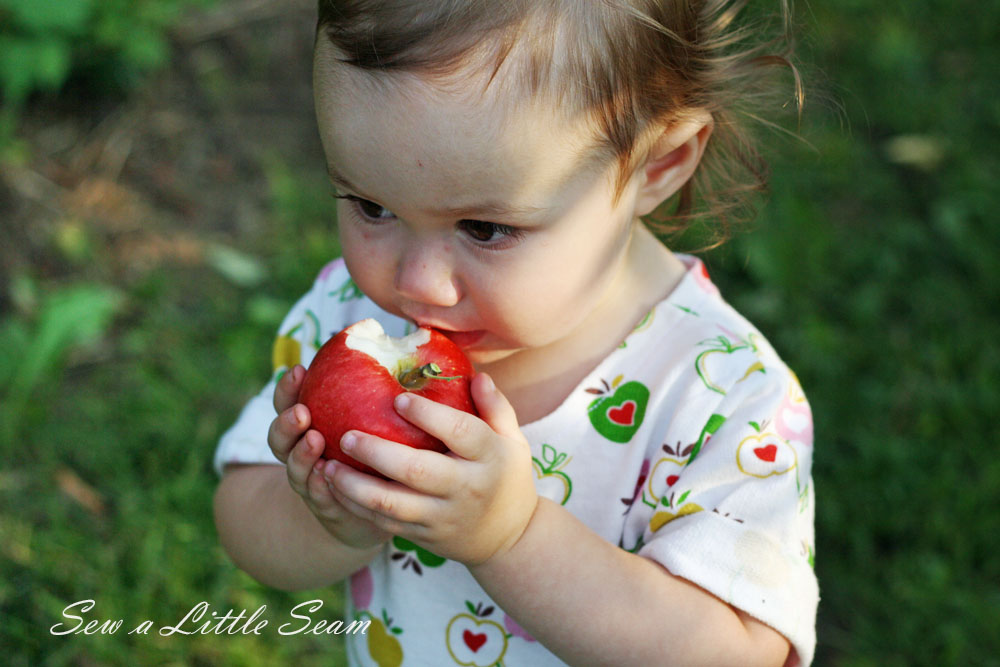
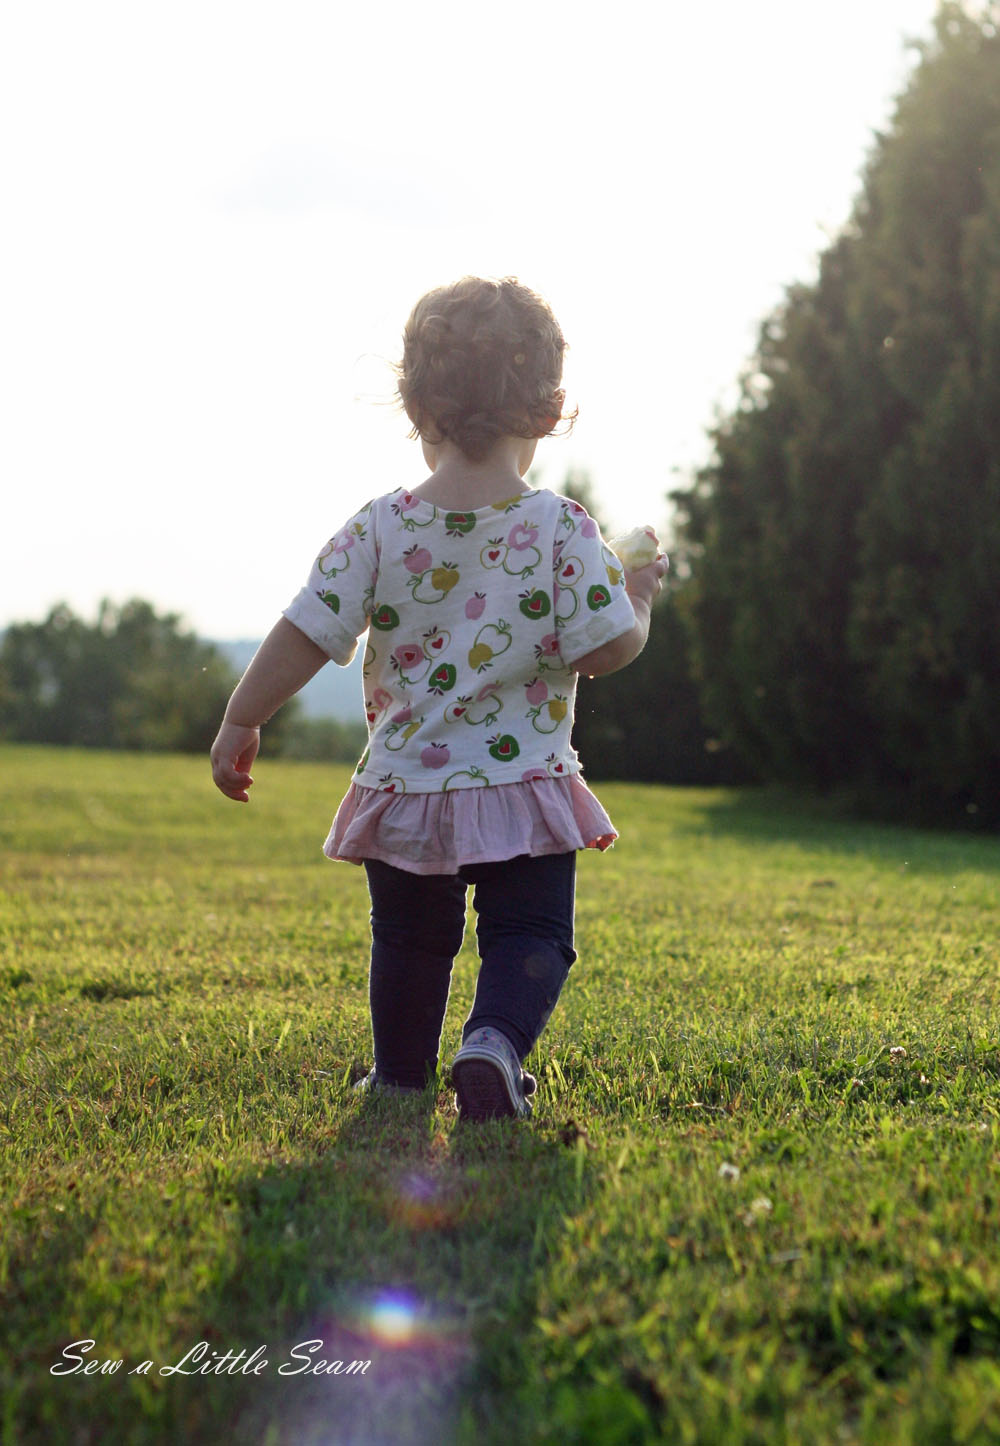
This year she had a blast running around, picking apples, and eating as many as she could! Pretty much every photo I have of her she has an apple in her mouth.

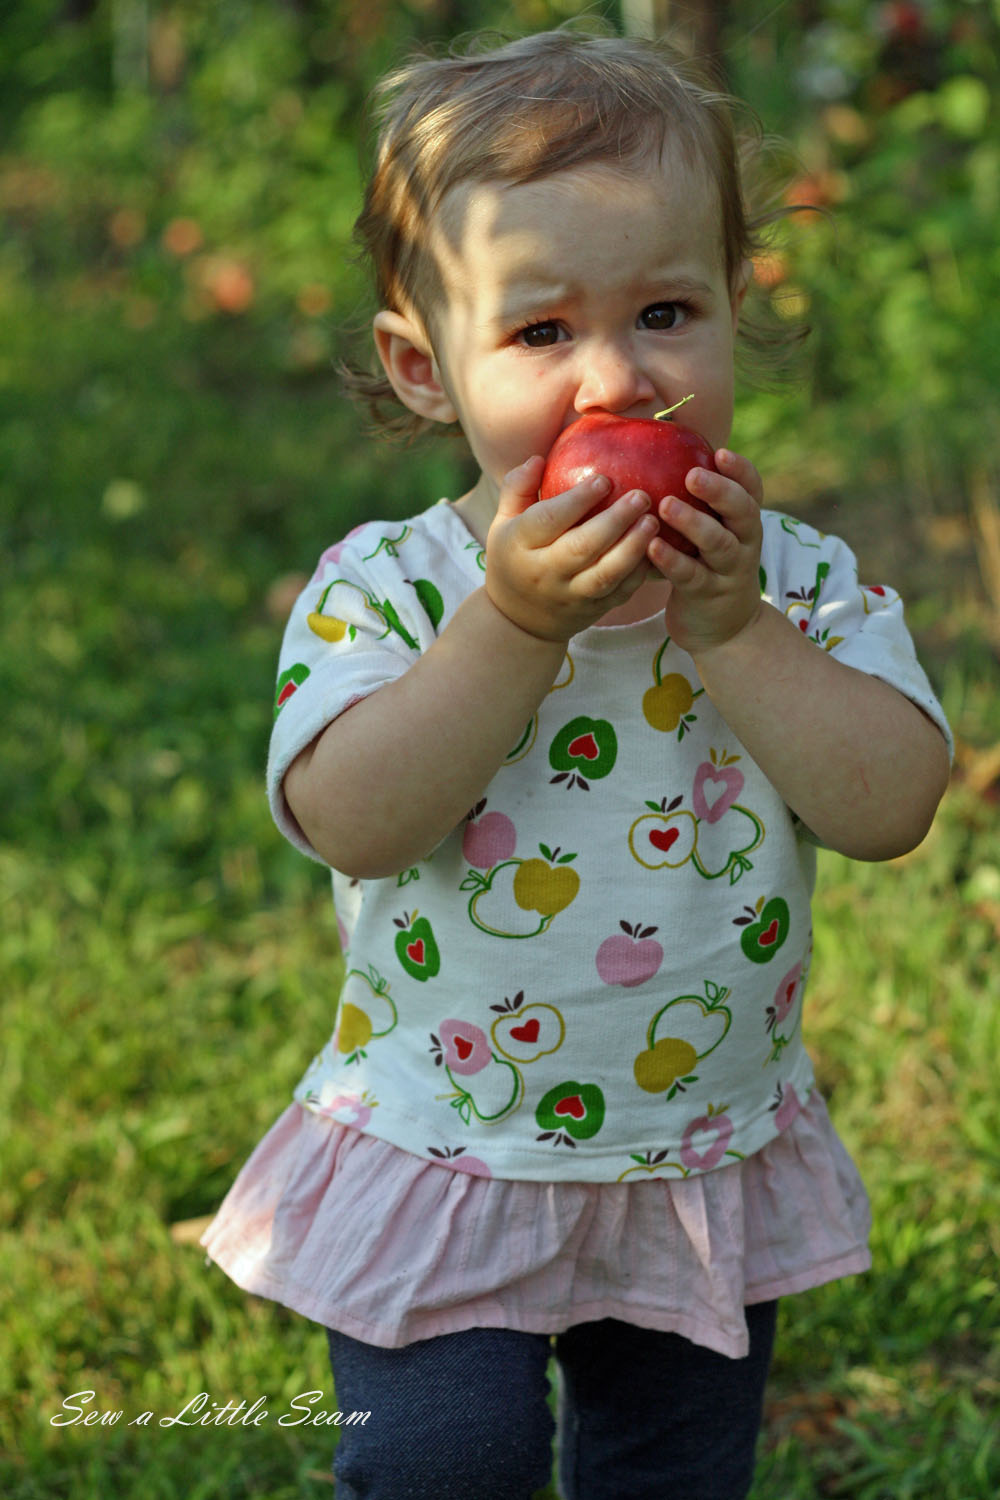
I rest my case. But she was willing to share with her big brother.

We ended up going at the end of the day and were the only ones there, which was nice. The kids could be as loud and as crazy as they wanted. Not that being around others usually stops them.
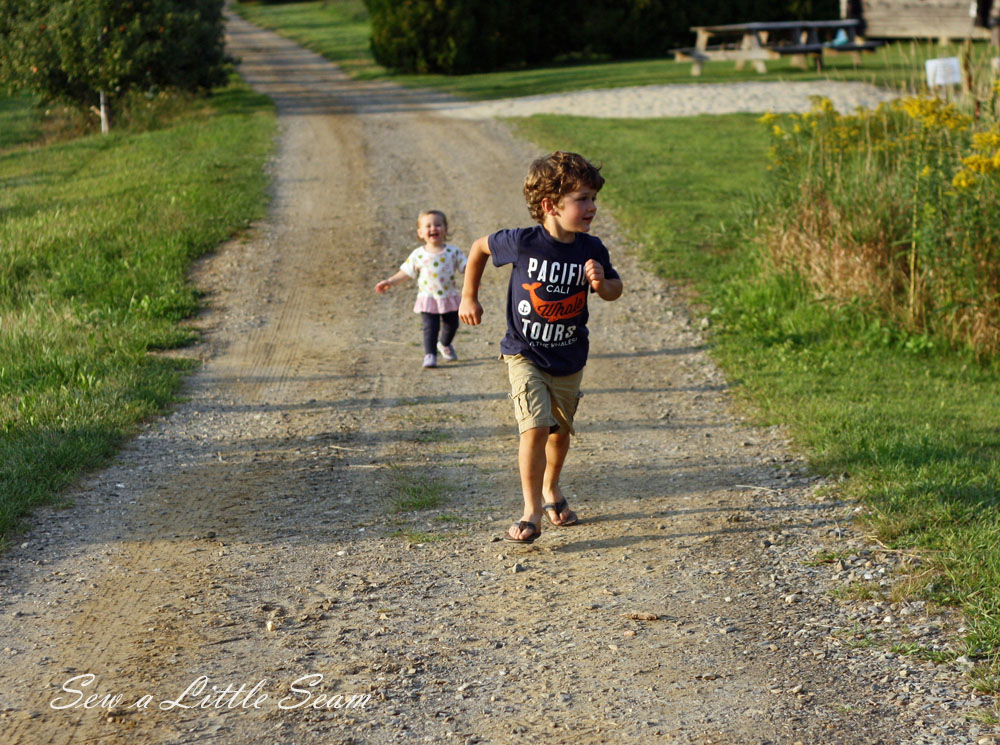
I love this photo because I can still hear her laughing as she chases after her brother and dad.
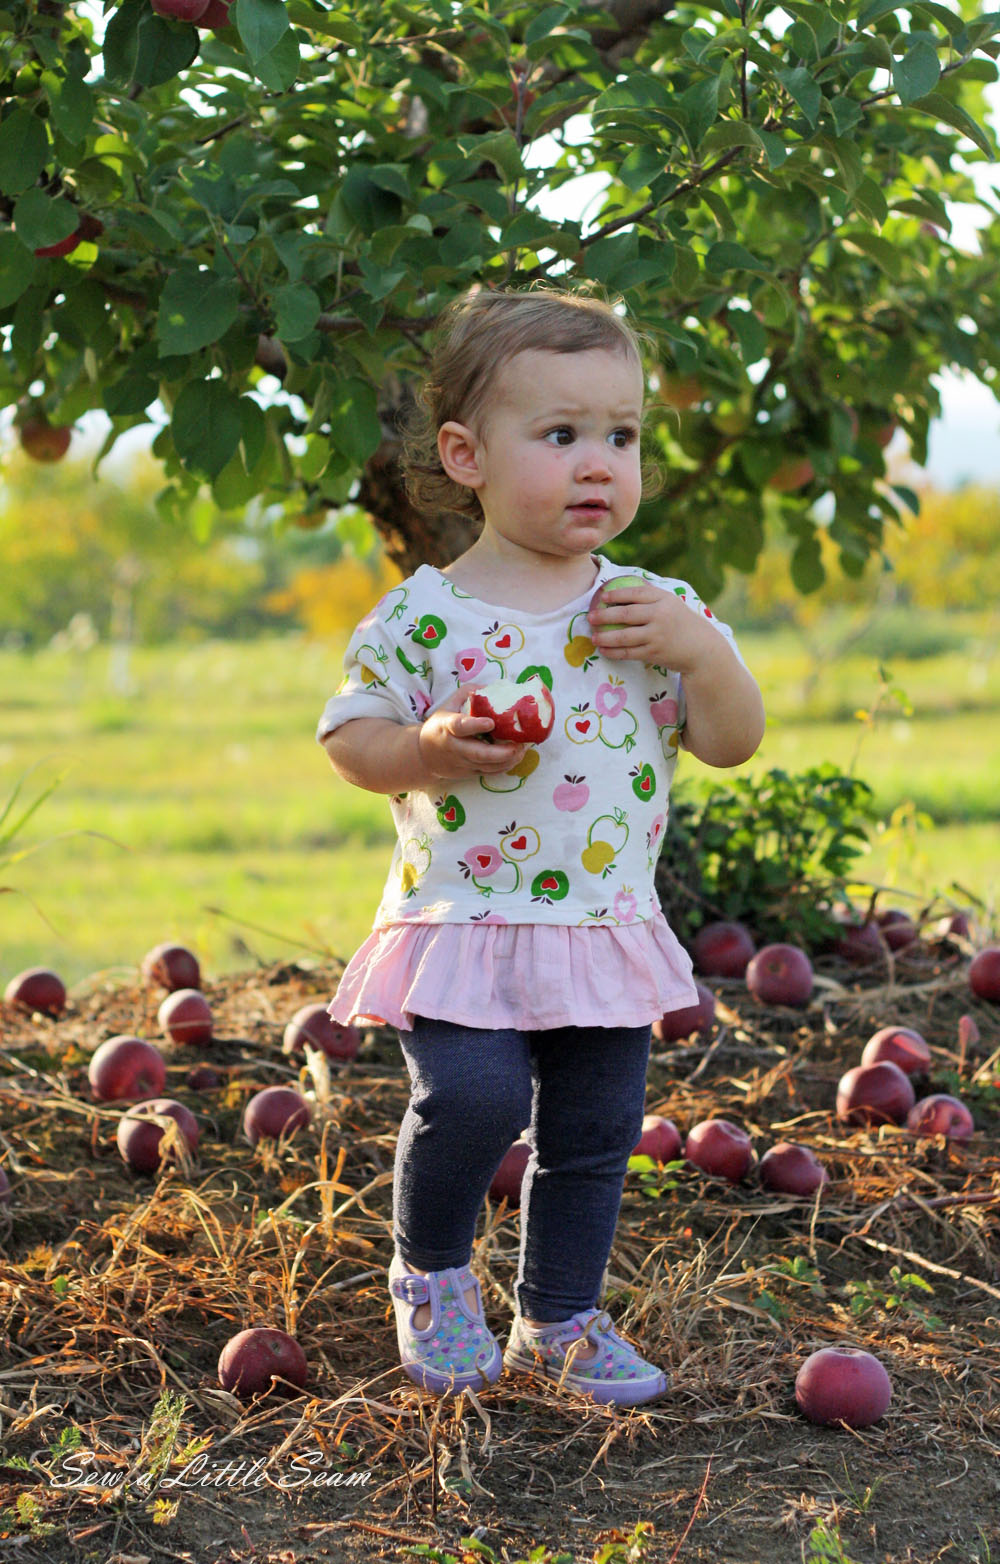
But now, let’s talk about the adorable apple shirt I made. I used a French terry from Funkalicious Fabrics. I was so excited when I found it on their site. The pink ruffle is a woven pointelle fabric from a local sewing store.
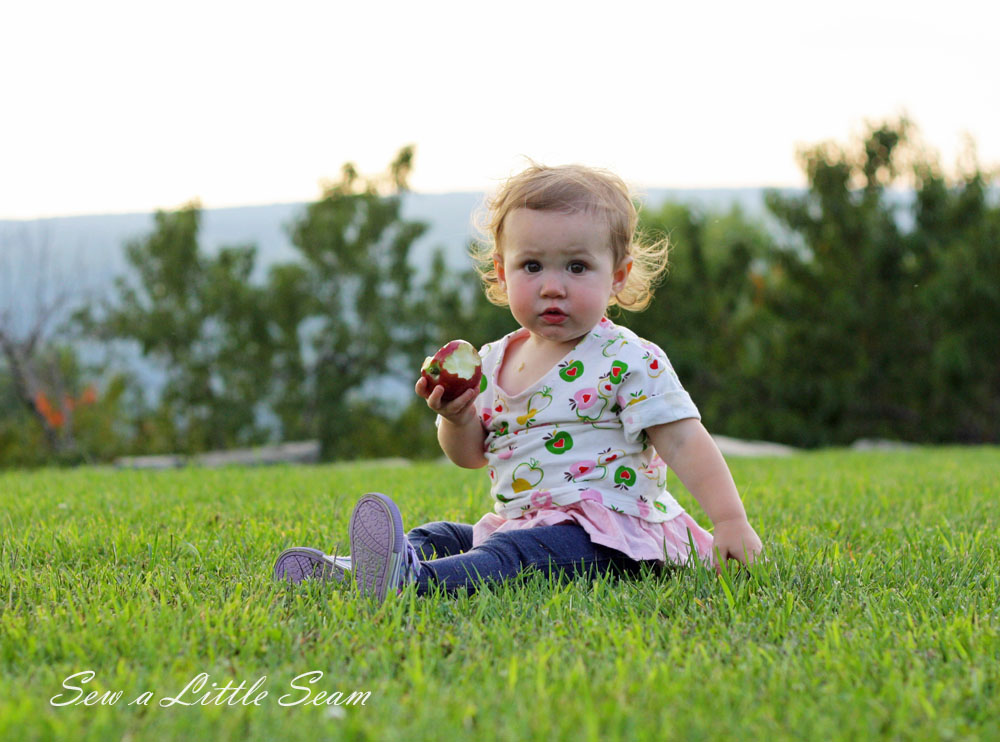
I used my Brynn Sweater pattern and just made some alterations to create the ruffle and rolled short sleeves.
So let’s get down to the tutorial.
What You Need:
1/2 yard French terry
1/4 yard woven fabric
A strip of rib knit 1″ x 15″
The Brynn Sweater pattern or a similar pattern
Modifications:
First print the Brynn Sweater pattern at this link: Brynn Sweater Pattern
To modify the pattern for the ruffle addition, cut two inches off the bottom of the front and back pattern pieces.
If you also want short sleeves that are rolled, cut off 3.5″ from the bottom of the sleeve piece.
I use a clean finish binding for the neck of this shirt, which will make the neck hole a bit wider than if we were using a band. If your fabric is stretchy enough, you can choose to make the opening of your neck a bit smaller on your pattern by not cutting as far down on the front of the neckline on your front pattern piece.
Getting Started:
Fold your fabric over on top of itself, creating just enough room for your front pattern piece. Lay your pattern piece with the side that says fold, against the folded edge of your fabric and cut out, leaving the fold intact. Repeat for the back.
Cut out two sleeves on the fold.
To assemble your pieces, follow the steps for attaching the shoulders, sleeves, and sewing the sides together HERE.
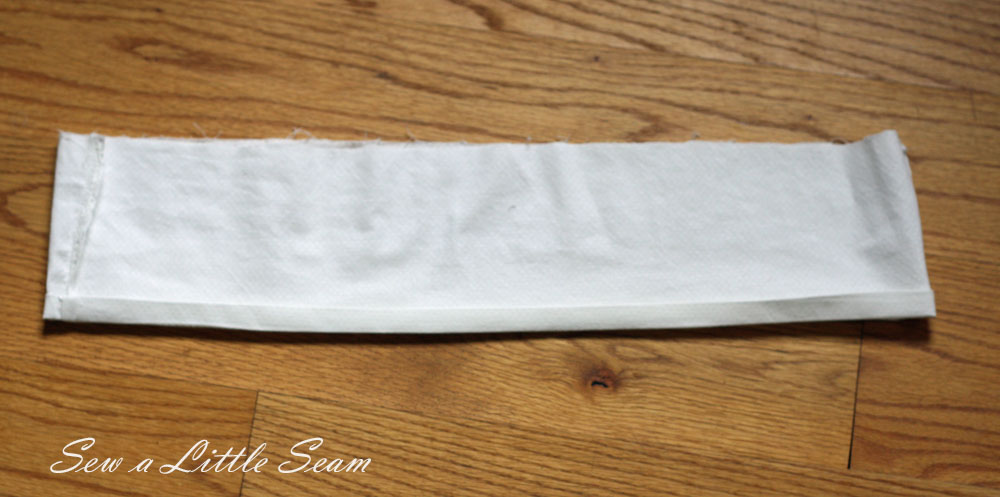
Now we will cut out the woven fabric for the ruffled bottom.
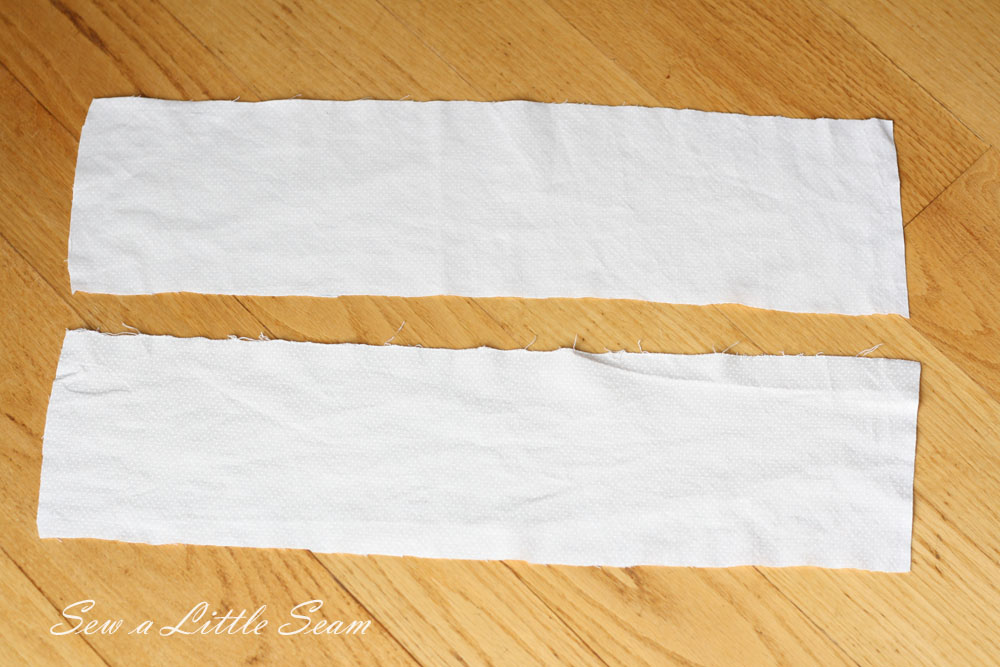
Cut out two rectangles 4″ x 20″.
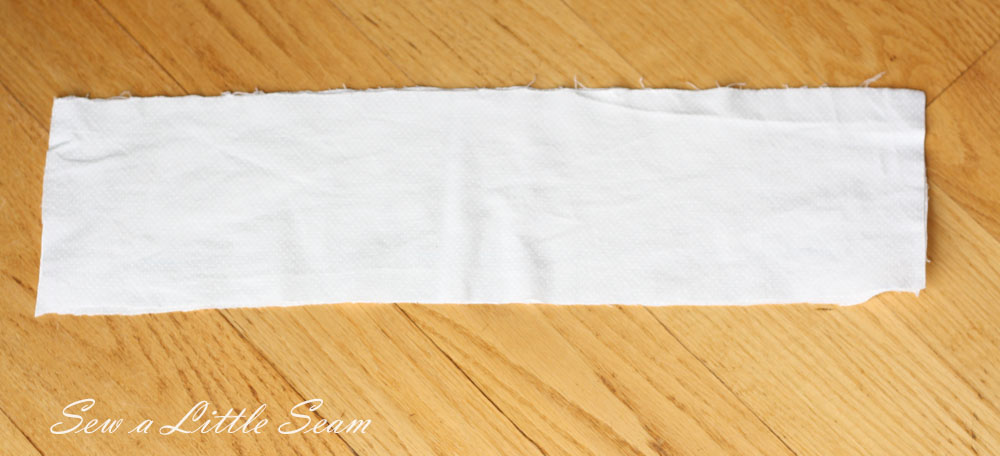
Lay them together with right sides facing and sew along both short ends. I use a straight stitch and then followed up with a zig zag for a cleaner look.
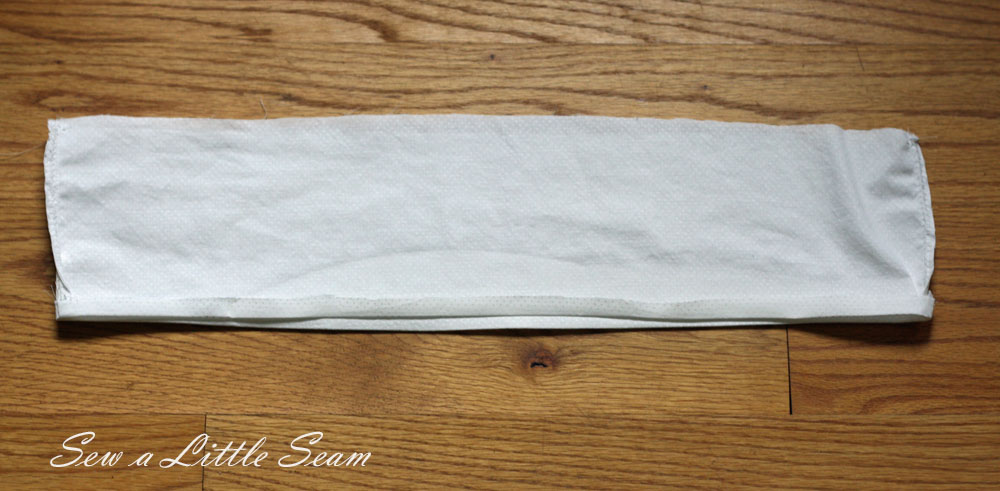
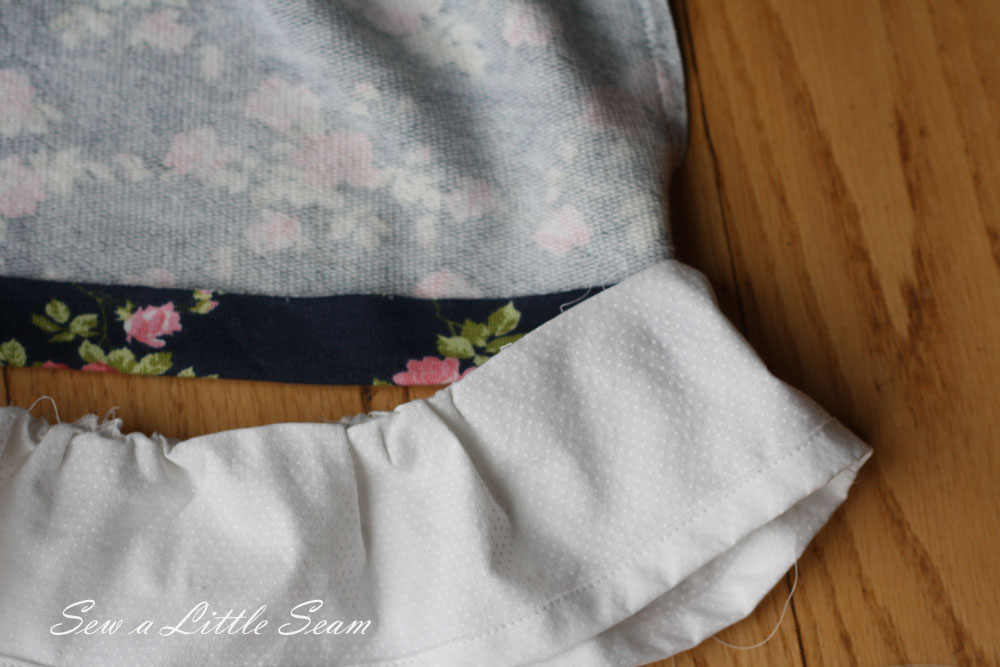
Now roll up one long end 1/4″ and press.
Then roll up another 1/2″ and press, enclosing the raw edge.
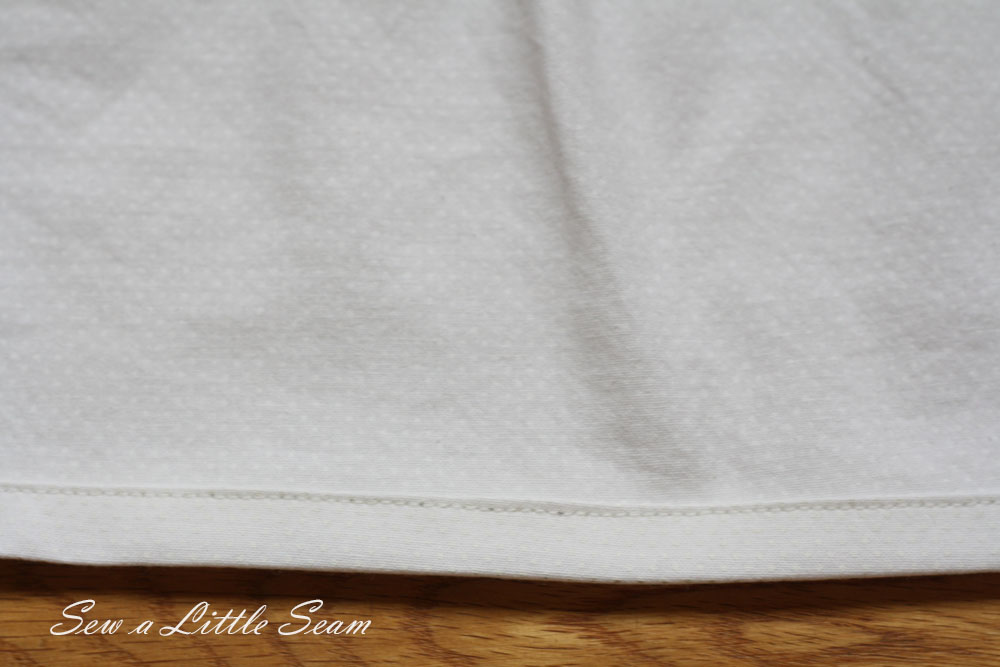
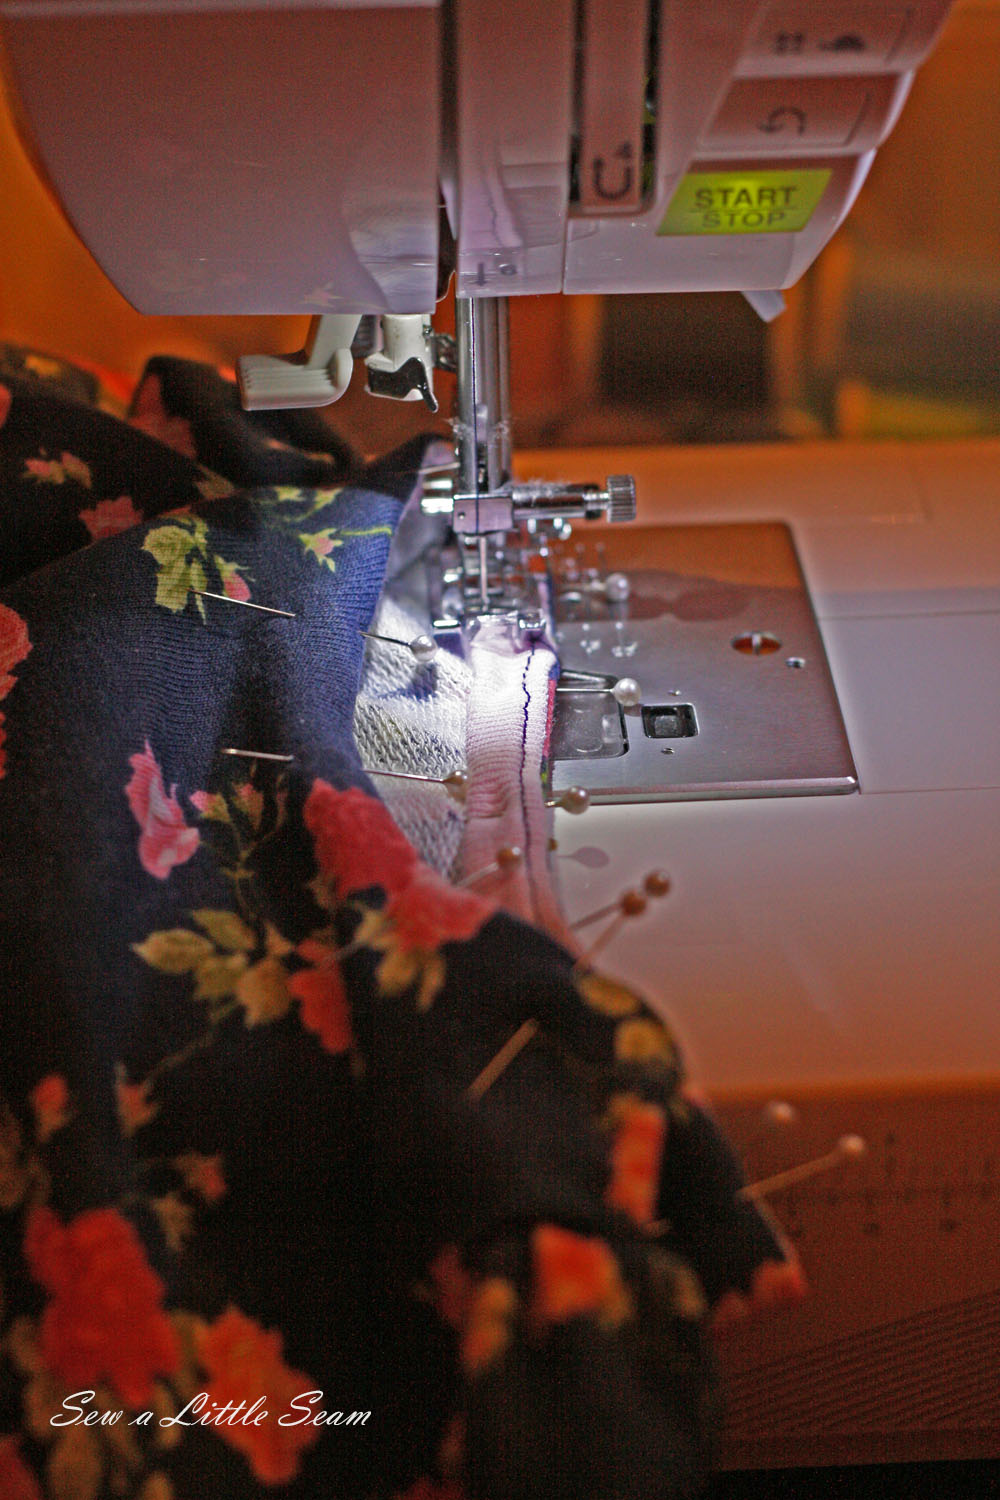
Sew along the top edge of your hem. To create the ruffle, sew along the raw edge about 1/8″ from the top with a straight stitch set to your longest stitch length. Also decrease your tension.
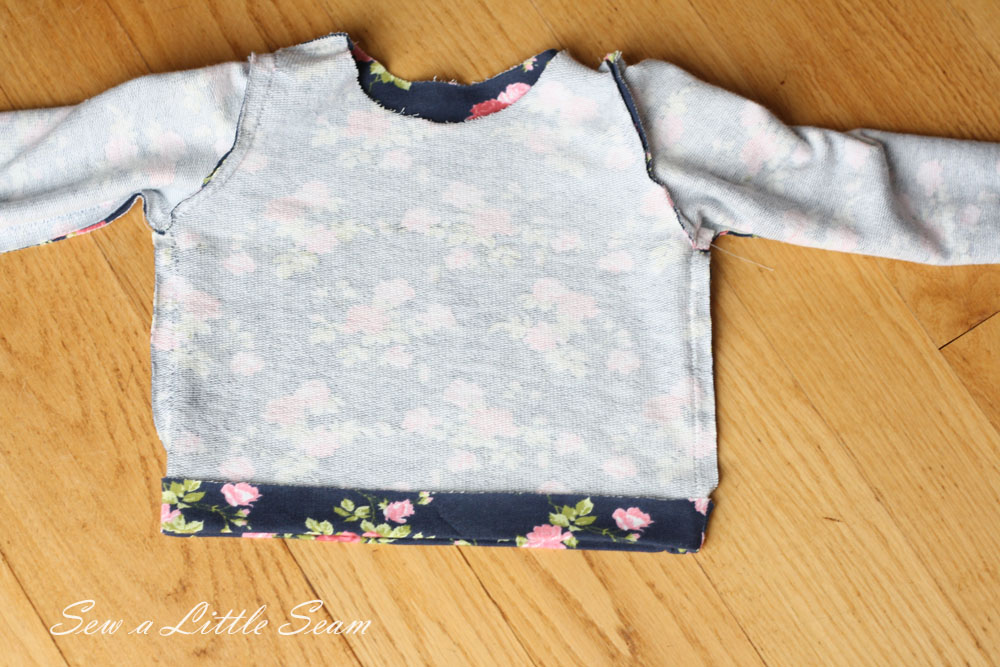
Fold up the bottom of your shirt 1″ and press.
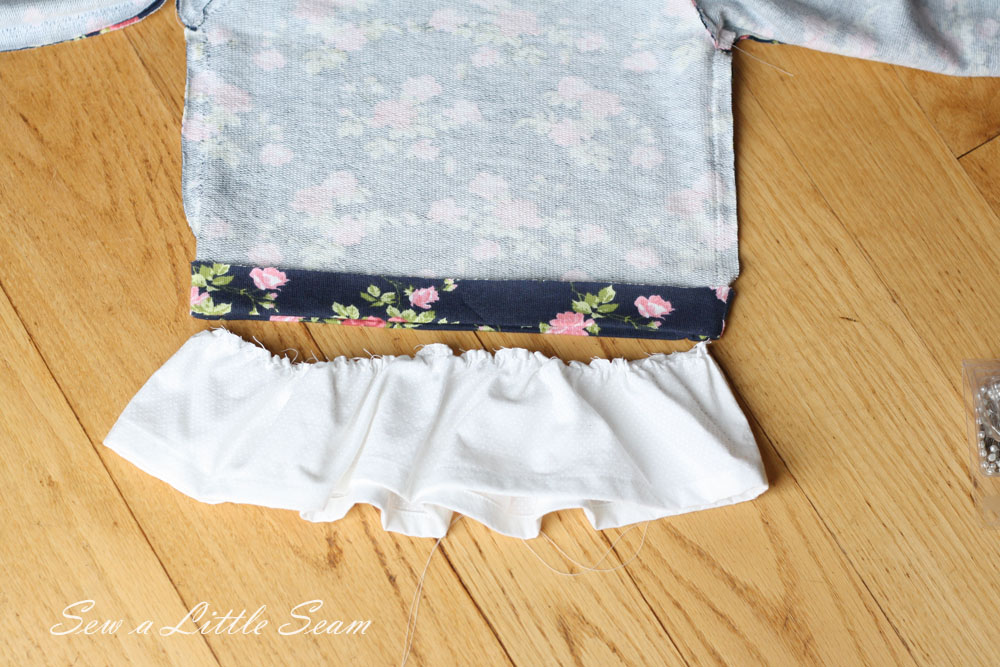
Gather your ruffle piece, by pulling on either the top or bottom thread and pushing your fabric back along it. Gather until the ruffle piece is the same width as your shirt piece.
Before attaching, press the top piece of your ruffle toward the right side of the fabric about 1/8″. Once you have pressed it, you’re going to attach it to your shirt. With right sides of the ruffle facing each other (the wrong side will be facing you) match up a ruffle seam with a shirt seam and pin in place.
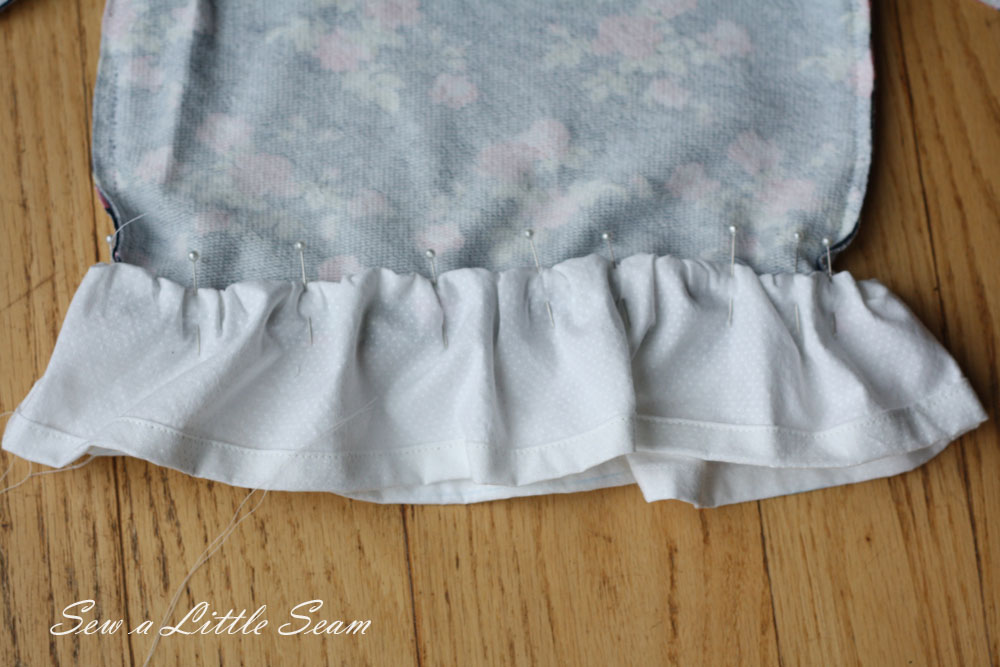
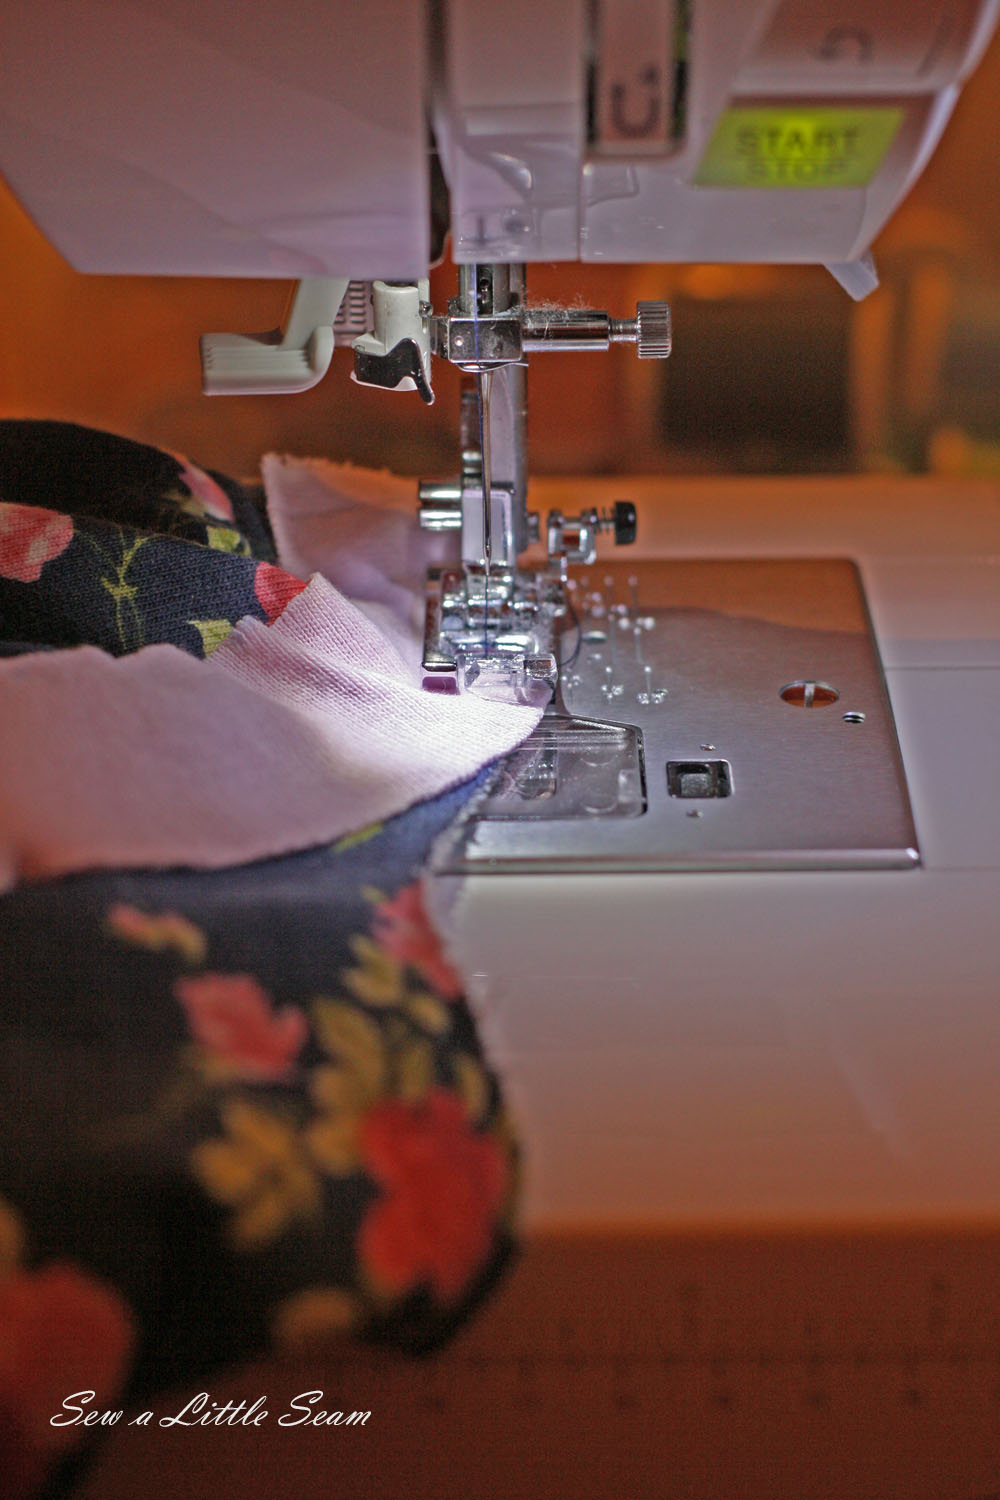
Repeat on the other side and then pin along the front and back until your ruffle piece is completely pinned along the top of your turned up shirt hem. I then use a double needle and sew the ruffle onto the shirt. With a double needle you have to sew from the front of the shirt, so you probably want to pin from the front of your shirt. (Do as I say, not as I do)
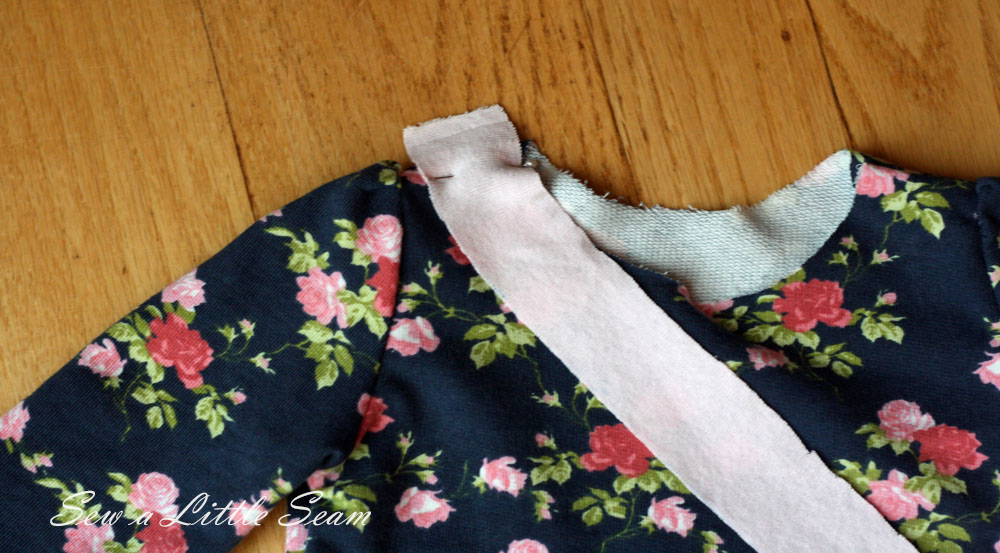
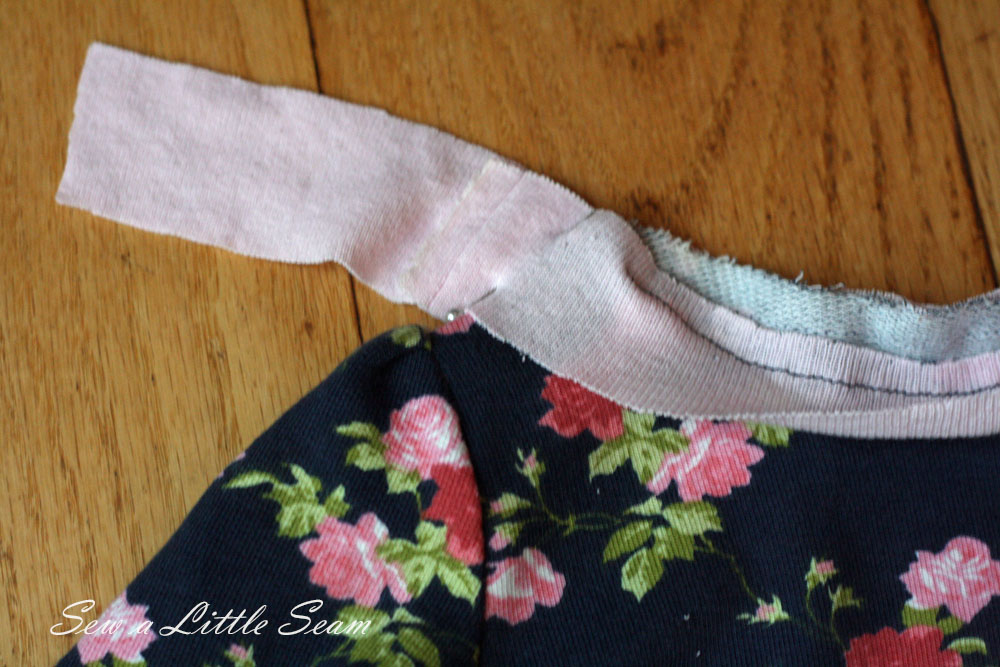
For this shirt I used a clean finish binding instead of a band like the previous shirt had. To do this, take your rib knit piece you cut out and attach it about 1″ past a shoulder seam.
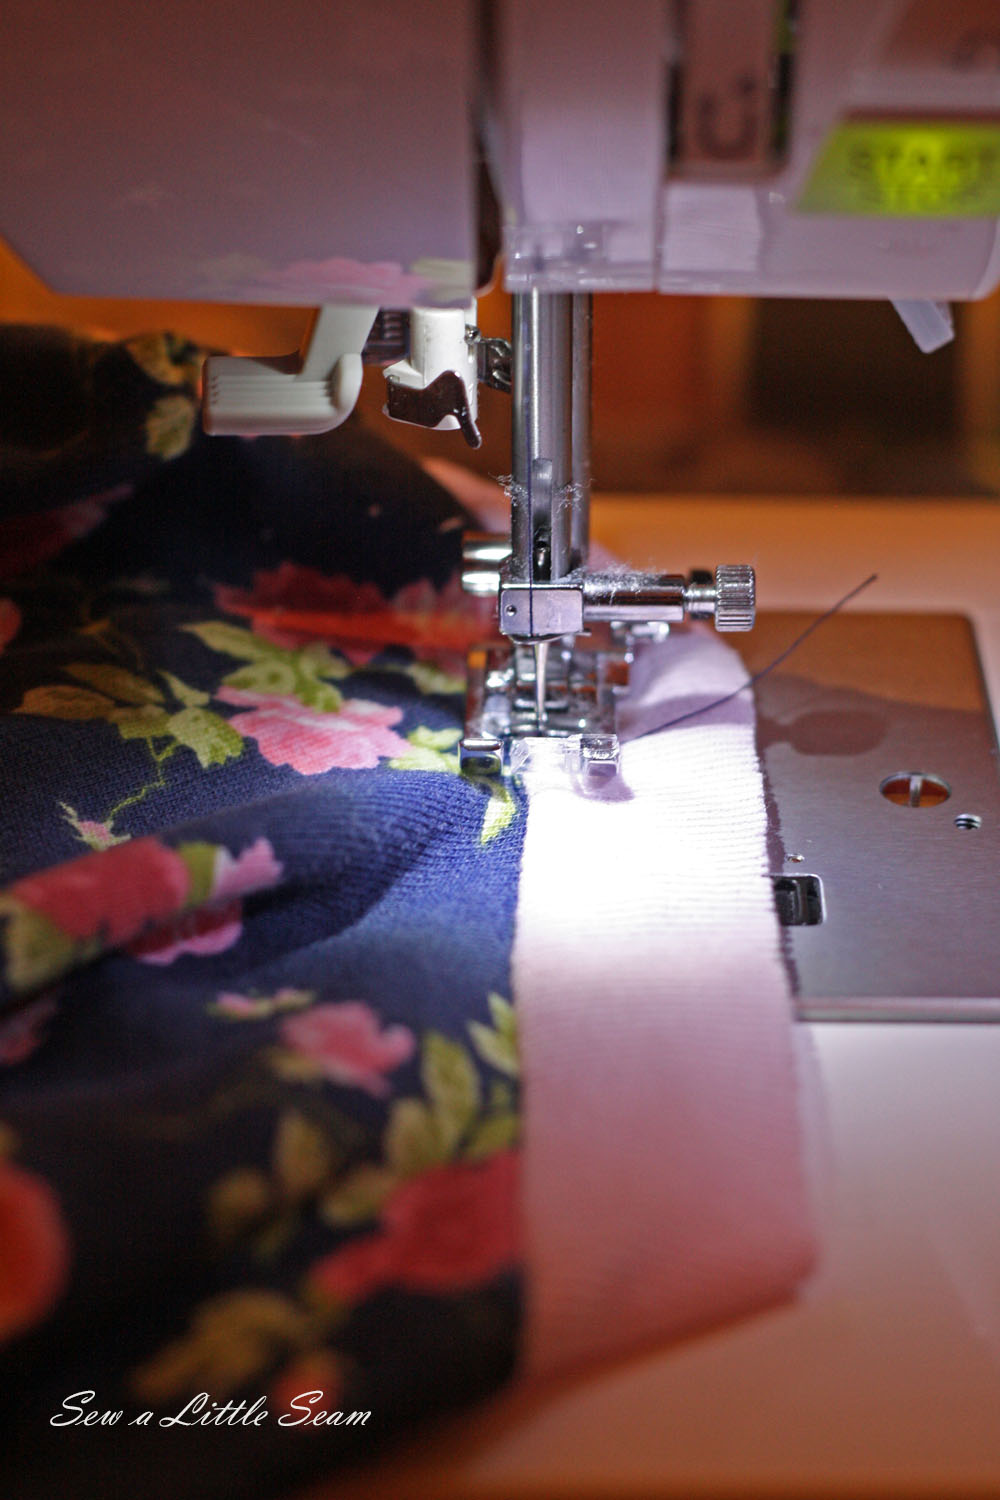
Now sew the band on 1/4″ along your neckline, pulling your rib knit slightly as you go. (Make sure you are only pulling your rib knit and not the shirt underneath). Make sure you use a stretch stitch for the following steps. Either a narrow zig zag or a straight stretch stitch will work (it will look like our straight stitch on the machine, but will have three lines instead of one).
Stop about 1″ away from where you started and line up your two pieces where they should fall along the shoulder seam and add one pin to mark where they match up at the seam. Push the shirt away from the pin, set the binding down under your presser foot, aligning your needle with the path of the pin. Remove the pin and sew down the length of the binding where the pin was. Trim off the excess. You can now continue to sew your binding to your neck where you left off.
Trim back to your seam around the neck by about half, then fold up your seam along the binding and press. Topstitch about 1/8″ away from the seam.
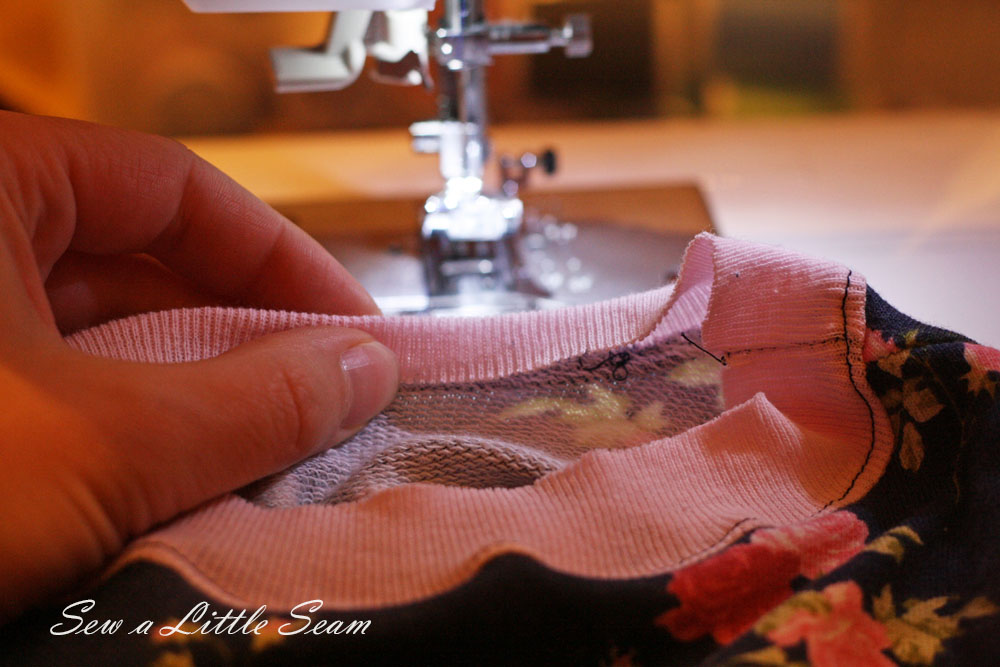
Once you have topstitched along the neck, you are now going to fold the binding back on itself.
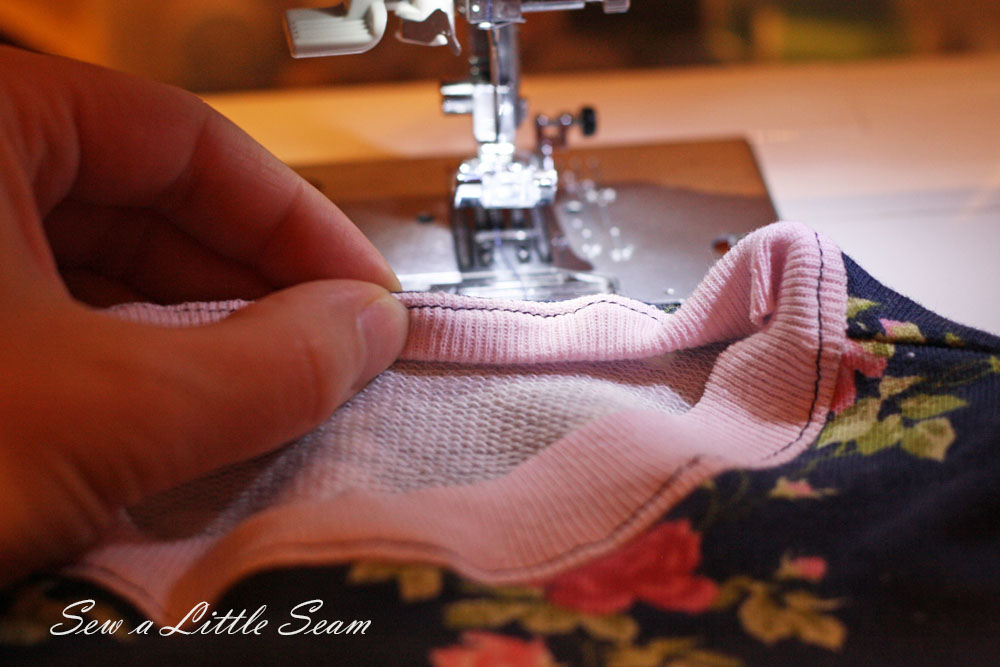
And then again one more time and pin in place. Continue to fold all the way around the neck.
Sew along the bottom of the band and you are finished with the neck.
To finish the sleeves, you can use the overlock stitch or a zig zag stitch and sew along the unfinished edges of the sleeve to keep it from unraveling. Then fold over twice to create the rolled sleeve. To secure the sleeve you can hand stitch through the middle layer and bottom layer along the top of the sleeve. One stitch should be enough to keep it secure. I didn’t hand stitch mine and it stays fine during wear. I just have to roll it up again after washing.
