
Classic Sweater
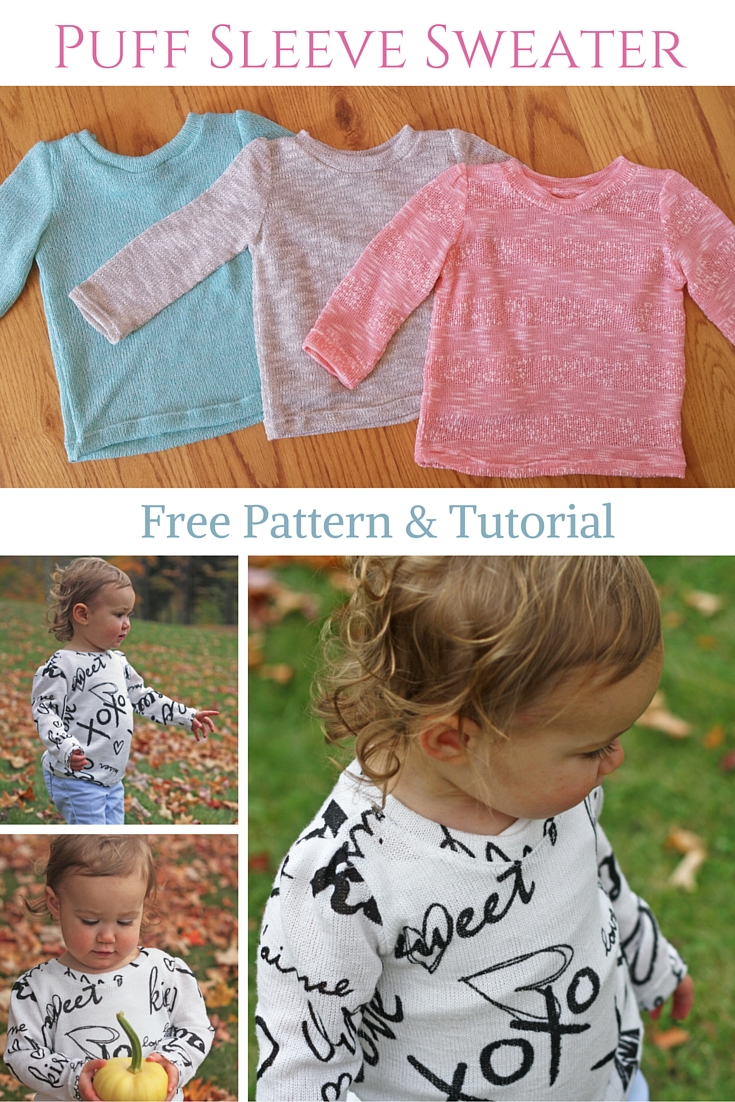
So, kind of working backwards here, but today I’m going to show you how to make the original version of this sweater. I’ve shown you some modifications HERE, and I have a few more coming as well.

I love this photo…she’s such a happy little thing…most of the time.
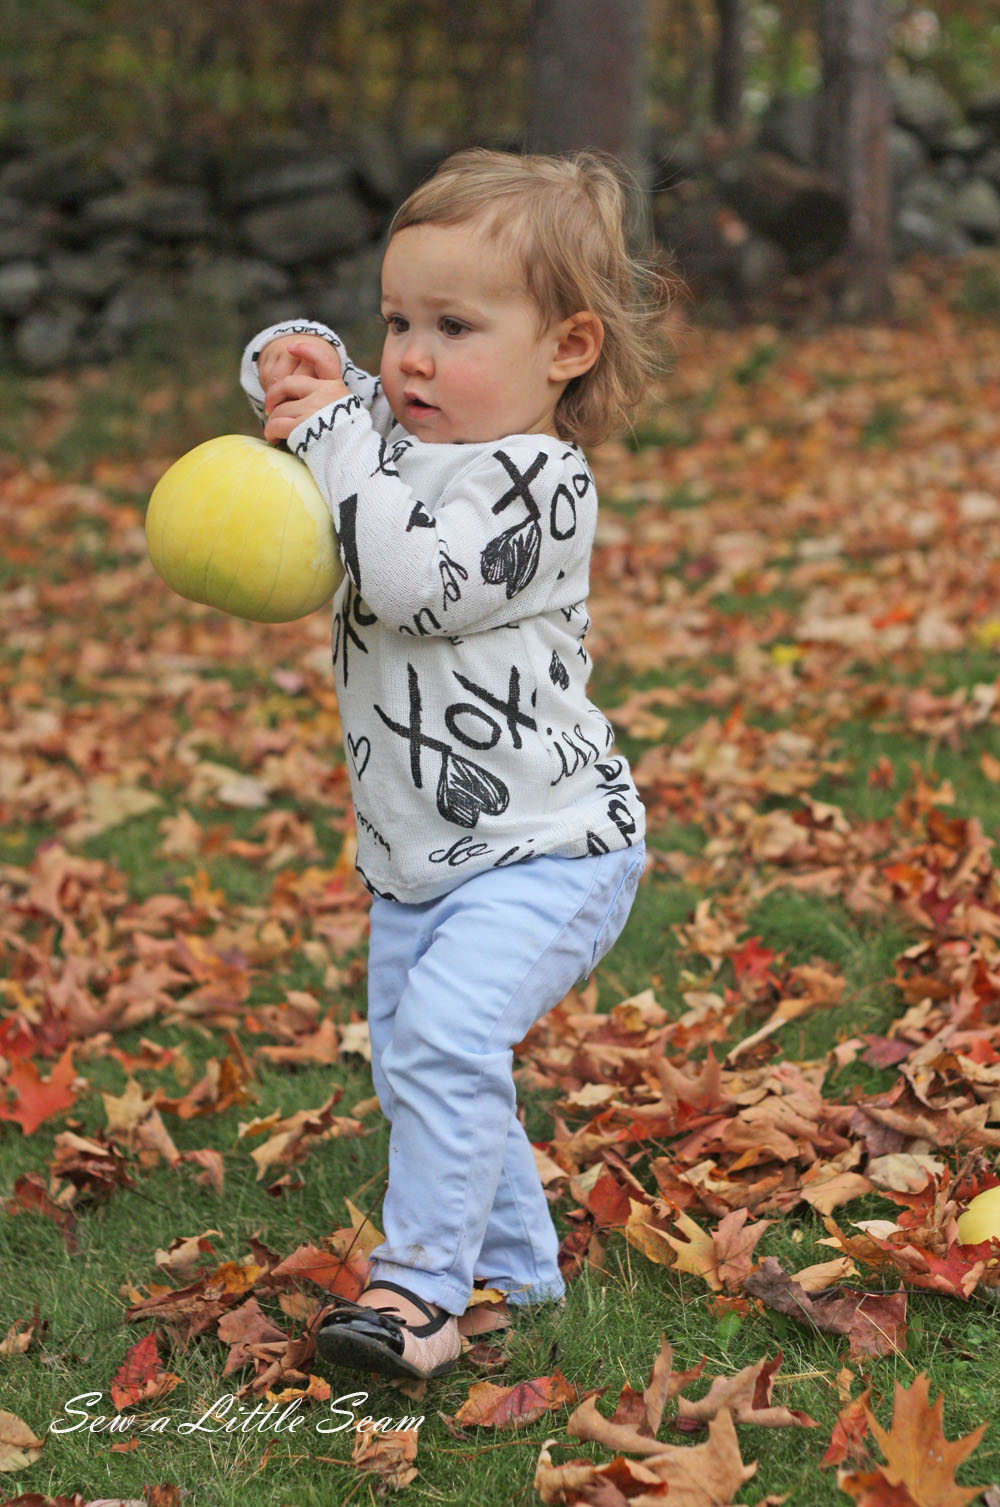
This sweater knit fabric is from Girl Charlee. It came from one of their bargain lots that they have every month or so.

Here we go with the tutorial. Before you begin, download and print the pattern in sizes 18mo to 6yrs HERE.
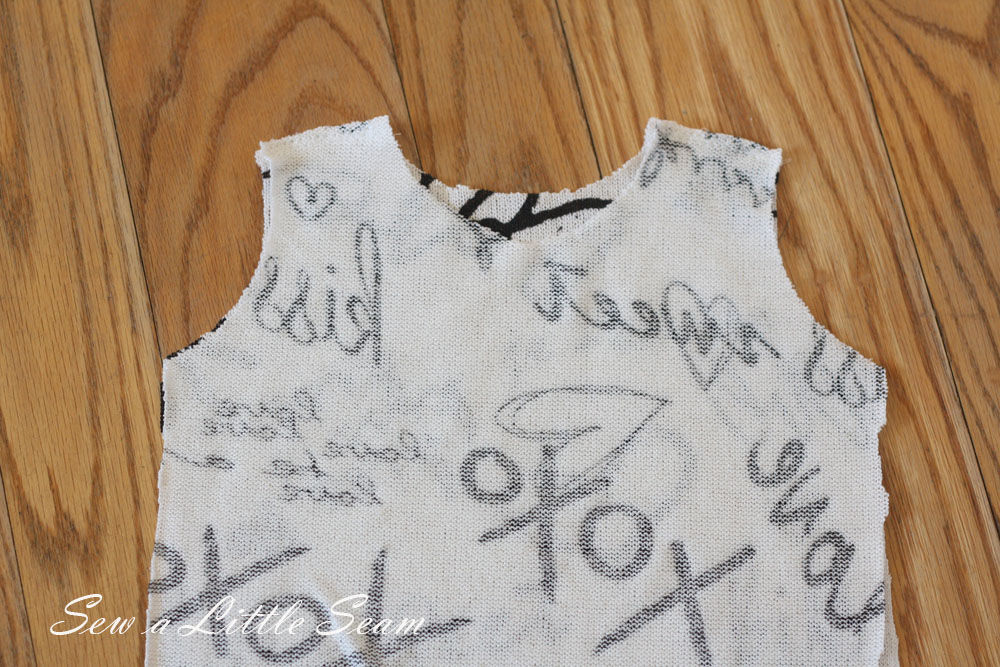
Cut out your pattern pieces and then place the front and back pieces with right sides together and sew along the shoulder seams. Trim your seam allowance and press toward the back.
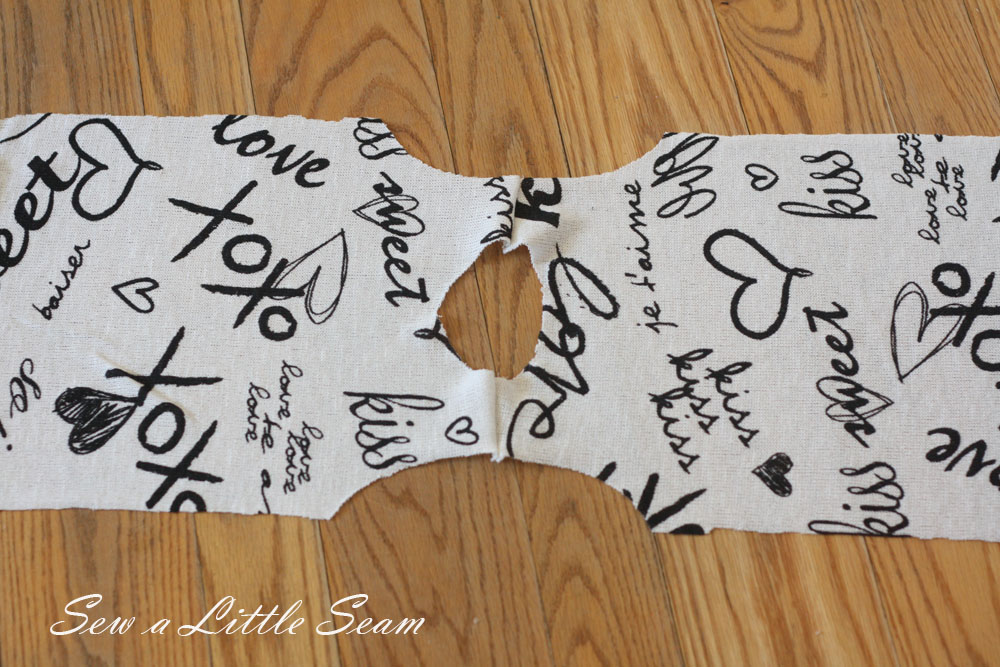
Open your shirt so right sides are up like above.
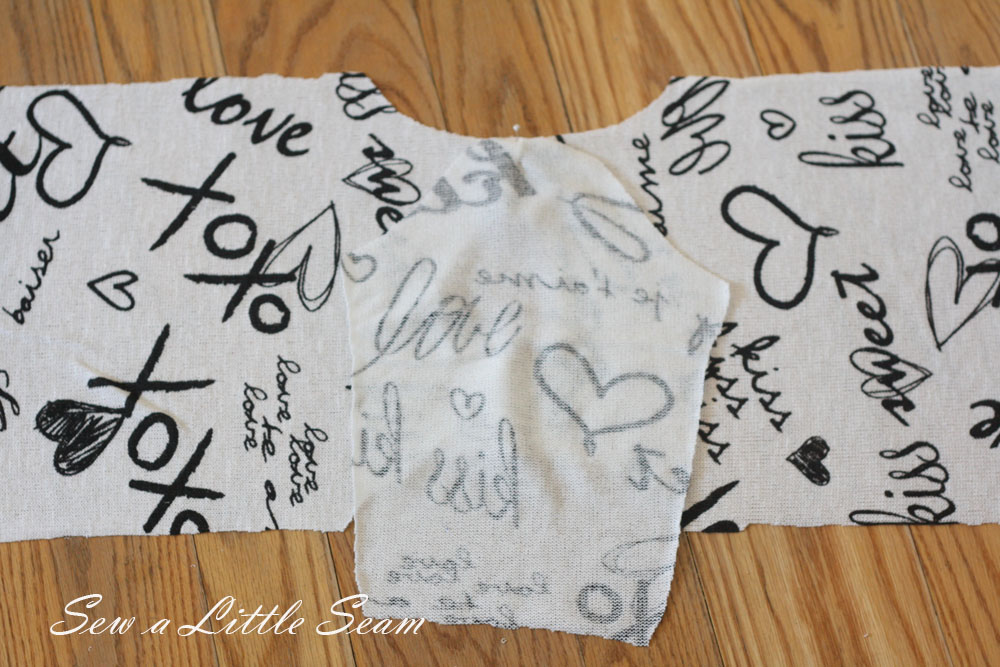
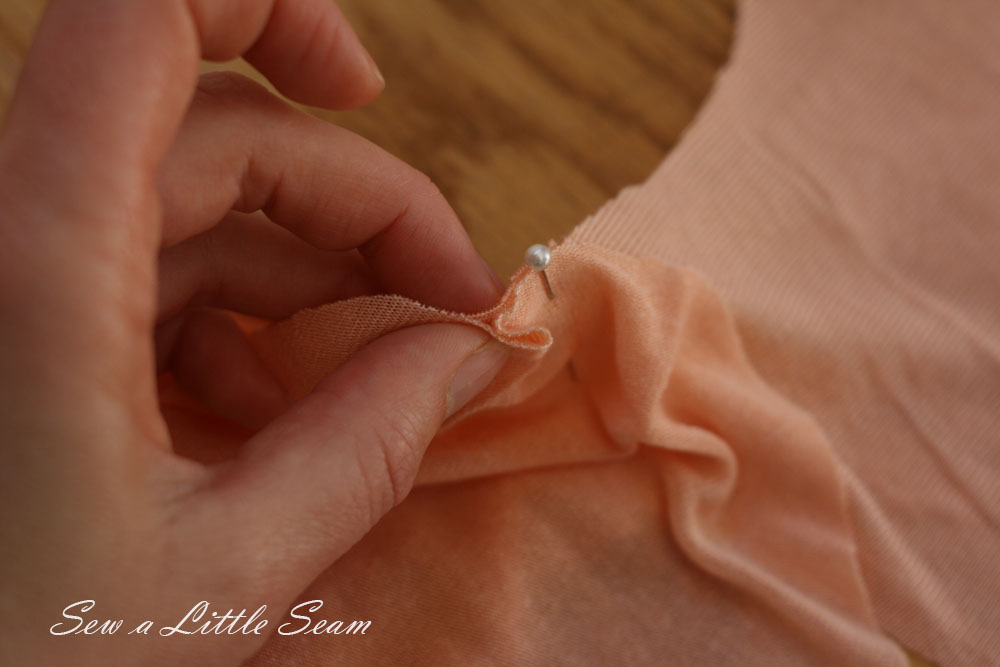
Place one of the sleeves right side down, lining up the center of the sleeve with the center of the shoulder seam. Pin in place at the center.
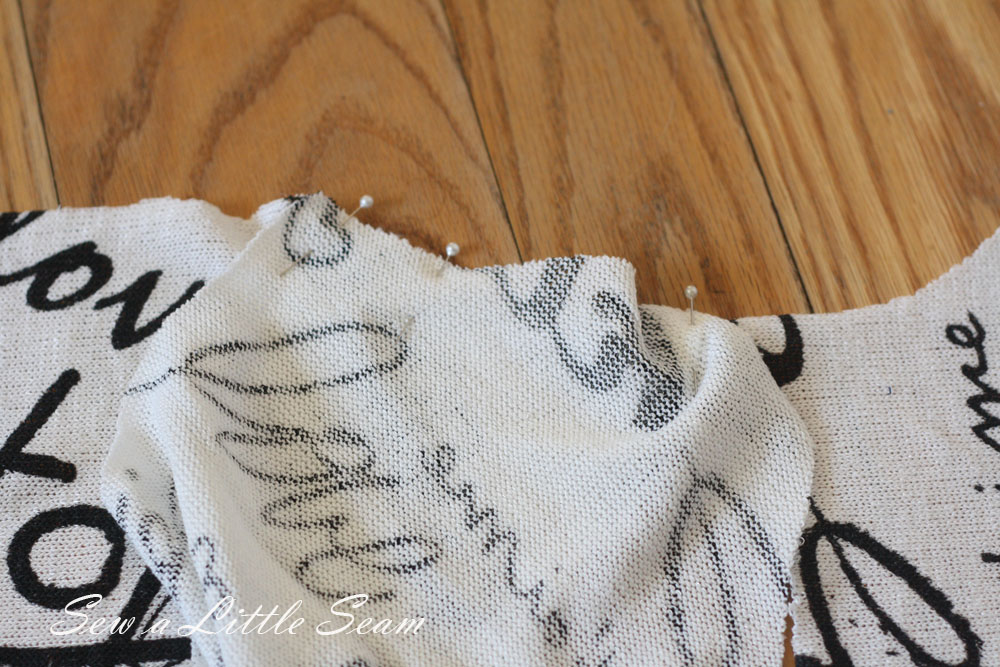
Line up the corner of your sleeve with the corner of the shirt, pin. Place one more pin up about an inch. You will now have some extra fabric between the pins.
Gather a bit of fabric and fold it back over toward the center pin and pin in place.
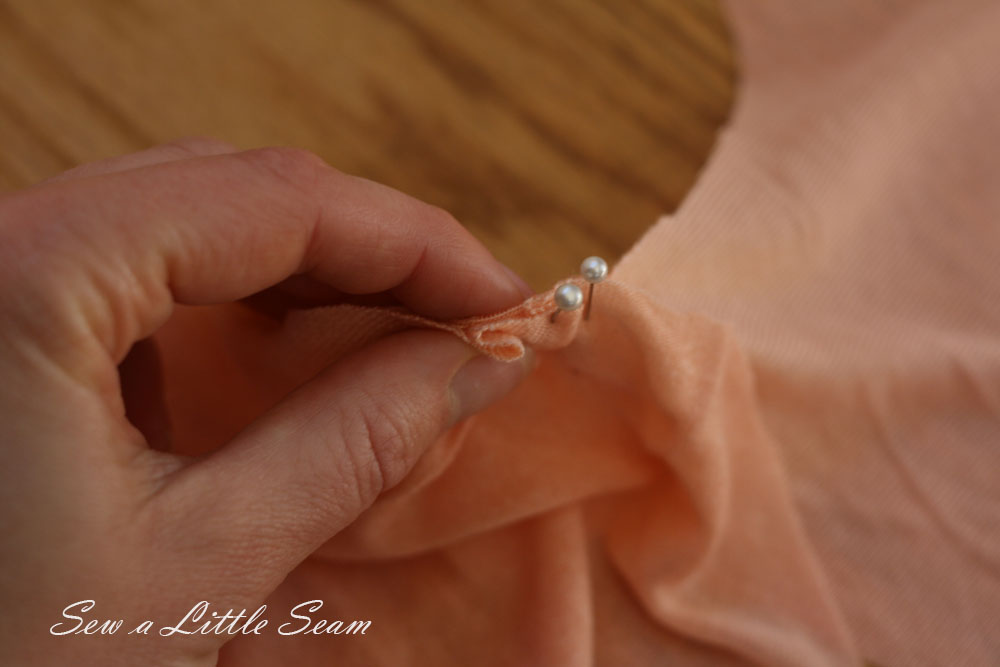
Repeat one more time. The rest of the sleeve fabric should now lay flat against the shirt. Pin if needed. Continue this on the other side of the sleeve and then sew along the curve of your arm opening. Trim your seam allowance and press down. Repeat for the other sleeve.
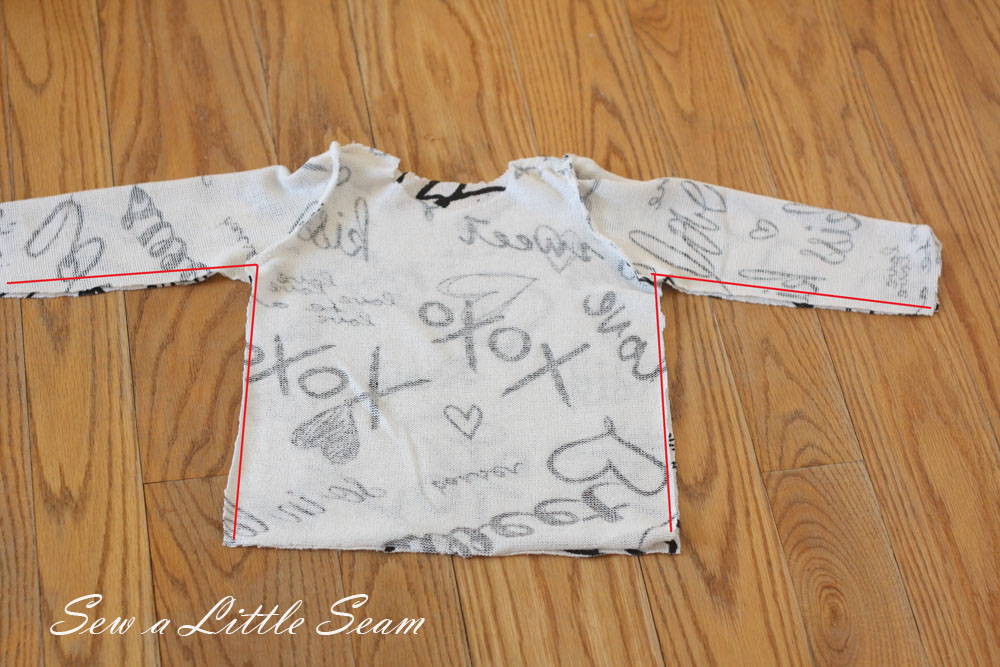
With right sides together, sew from the end of the sleeve to the bottom of the shirt on both sides. Trim your seam allowance and press toward the back.
To add the neck band, cut out a 2″ x 15″ strip of fabric for the 18 month to size 4 shirts and a 2″ x 16″ strip of fabric for the size 5 and 6 shirt. Fold the band lengthwise with wrong sides together, place one end of the band about 1″ past one of the shoulder seams.
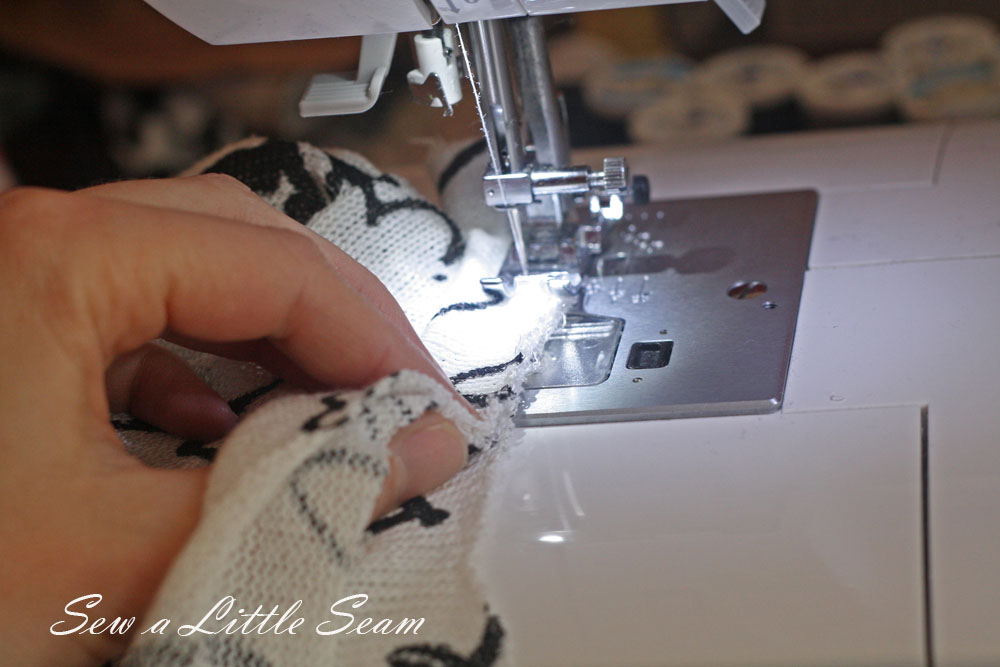
Gently stretch the band as you sew it to the neck opening. Be sure you are only pulling the band and not the shirt or your neckline will be wavy.
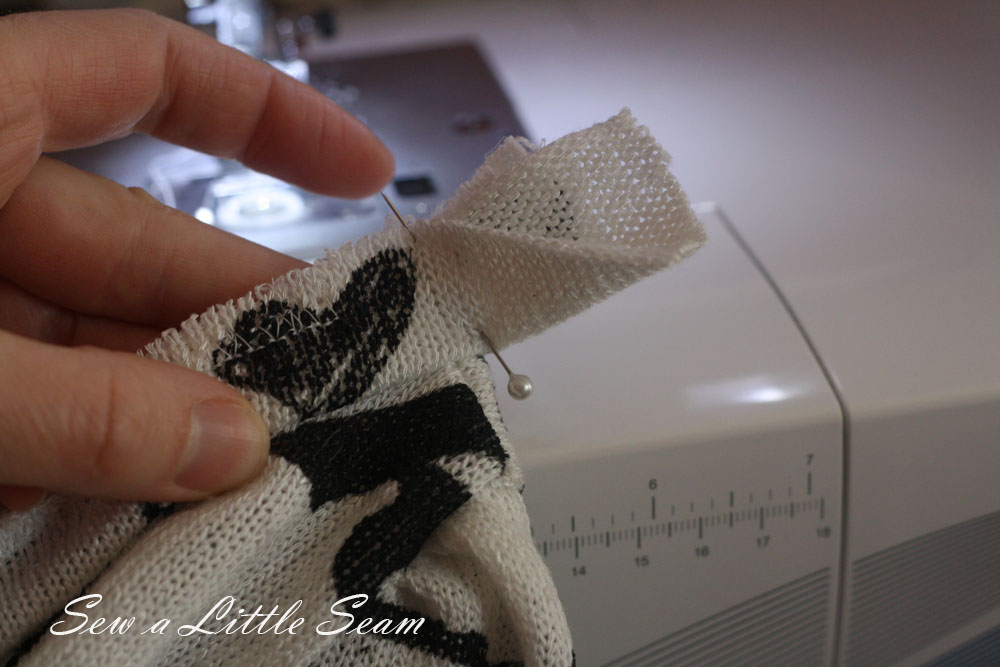
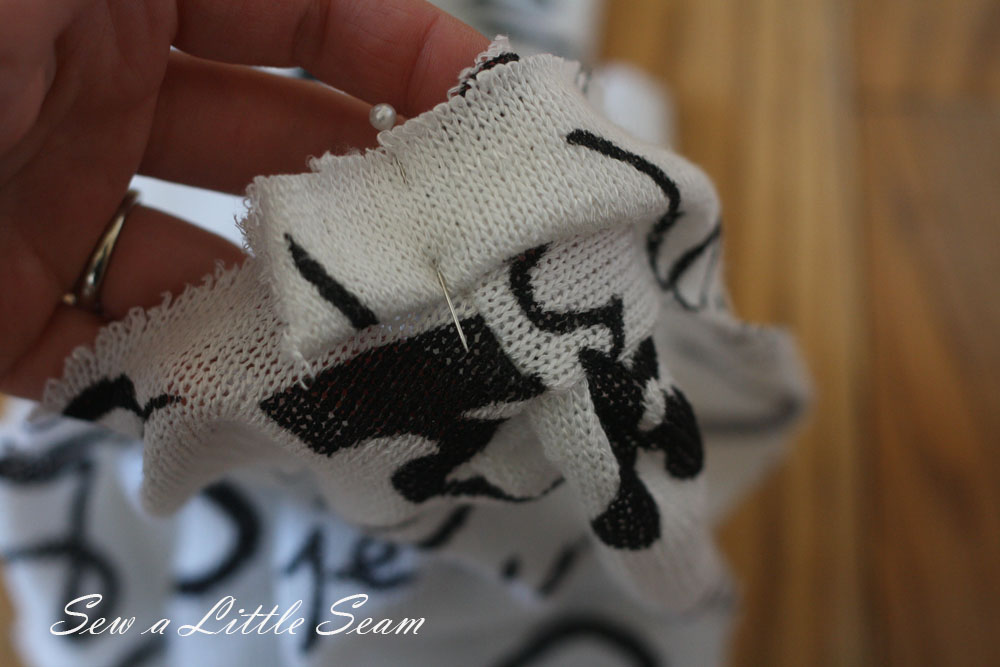
Stop sewing about an inch from the seam where you started. Pin the bands together where they should meet at the shoulder seam.
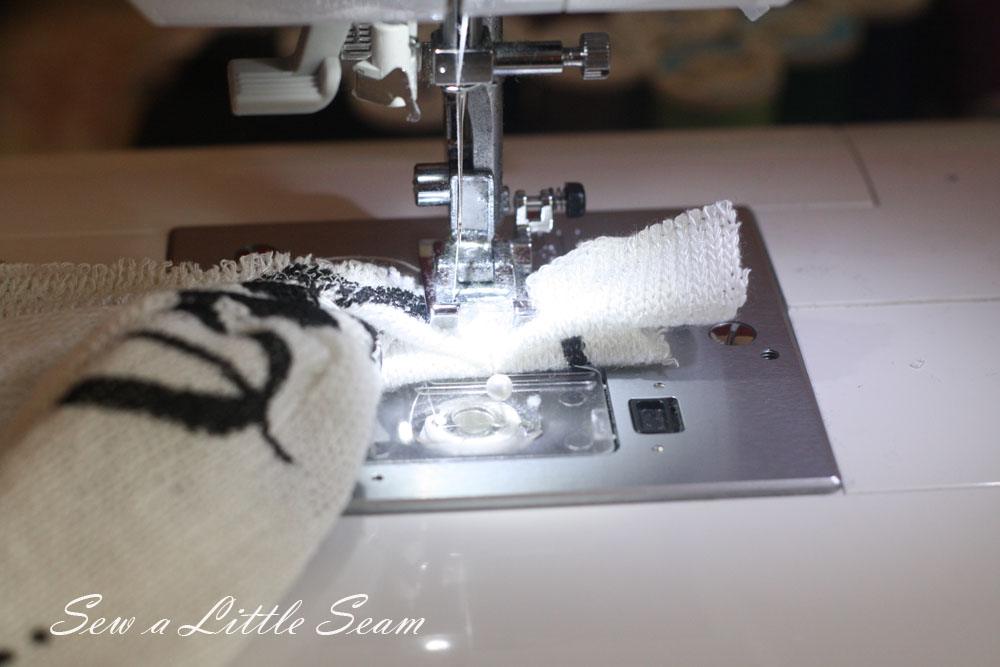
Place your needle along the path of the pin, remove the pin, and sew the bands together. Cut off the excess band and finish sewing to the neck opening. Trim your seam allowance and press your seam down. You can also choose to topstitch your neckline at this point.
Now turn under each sleeve and the bottom of your shirt 1″ and press. With a double needle or a stretch stitch, hem the bottom and sleeves.
If you have any questions, you can email me at sewalittleseam@gmail.com. Don’t forget to join the Sew a Little Seam Facebook group to share your creations and info on upcoming patterns!
