Boy’s Sweater Pattern

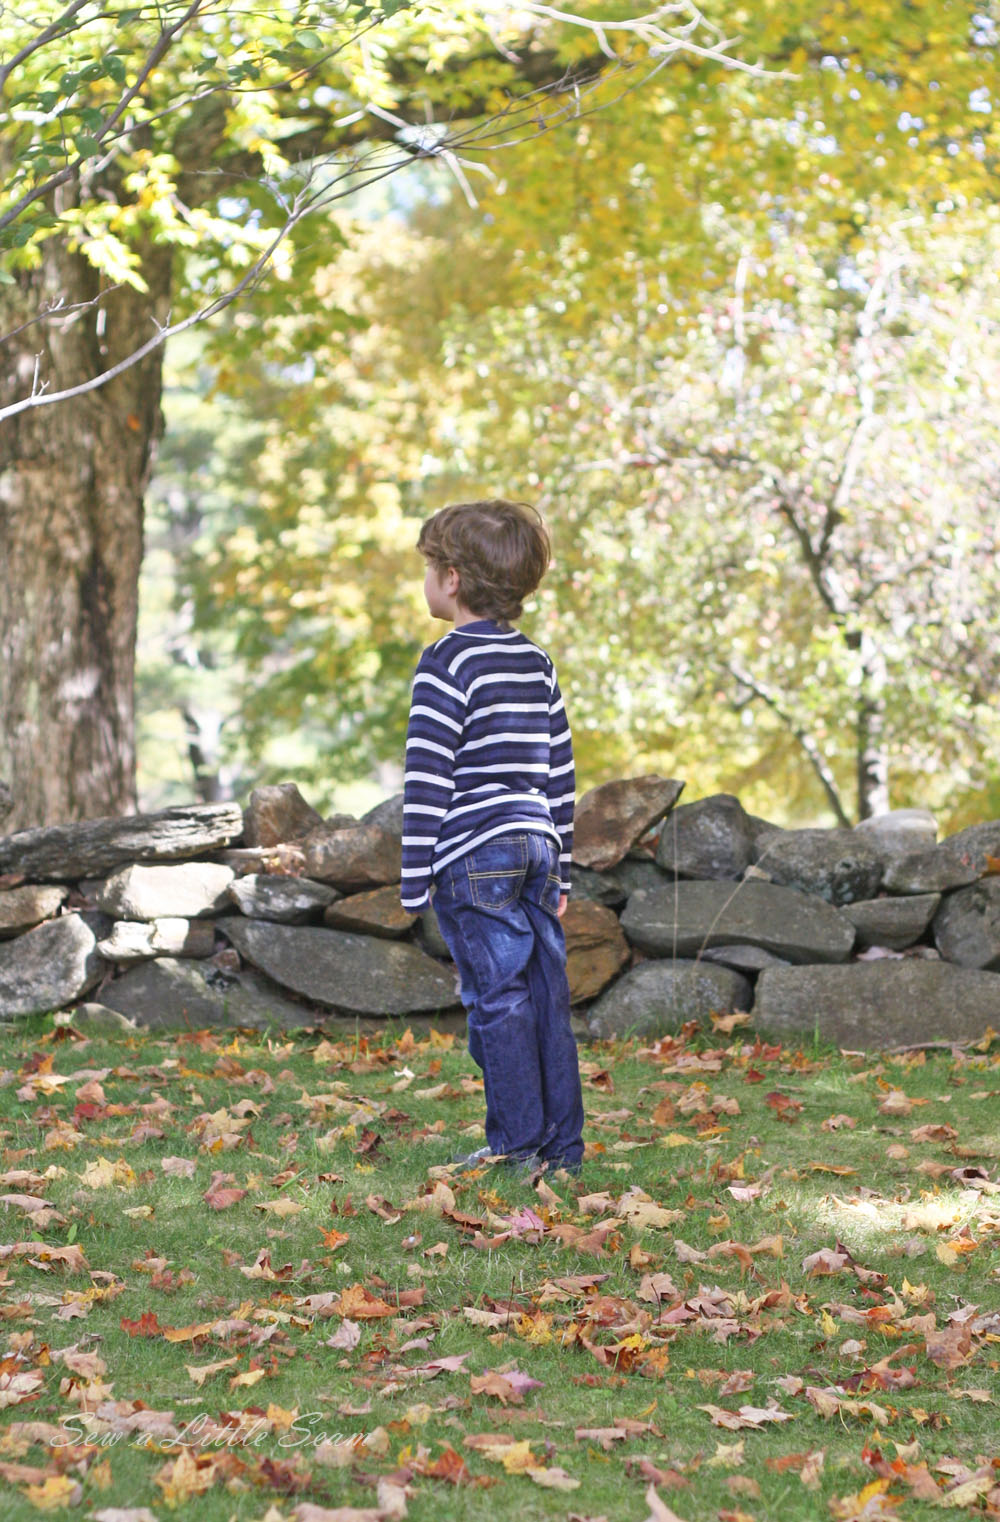
October is such a fun month at our house. Nathan’s birthday, Halloween, sweater weather! All such great things! To celebrate, I’m going to show you how to make this simple boy’s sweater with patterns for 18 months, size 4, and size 6. It’s a super quick sew and you have an unlimited amount of ways to make the pattern your own.
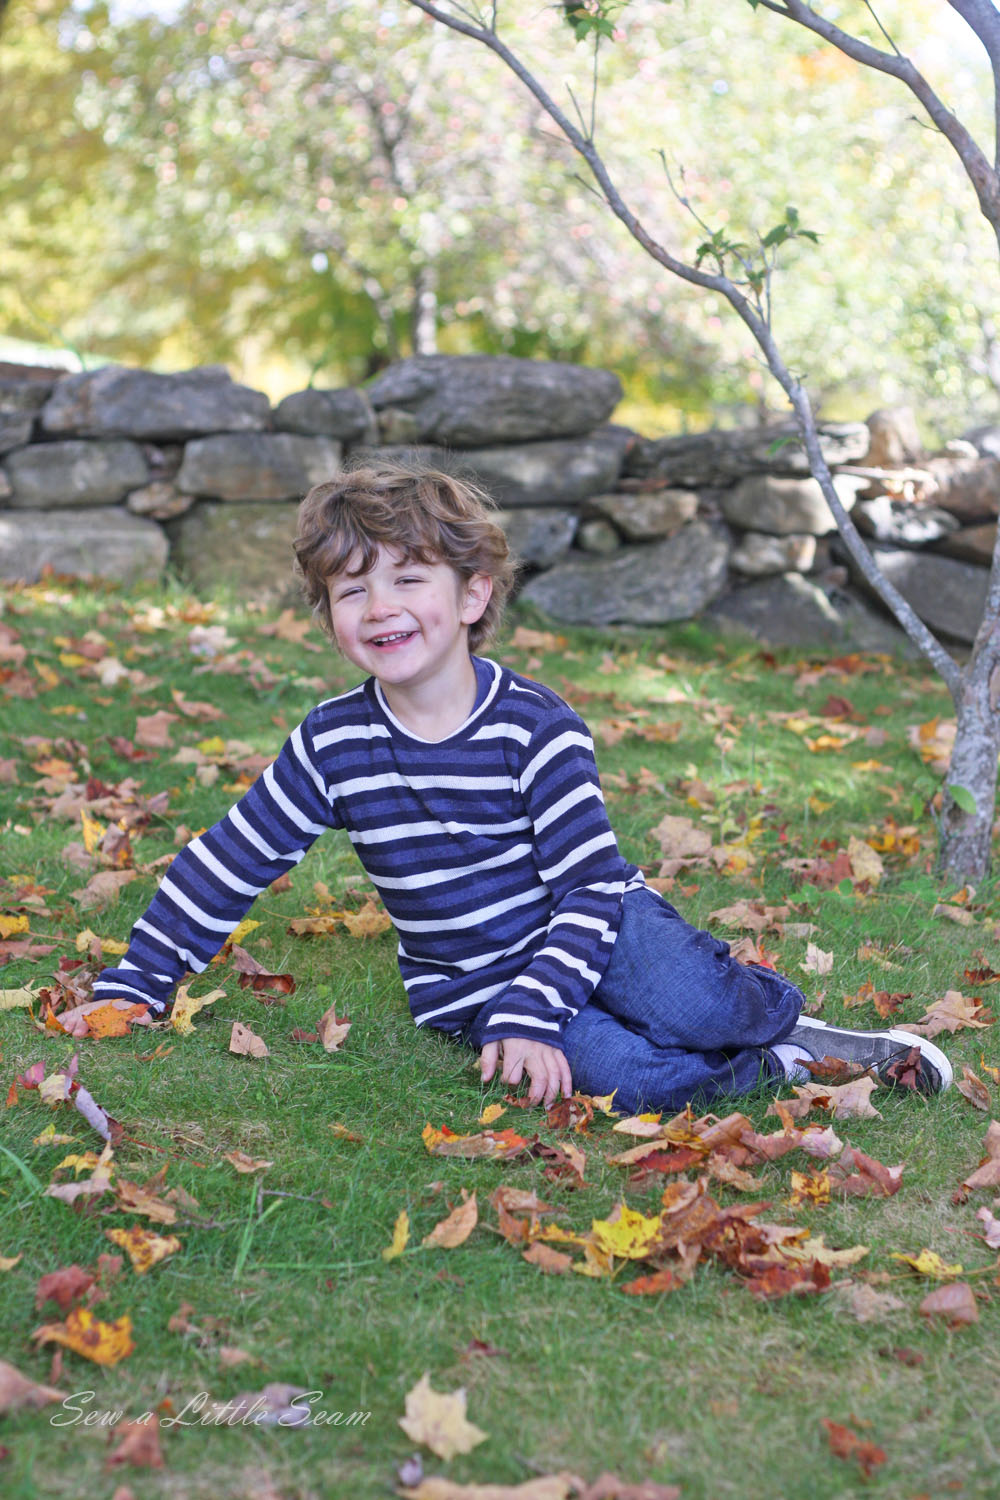
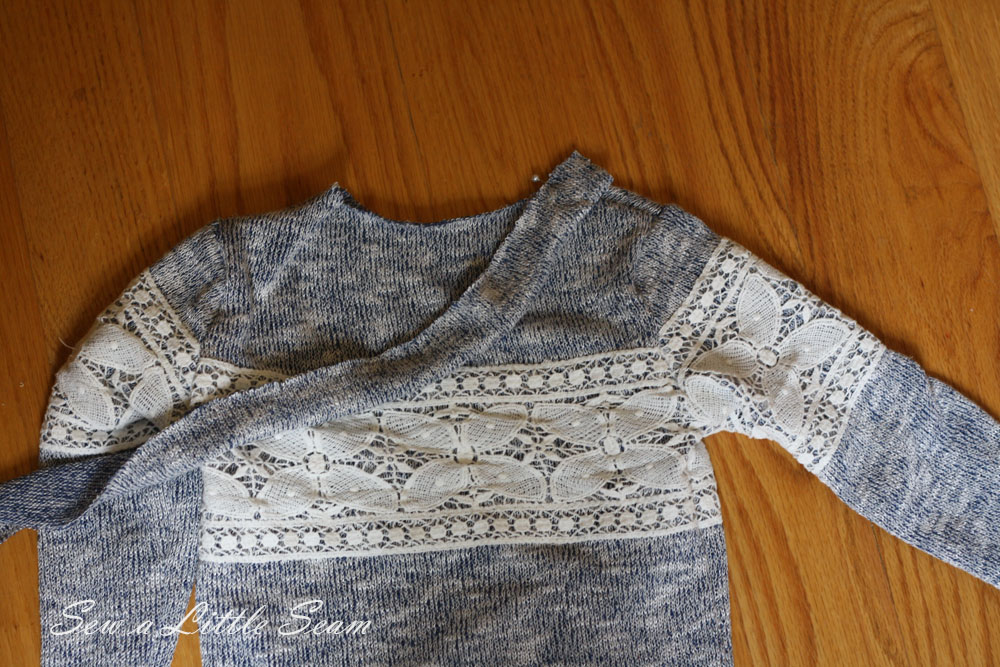
I’ve already made a ton of these. The fabric in the picture came from Felinus Fabrics. It’s a lightweight sweater knit, but works great under a t-shirt. Especially since my son inherited my husband’s ability to be hot in sub-zero temps.
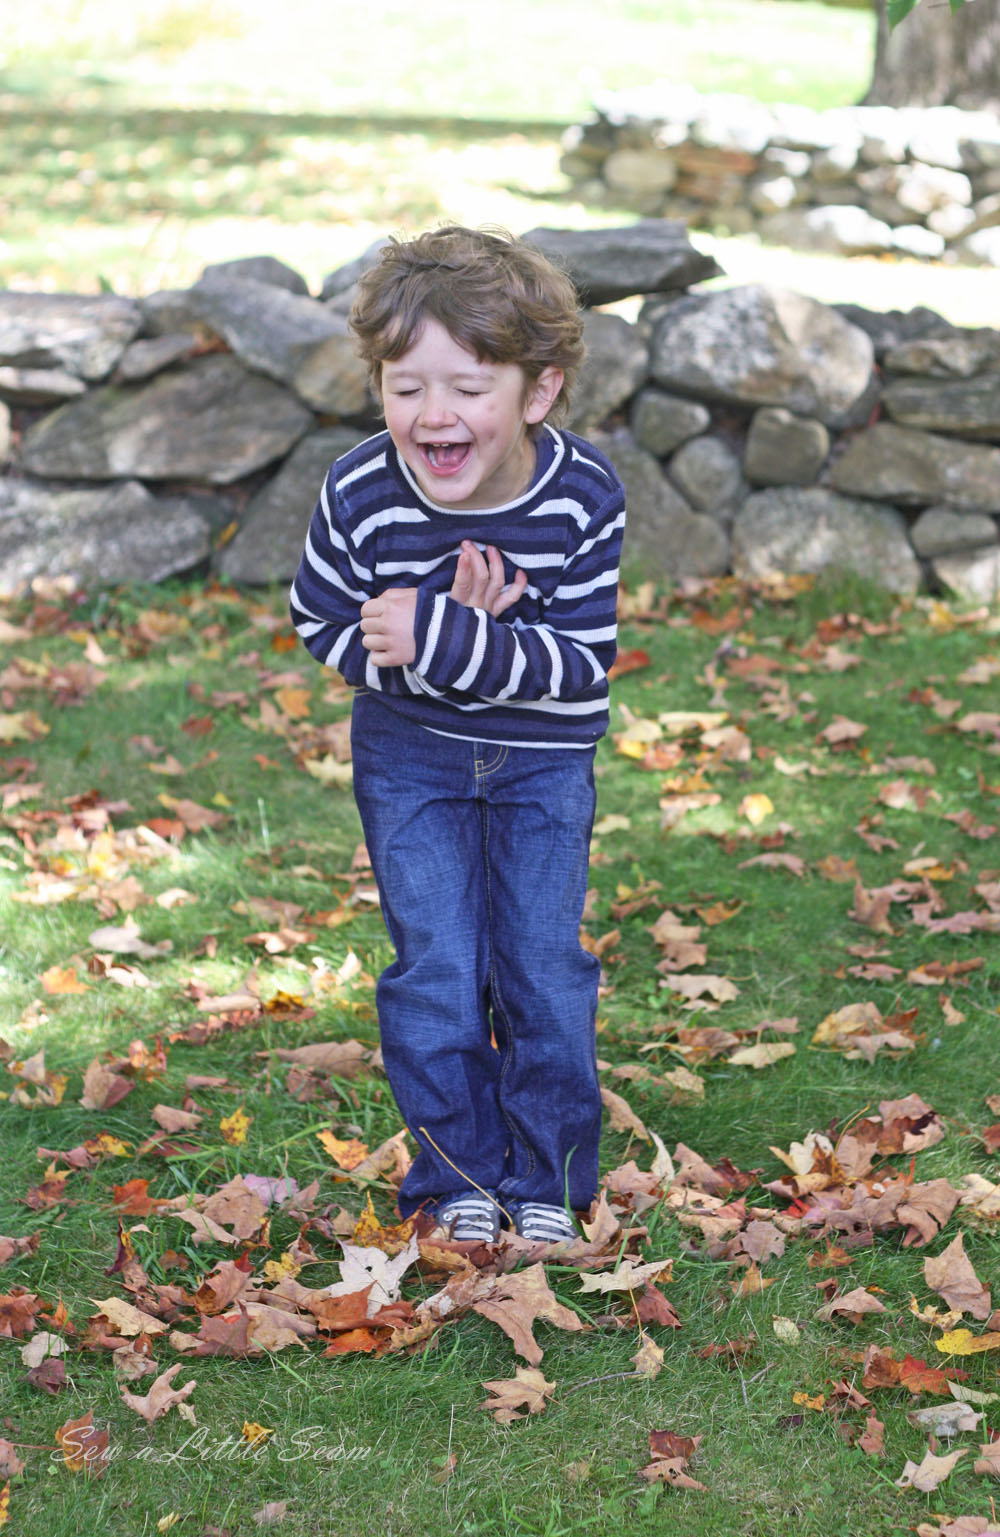
It’s usually easier to get photos of him versus his 18-month-old sister, but the fall air has made him a bit of a basket case lately. In the picture above, I told him to laugh like something was funny. I guess I should have elaborated on my instructions…only mildly humorous would have worked.
So now on to the tutorial.
What You Need:
Apx 3/4 yard of sweater knit or similar fabric
Stretch or ball point needles
Stretch twin needles (I ordered mine from Amazon like the ones HERE) *
Matching Thread
The Pattern: (I am working on updating this pattern with expanded sizes and options and it should be out by the end of October. Sorry for the inconvenience!)
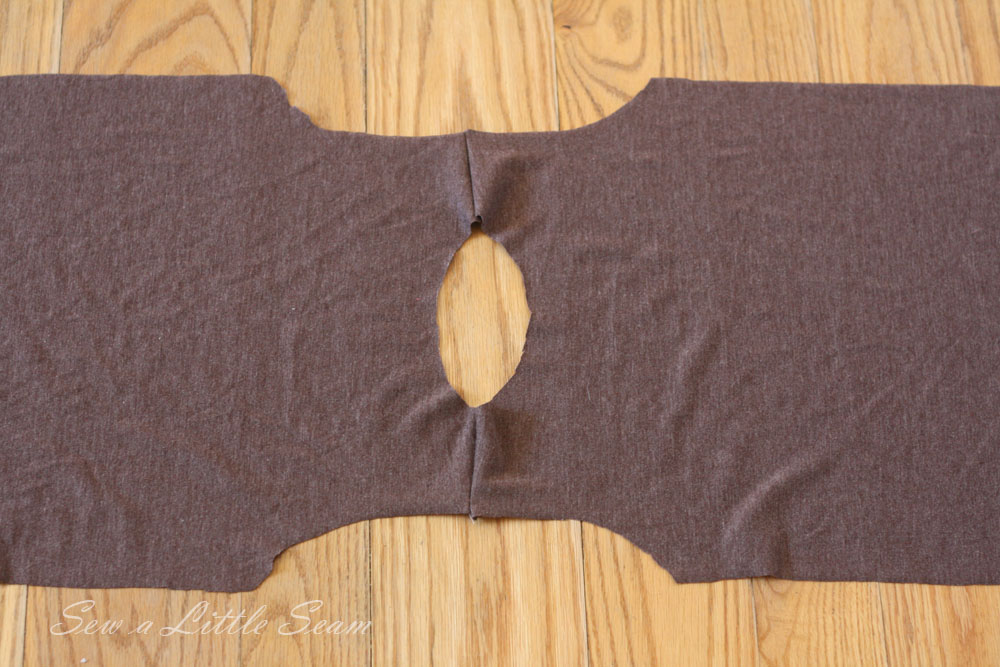
Your Neckband: For the 18 month and size 4 sizes, cut out a strip of fabric that is 1 3/4″ x 16. For the size 6, cut a strip of fabric that is 1 3/4″ x 17.
Note: The seam allowance is 3/8″ unless noted otherwise. Also when using knits, make sure you are using a stretch stitch. I use the overedge stitch, but a narrow zig zag, or any other stretch stitch will work.
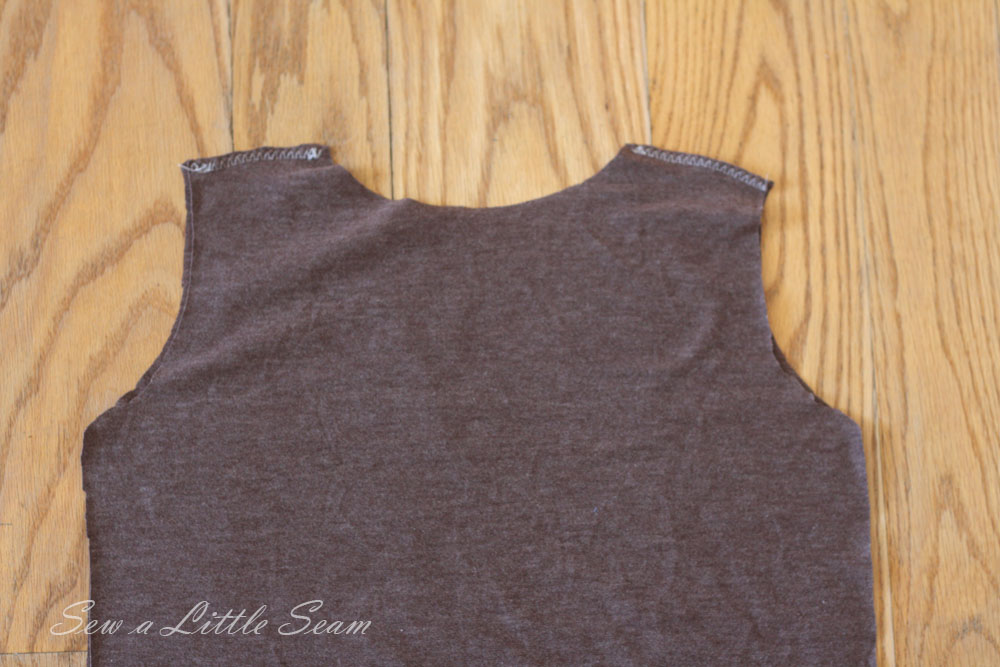
Cut out your pieces as instructed on the pattern. With right sides together, lay your front and back pieces together and stitch along the shoulders.
Open up your shirt and place it with right sides up.
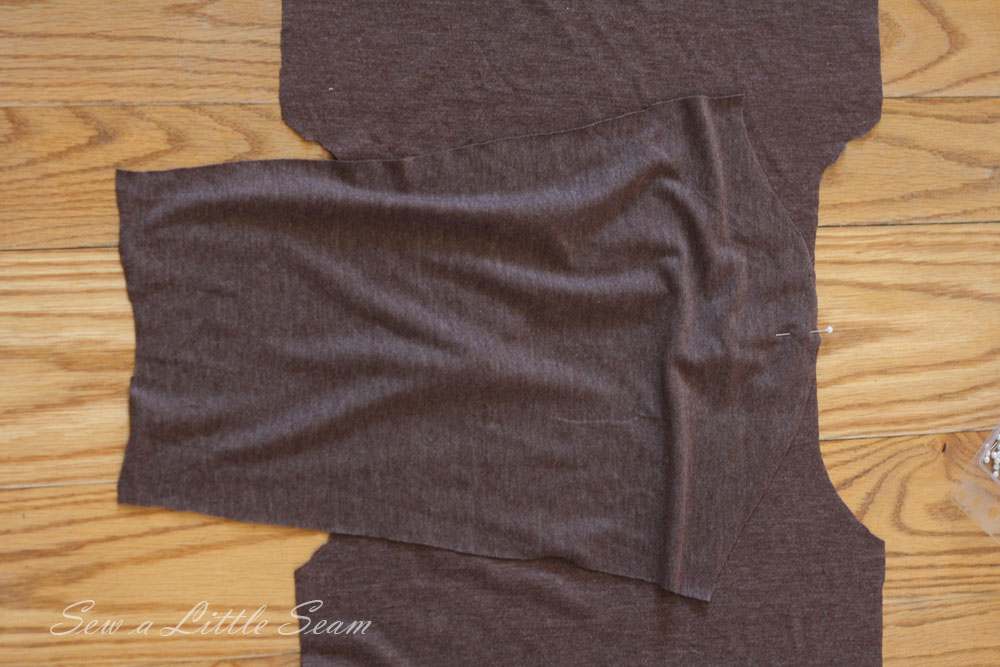
Take a sleeve and find the middle by folding it in half lengthwise. Line the middle of your sleeve up with the shirt’s shoulder seam and place the sleeve with right side down, so right sides are together and pin in place.
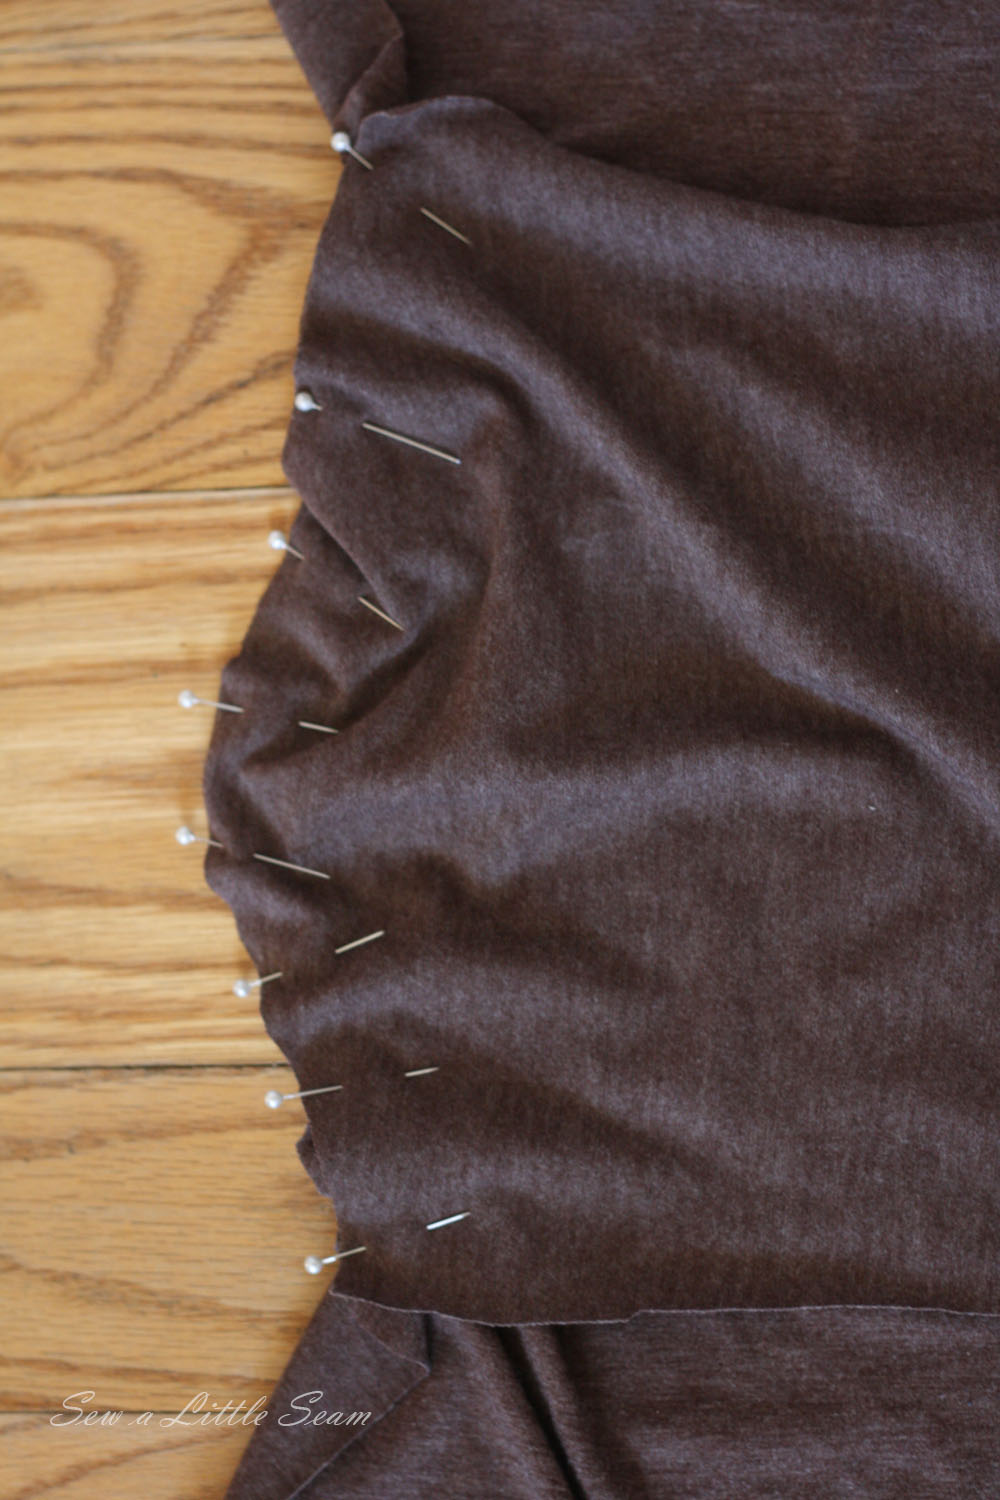
Continue to pin the sleeve to the shirt, from corner to corner. Then sew along the curve of the sleeve. Repeat on the other sleeve.
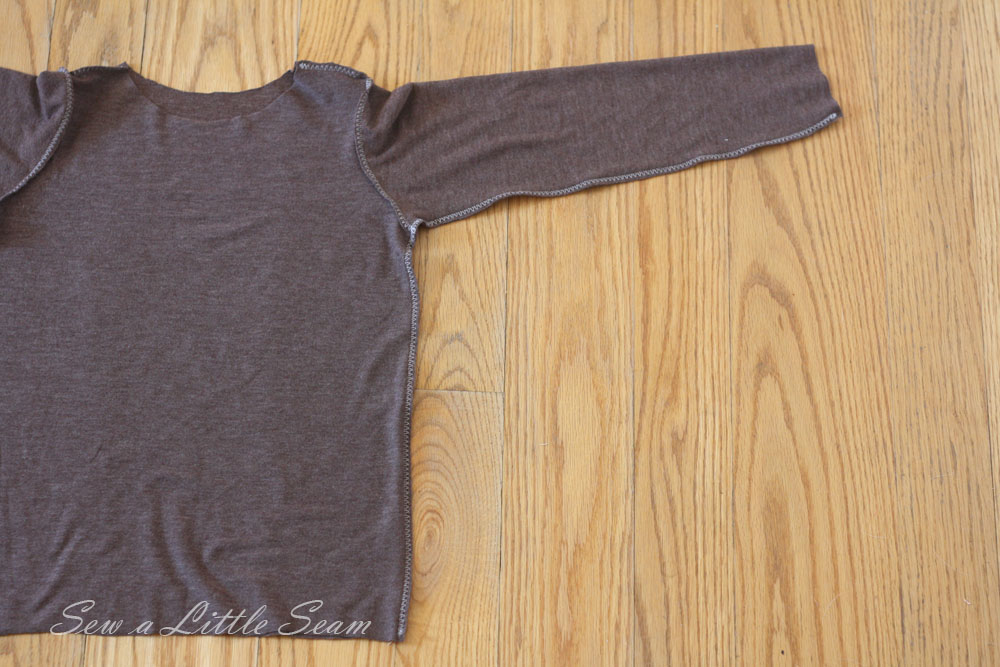
Once both sleeves are sewn on, keep your shirt inside out, and line up the underarm seams and pin in place. Continue to pin from the bottom of your sleeve to the bottom of your shirt. Sew your sleeve and shirt sides together, pivoting around the underarm corner. Repeat on the other side.
Next we will add our neckband. Take your strip of fabric that you cut out and fold it lengthwise with wrong sides together, place it 1″ past one of the shoulder seams, with raw edges lining up. Sew along the edge of your band, lining it up with the edges of your shirt and gently stretching the band as you go. Be careful not to also stretch the shirt; only the band should be stretched or you will end up with a wavy neckline.
Stop sewing about 1″ from the seam where you started. Line up the front and back band and pin where they should meet at the shoulder. Push the shirt fabric back out of the way, and place the band under your sewing machine with your needle lining up with the path of the pin. Drop your foot, remove the needle, and sew your bands together. Trim off the excess band, and continue to sew it to the neckline of the shirt. Trim your seam and topstitch along your neckline if you want.
The last step is to hem your shirt. Press your shirt bottom up 1″ to the inside and then sew close to the raw edge with a double needle. You can also just hem using a regular needle and a stretch stitch. The triple stretch stitch will give you a nice finish. Repeat for each sleeve.
If you have any questions, email me at sewalittleseam@gmail.com. And don’t forget to follow me on Facebook, Pinterest, and Instagram by clicking on the boxes on the top right. Thanks!

Hi Kelly,
Love the sweater pattern. Hope my son likes it too once it’s done. I am all set to work on this pattern hope I can finish it sooner.
I don’t forget to thank you. You made my job a little easier. 🙂
I’m really looking for a pattern I can adapt to making a sweater tunic for my daughter and this looks like it will work. I need the 18 month size, which it looks like you made, but I can’t find the patterns 🙁 Are none available until the end of the month? Can’t wait!
Hi Amy,
My free Brynn sweater pattern is still available in sizes 18 mo to 6. It has a slightly gathered sleeve at the shoulder. You can find it in the shop tab at the top of the page. Thanks!
Just curious if the free printable pattern was available for this sweater? I have the Brynn sweater pattern but I need something without the puffed sleeves. Or can I just take a little off the curve of the sleeve to take out the gathers at the top? Thanks for your help!
Hi Julie,
I was updating the boy’s pattern, but it’s been put on the back burner. You can take off some of the height of the sleeve cap so the sleeve fits with no ease and that will eliminate the puff.