
Hadley Pattern Hack: Tie Straps, Open Back

Today I’m going to show you how to hack the Hadley pattern to have tie straps and an open back. If your looking to add just one of these elements, you can just skip some of the steps and follow the directions in your pdf pattern.

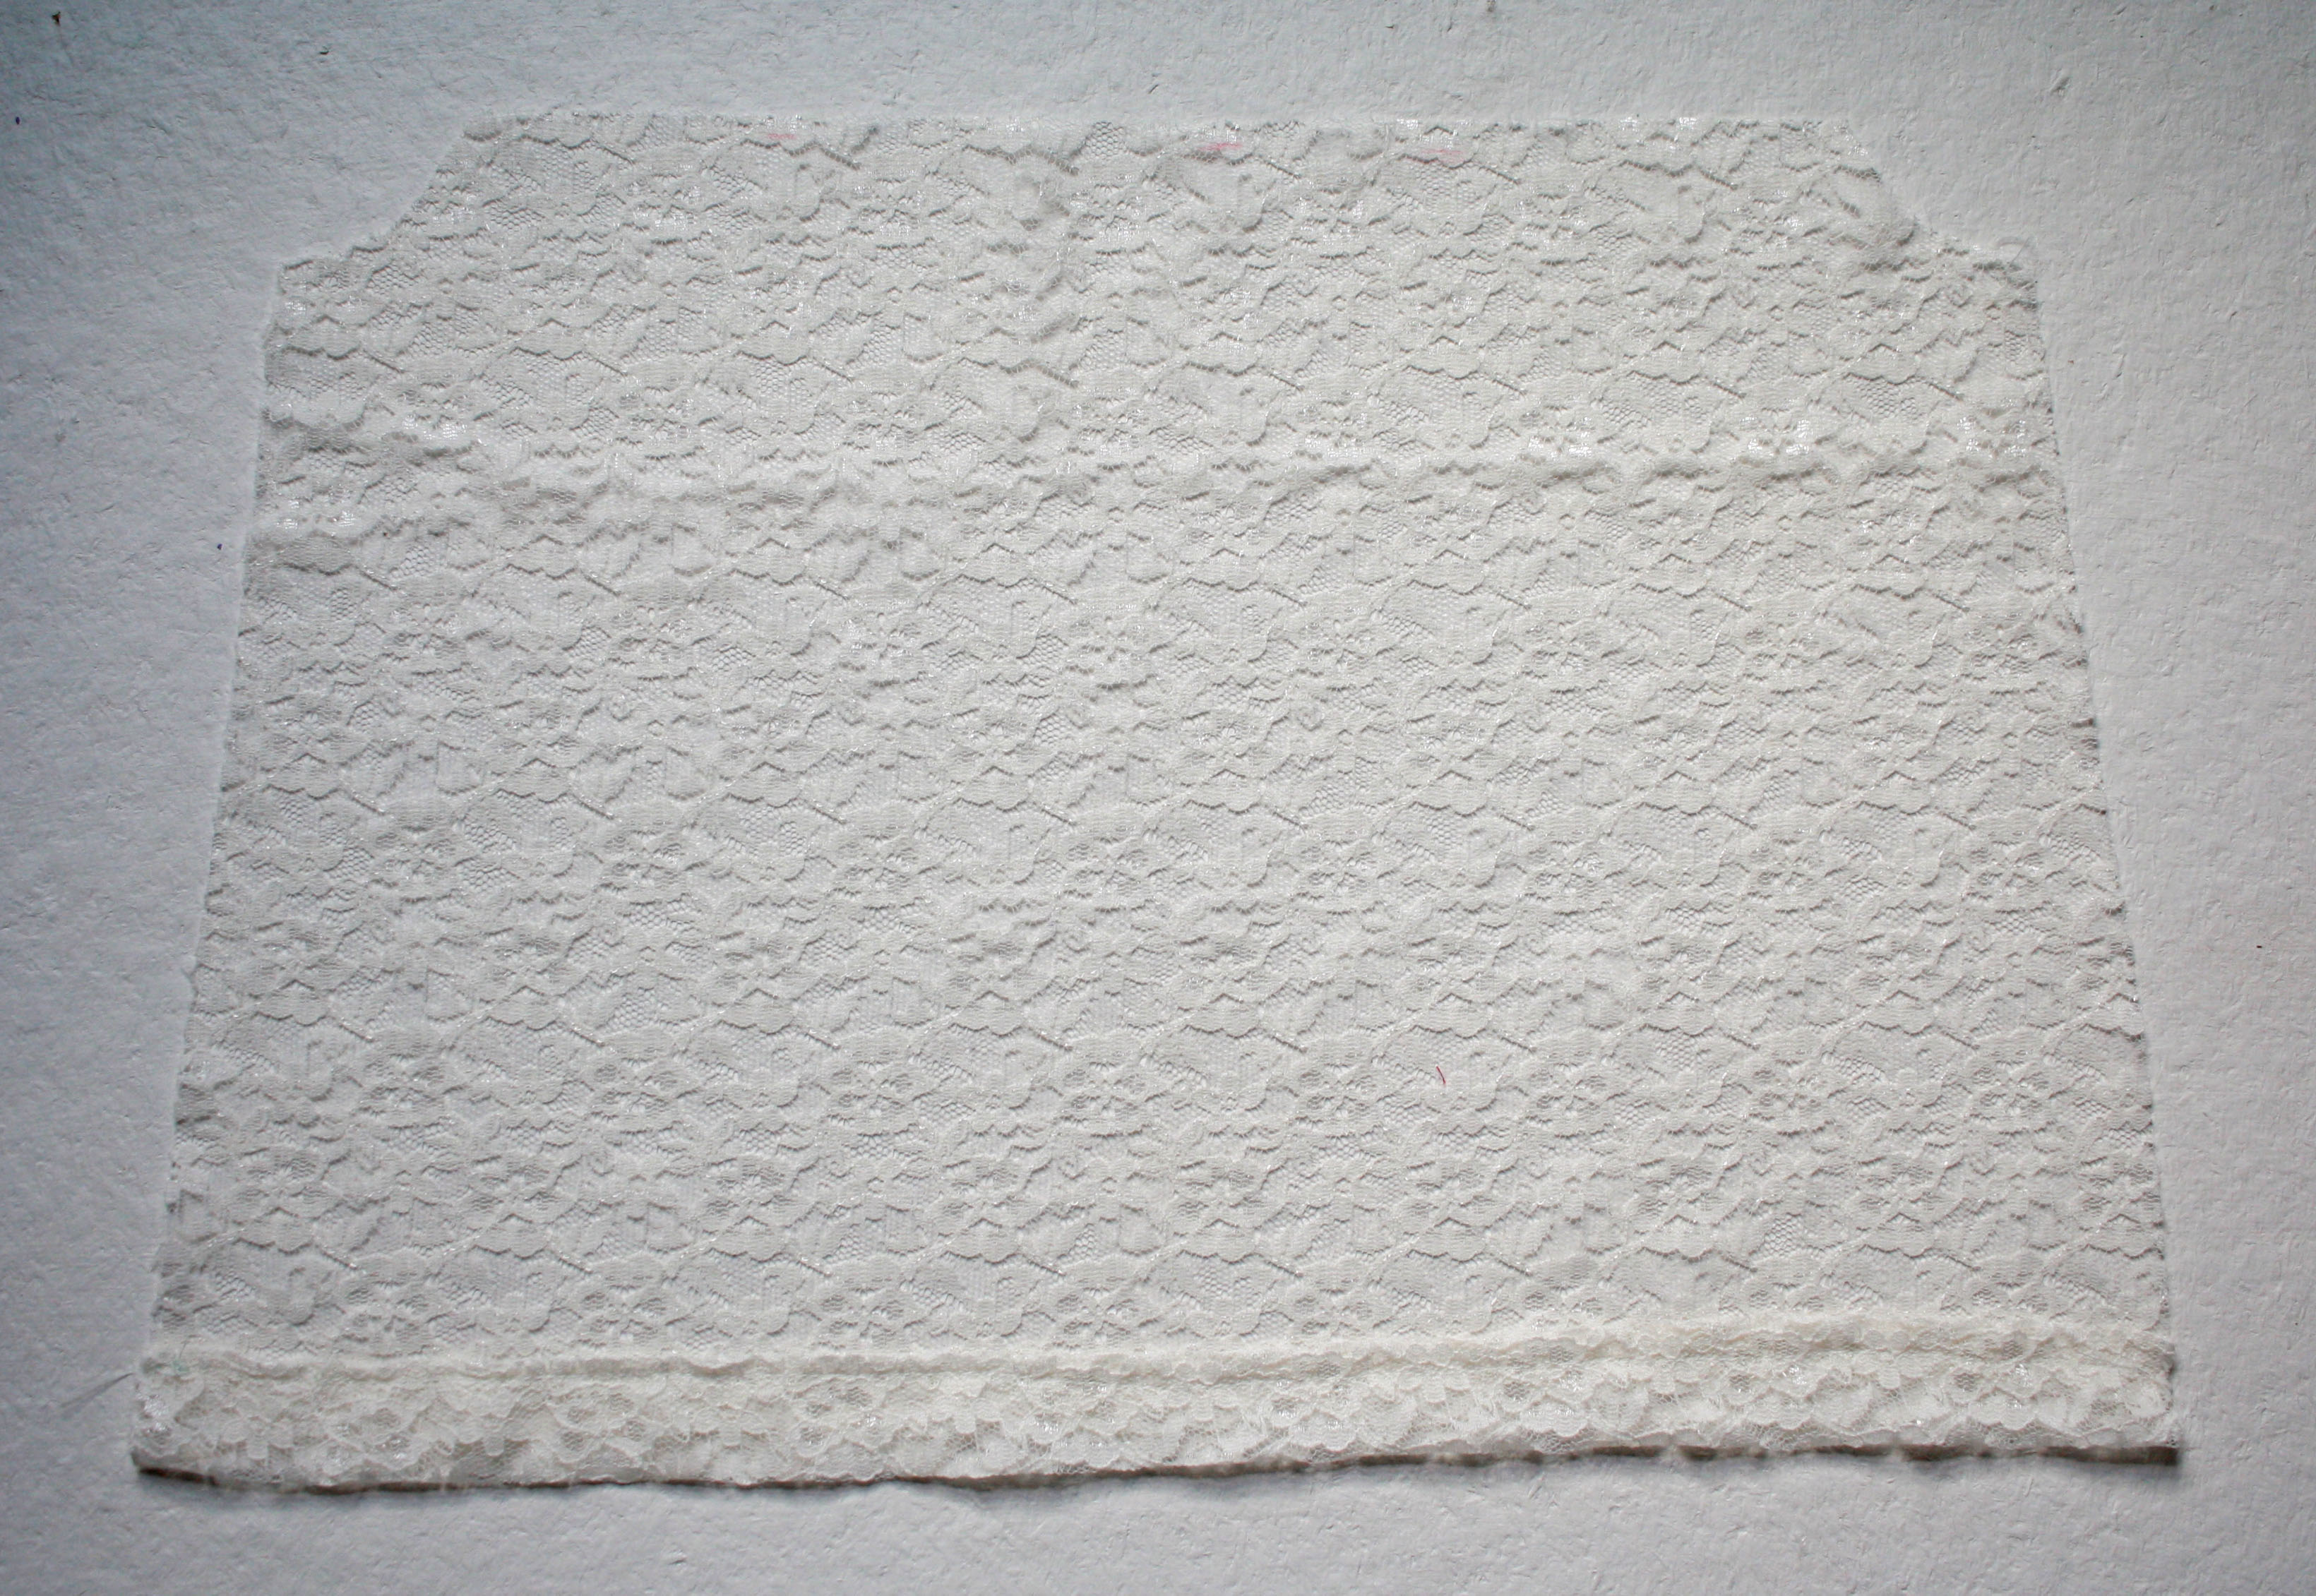
I used the top pattern for my hack, but you could use the dress version, or if you were just adding the tie straps you could also use the tunic. I added a layer of lace under my back, but you could also choose to just leave it open.

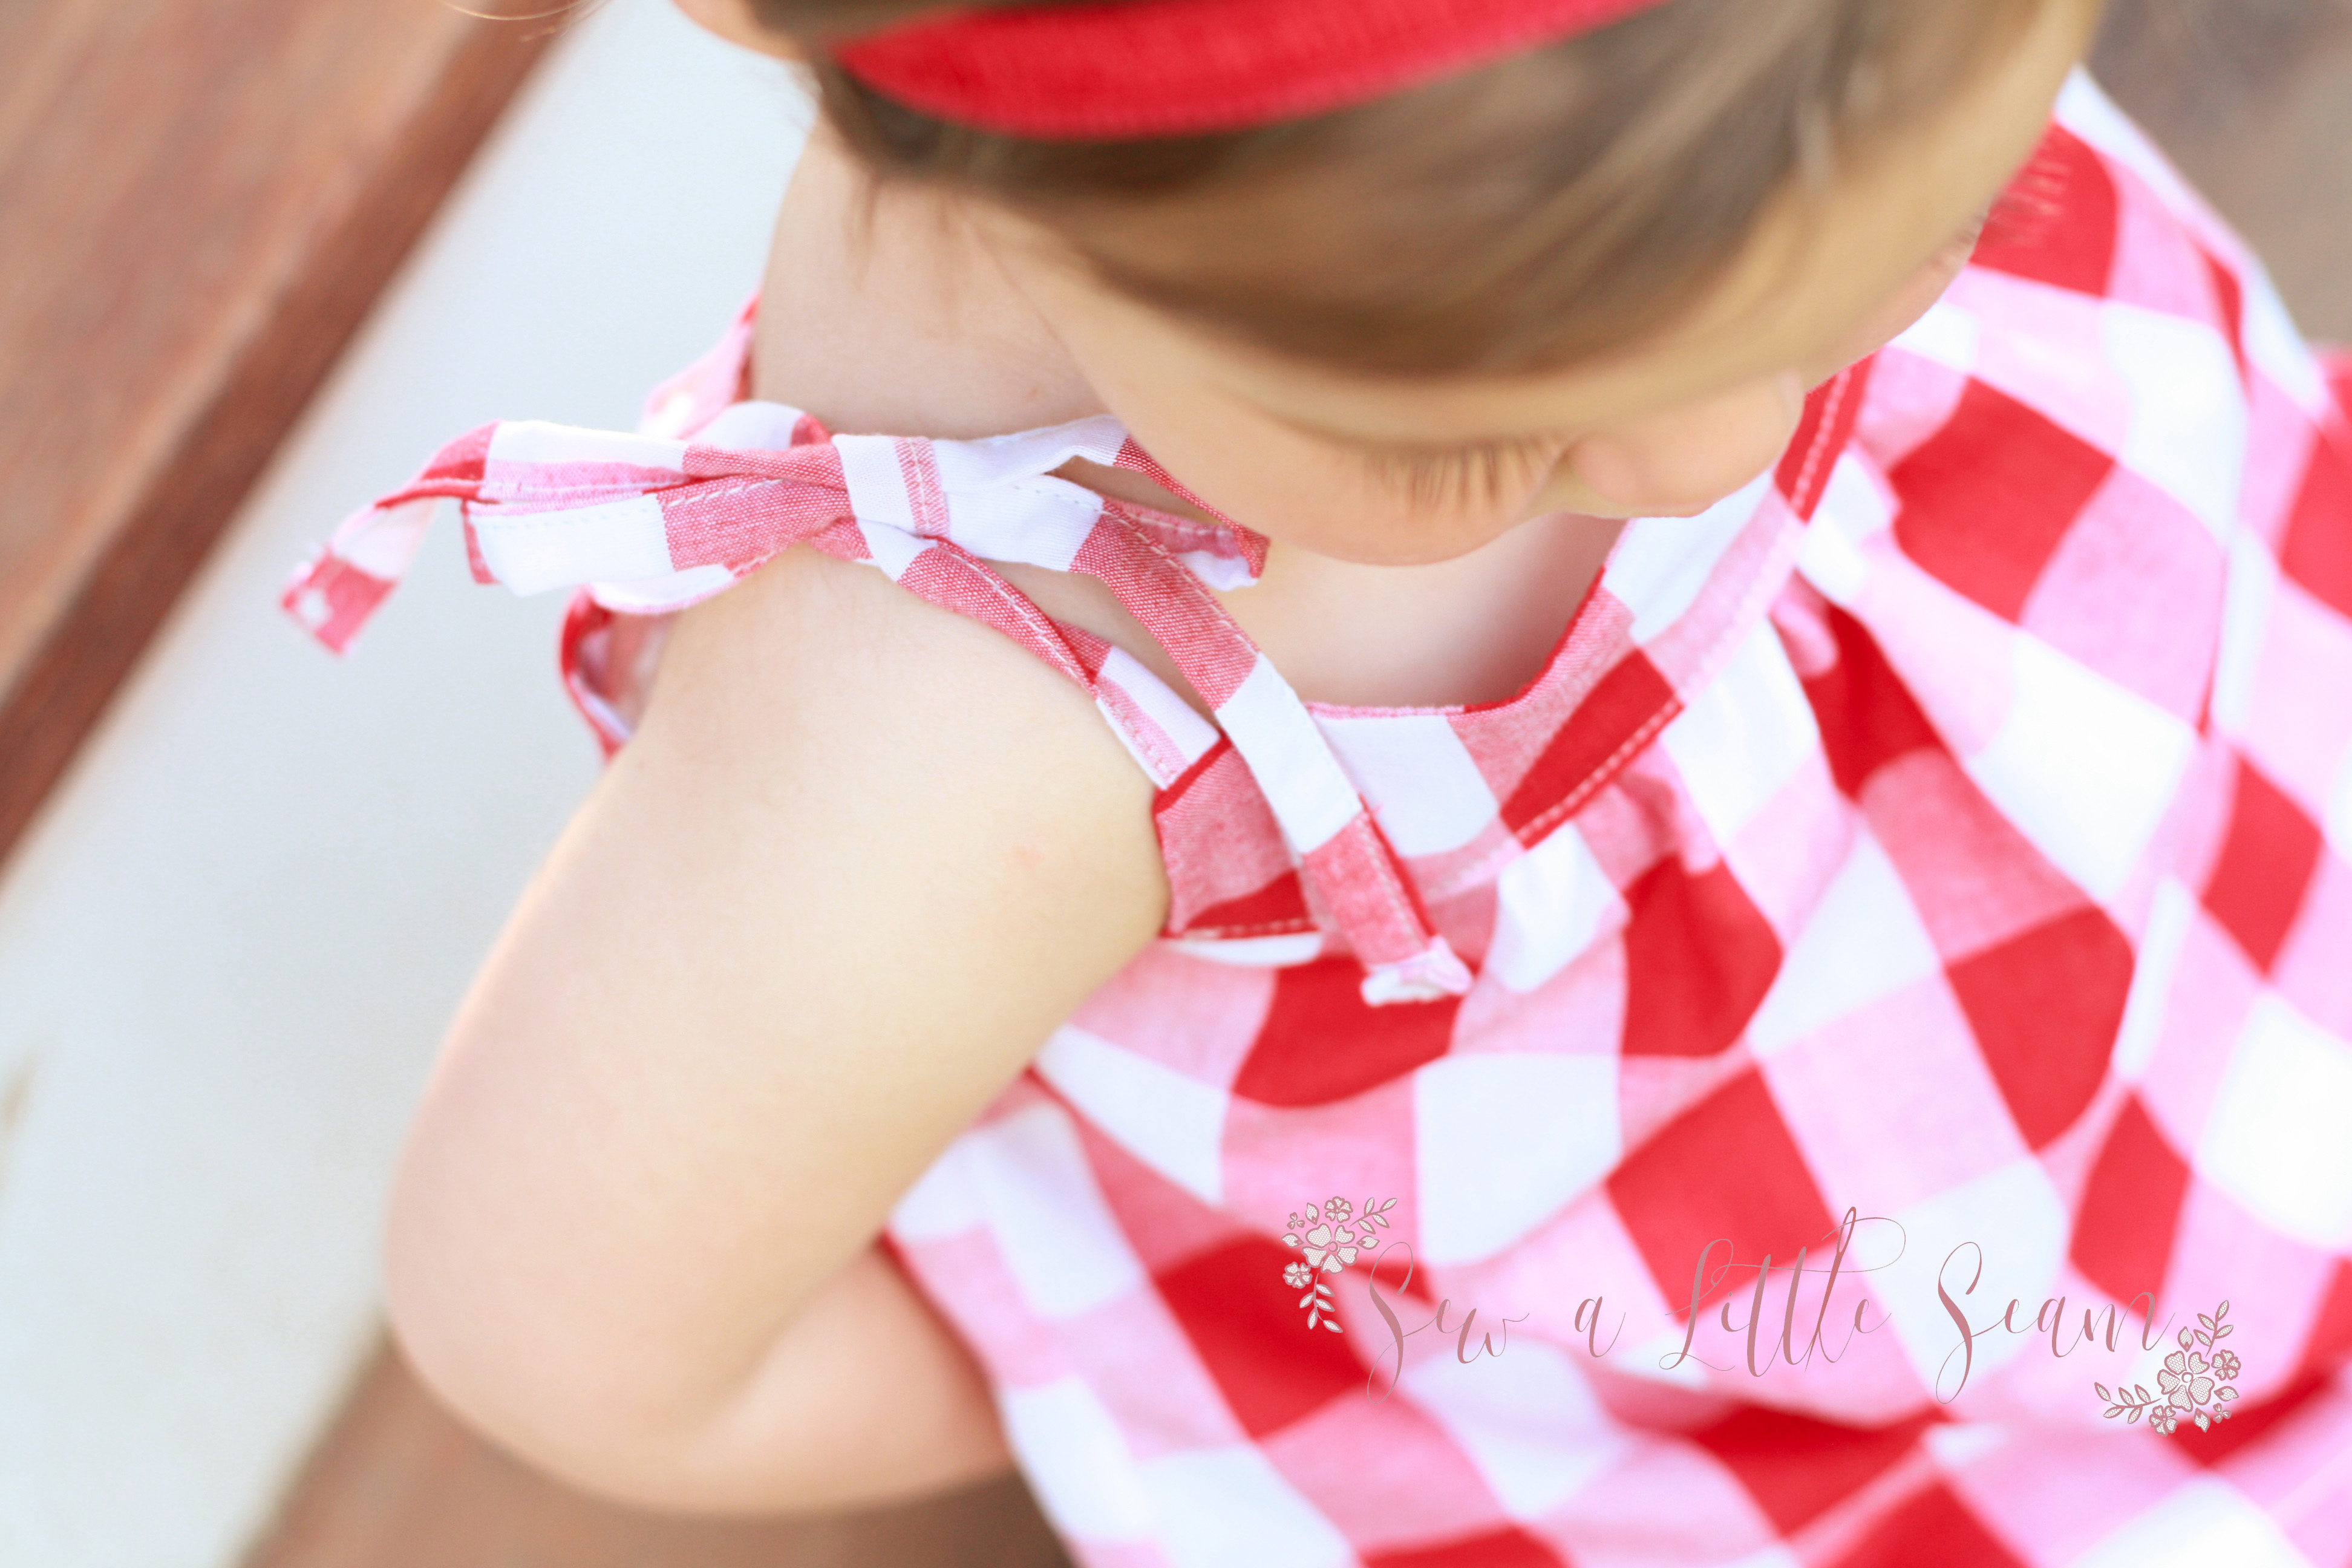
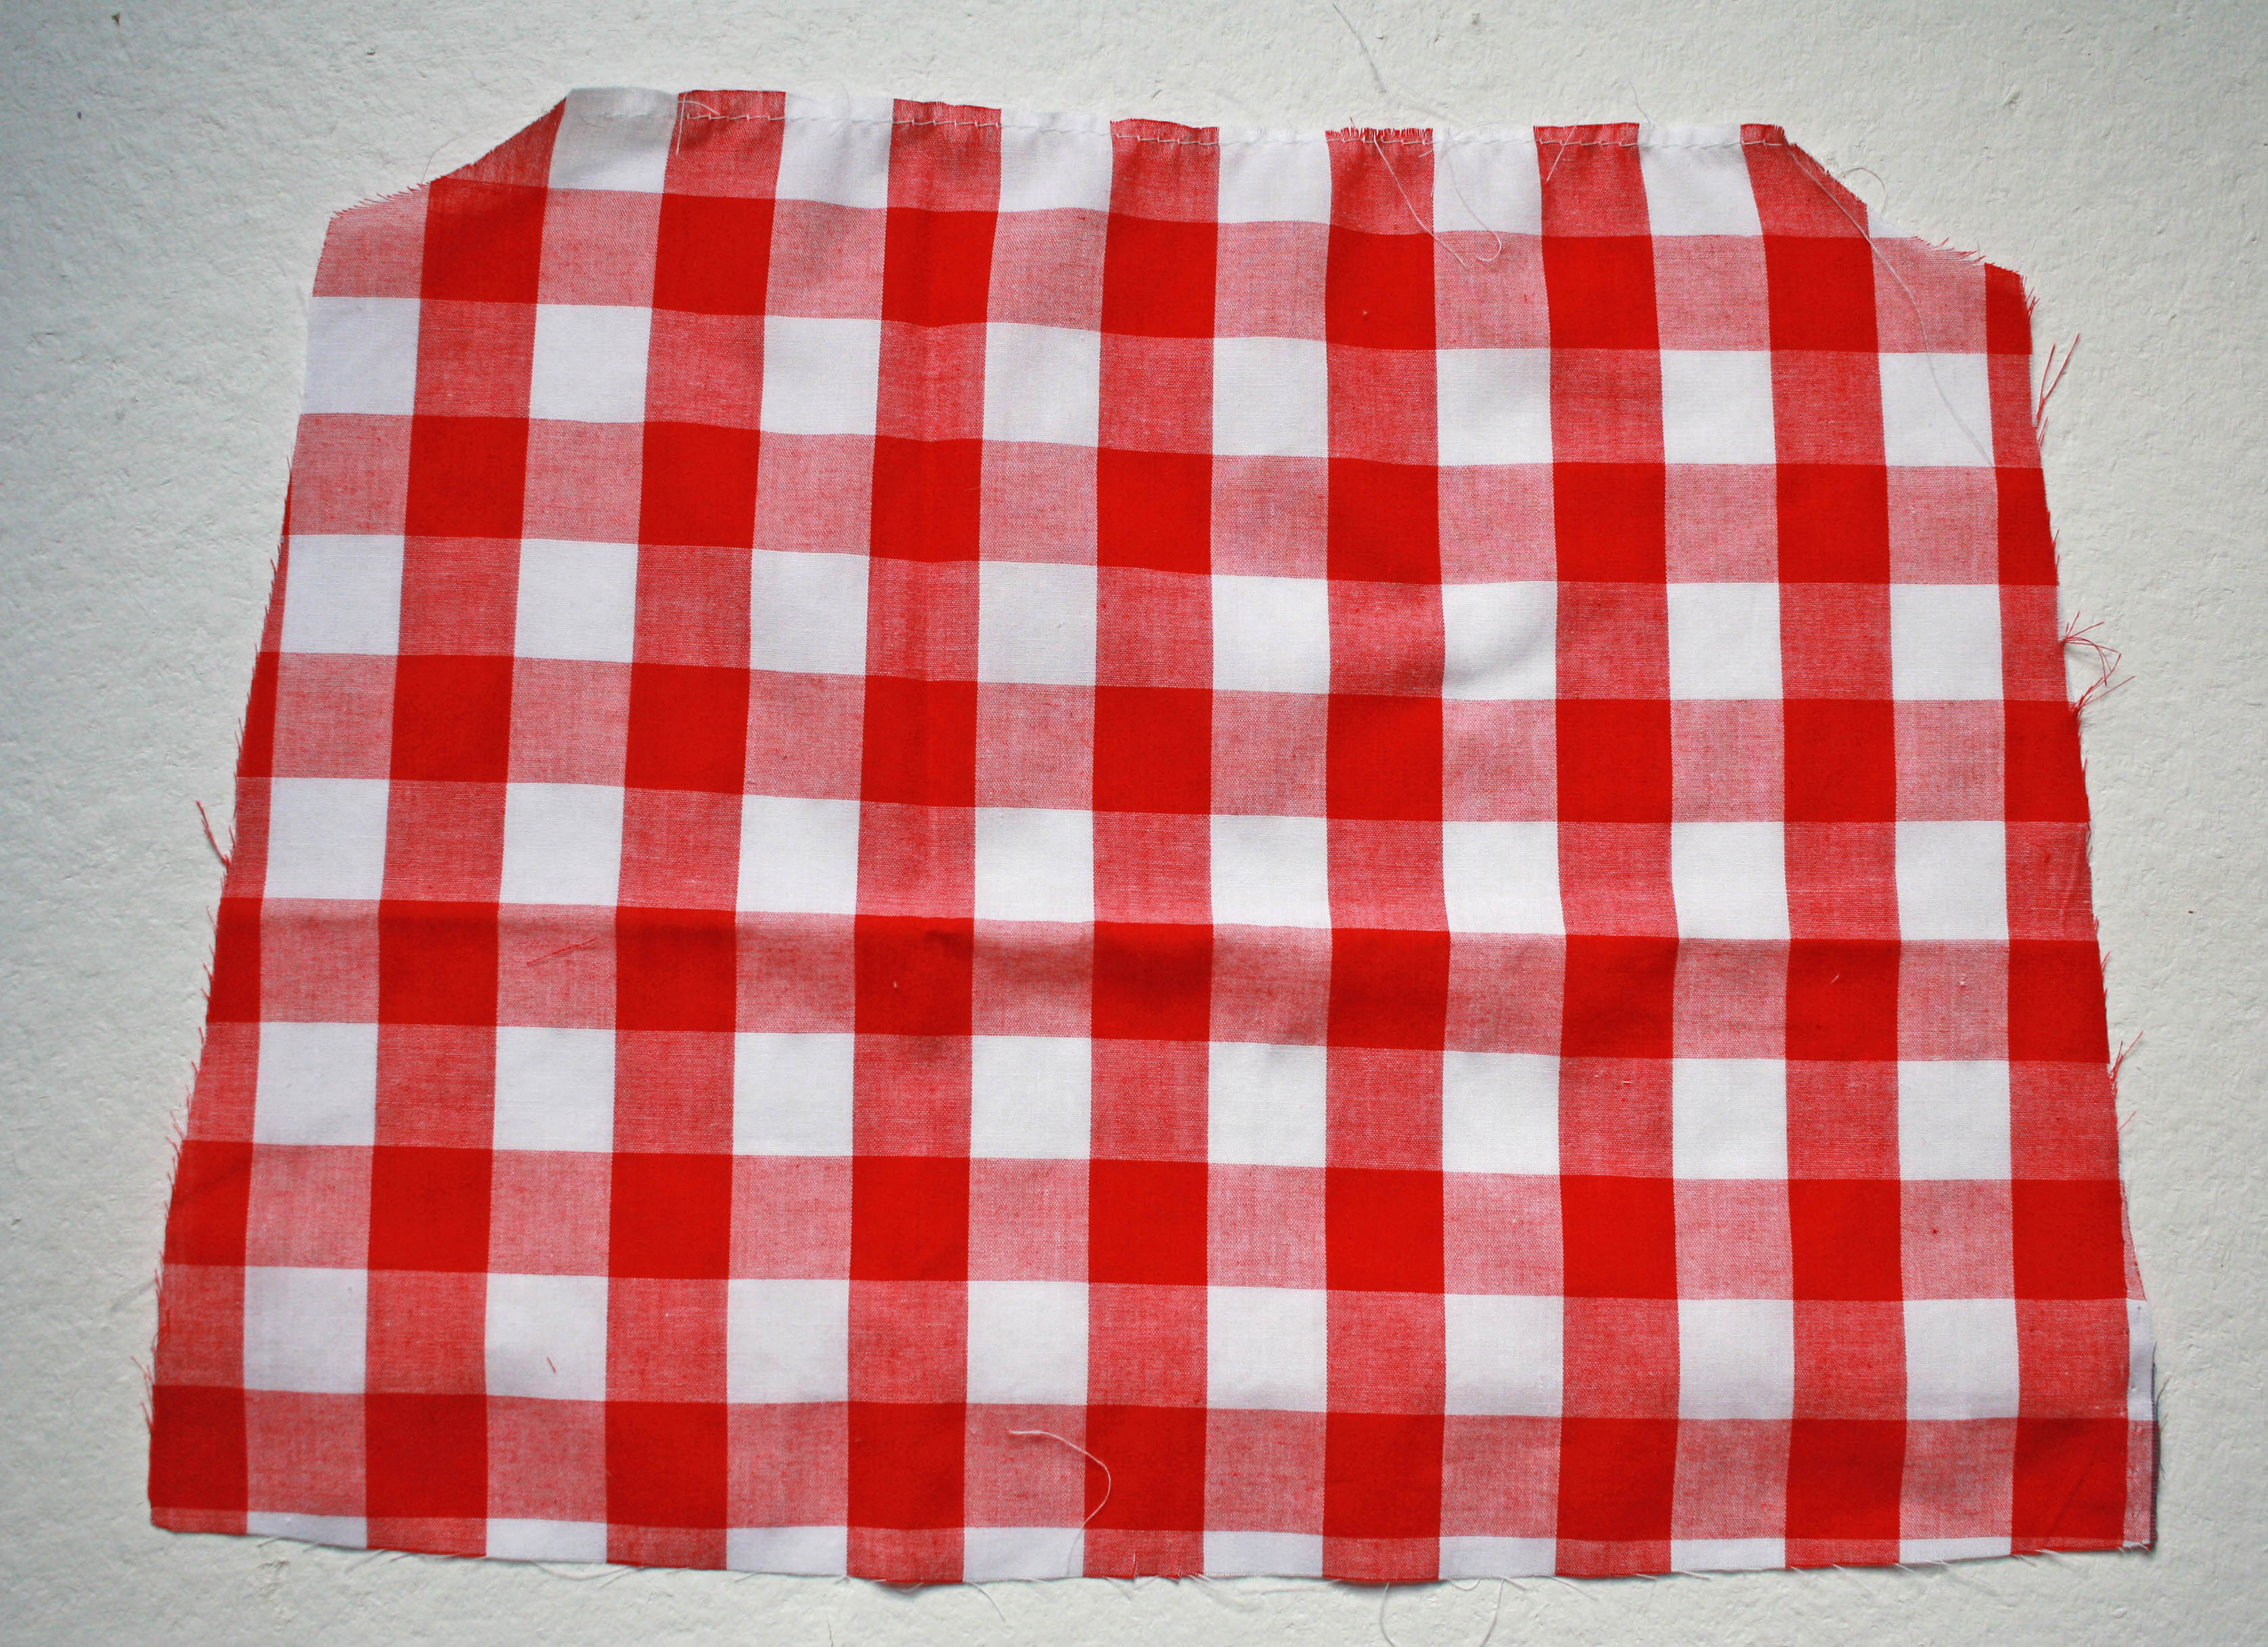
I am a bit in love with gingham right now and when paired with tie straps, it’s the perfect summer outfit. I think I have it in every color, and pretty soon she’s going to have a closet full or rainbow gingham!
You’ll find the tutorial below. You can find the Hadley Top, Tunic & Dress pattern in the shop.

To get started, you’ll first have to cut a few pieces of your pattern a bit differently. If you are making the open back make the following changes:
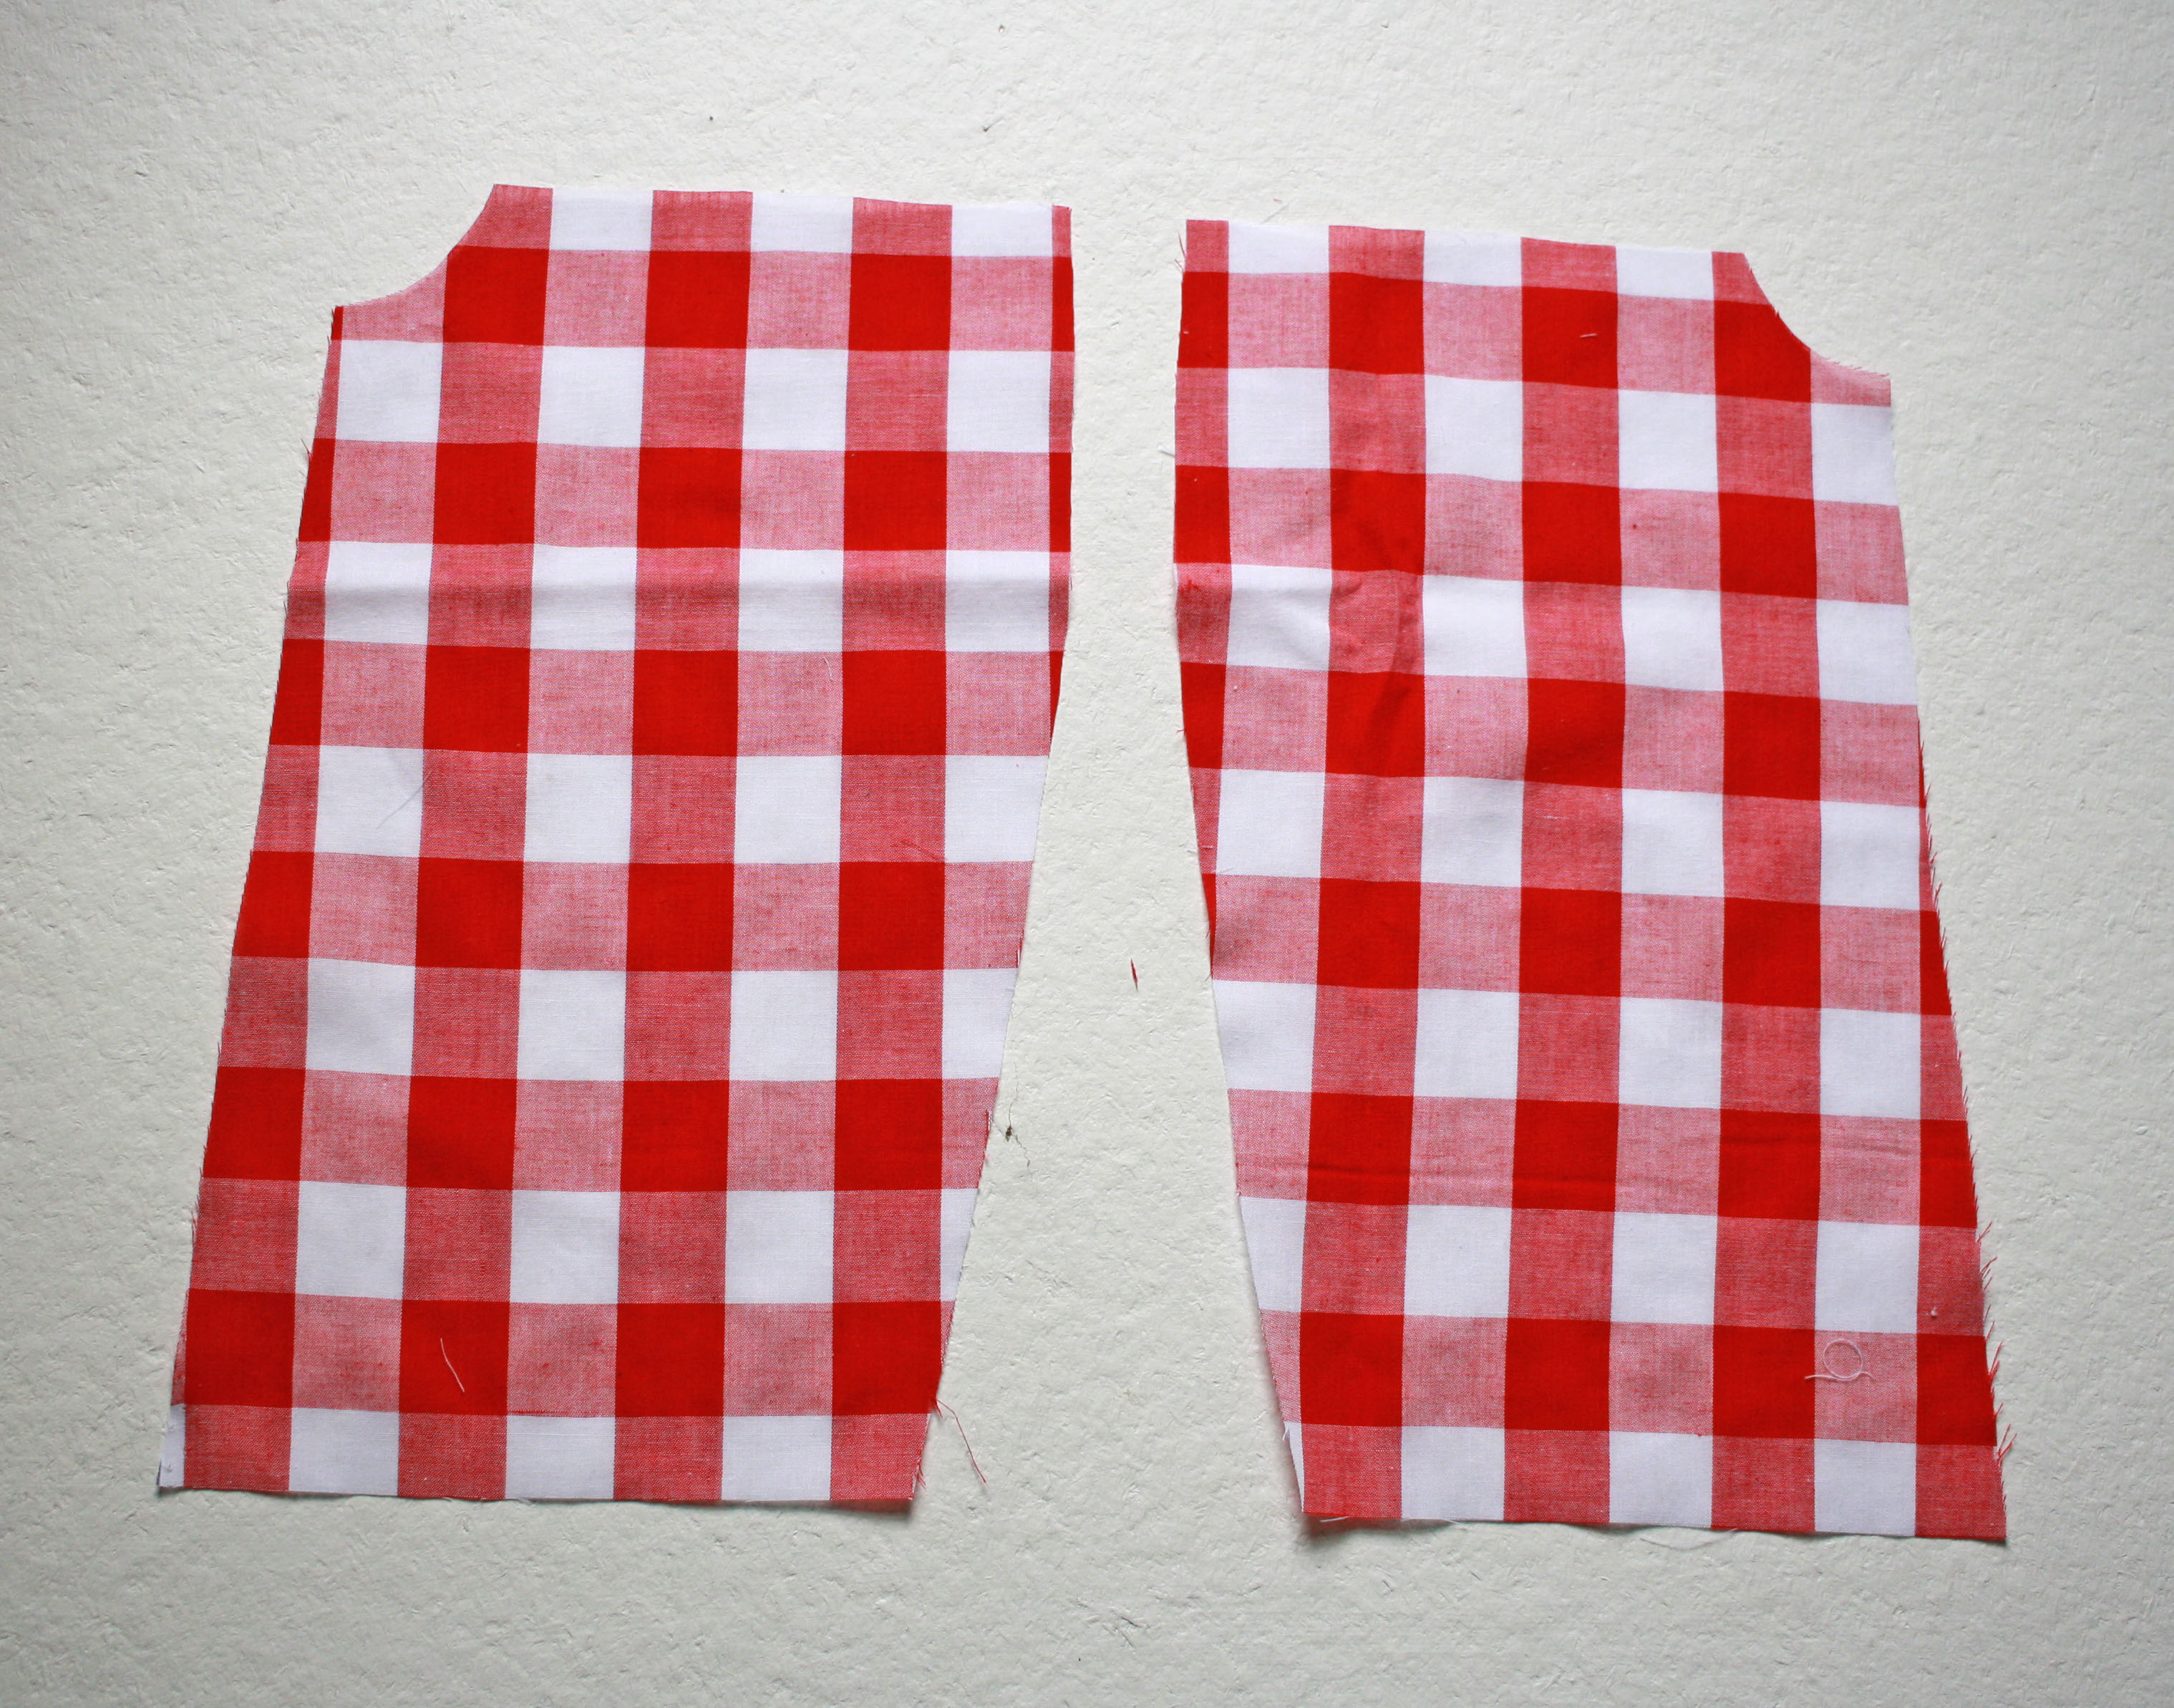
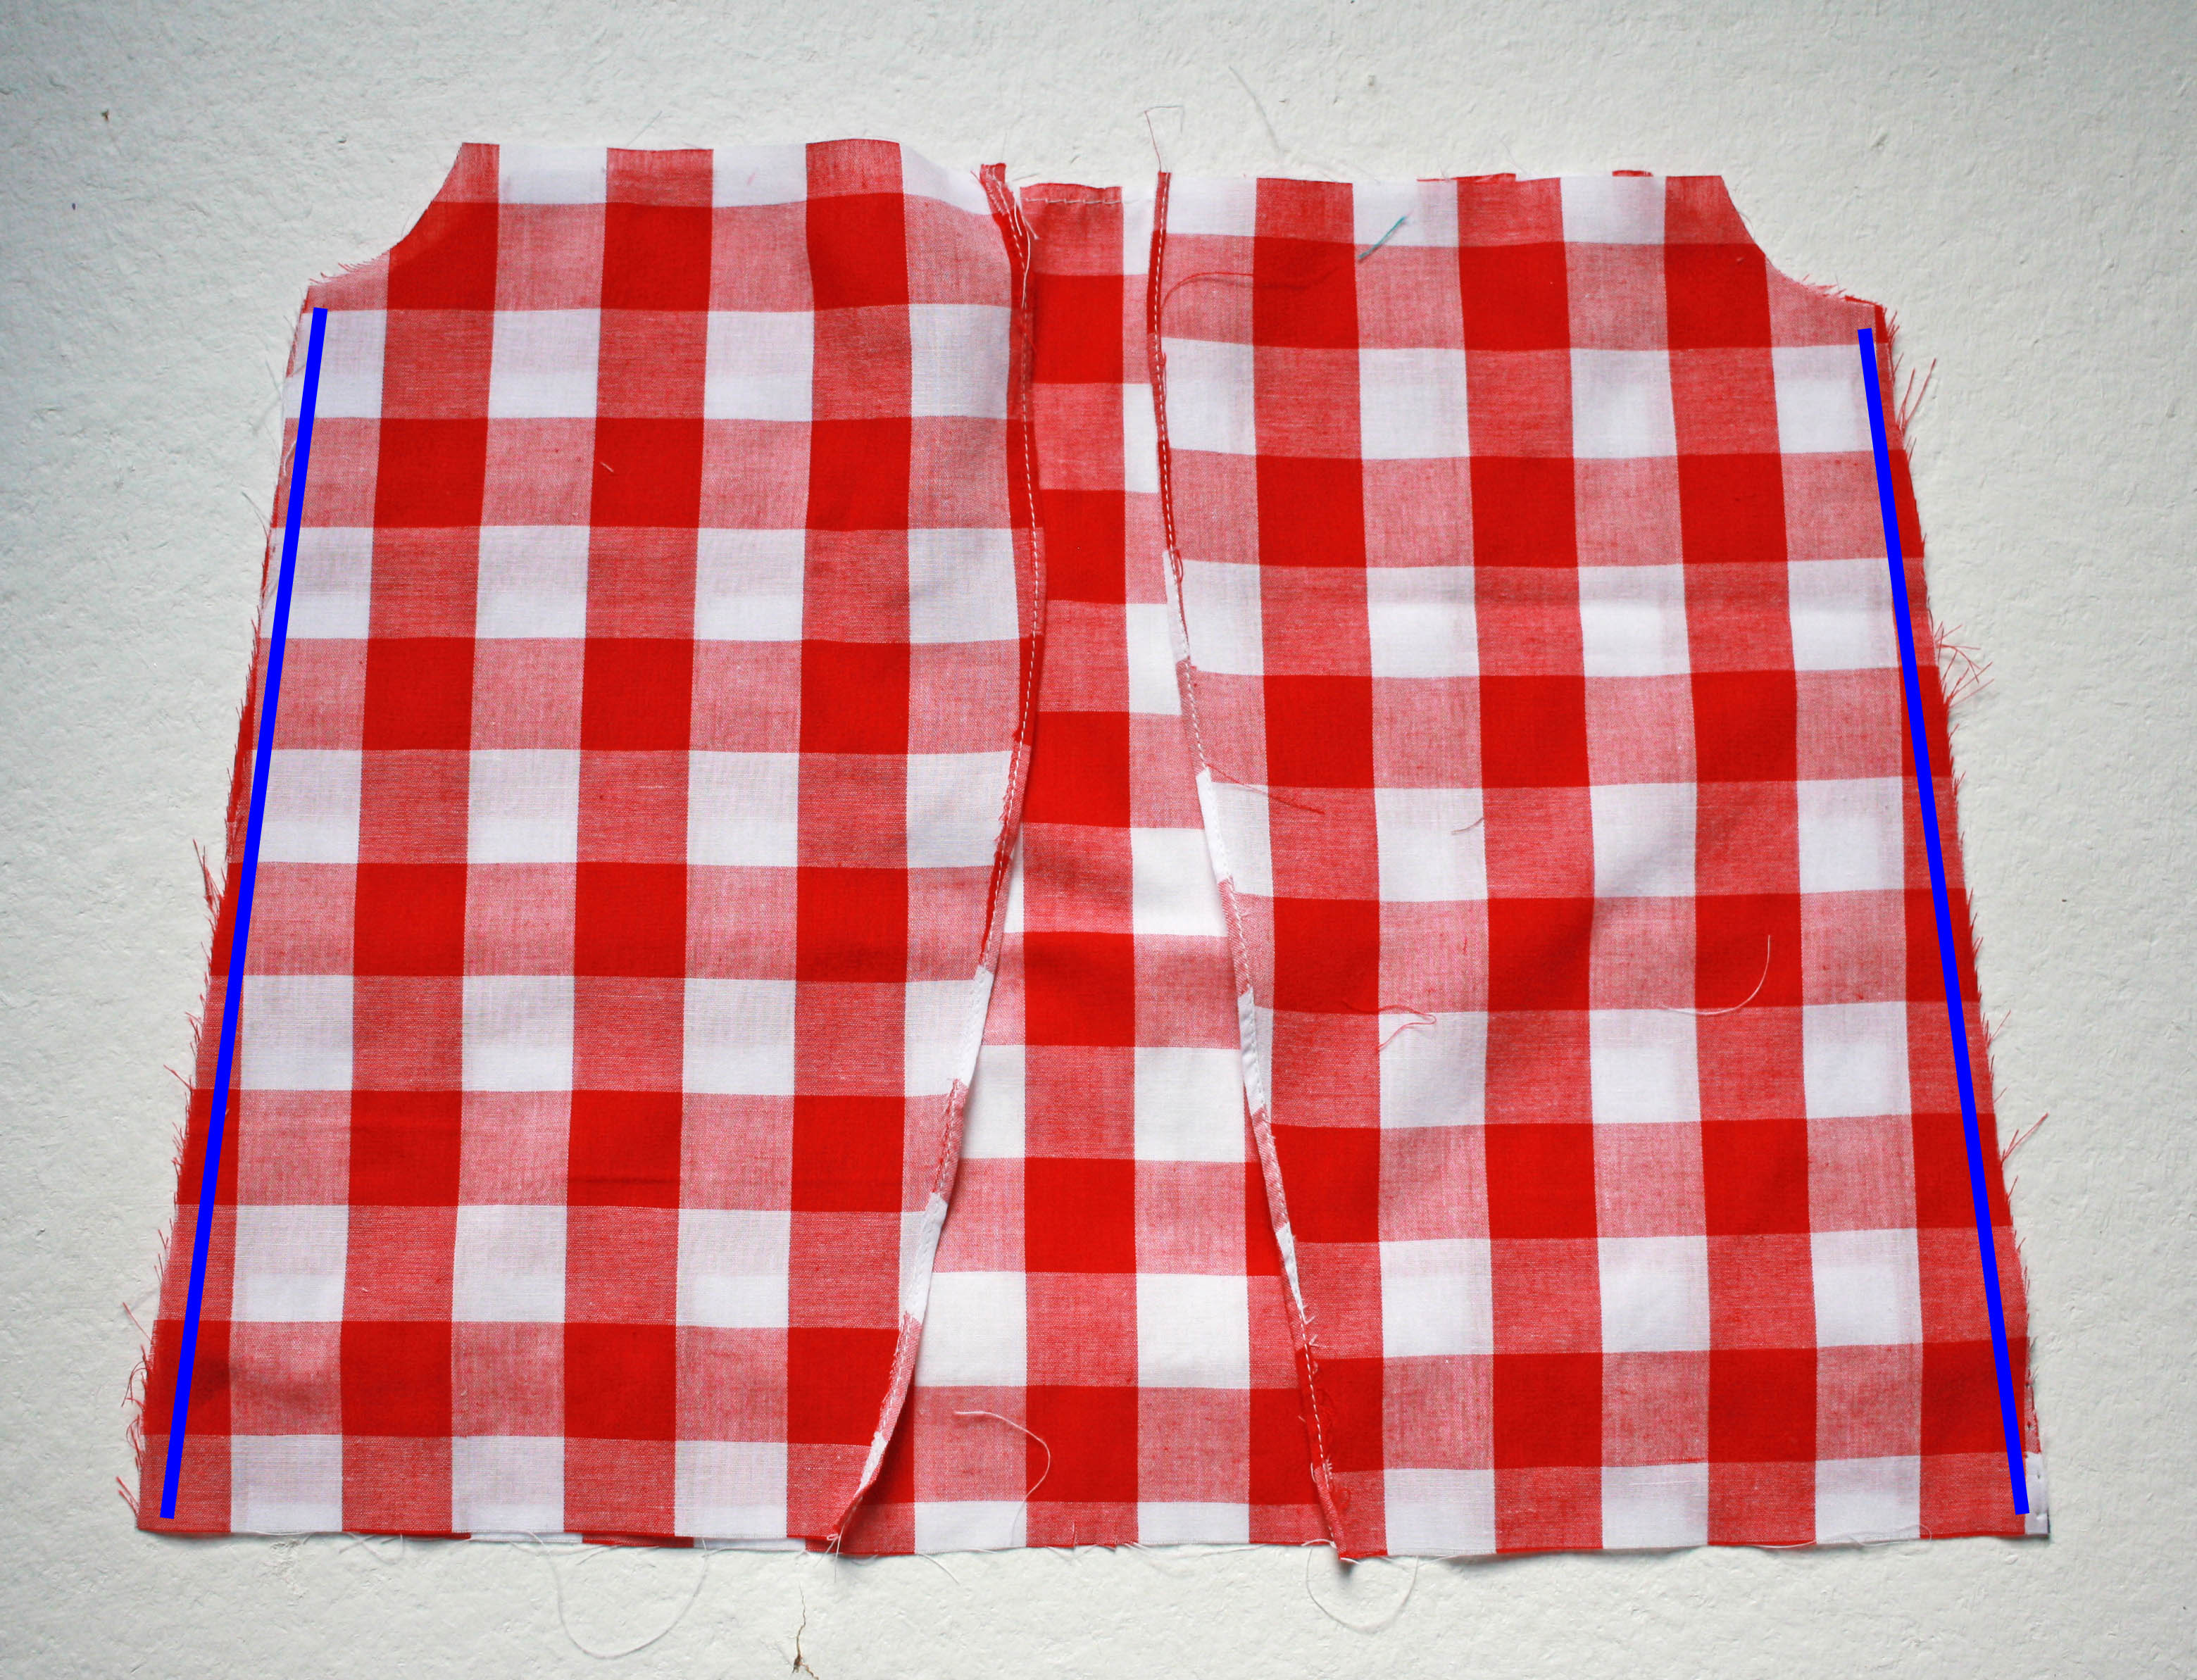
Cut 2 mirror images from your back pattern piece instead of cutting on the fold. You don’t have to worry about adding seam allowance since it’s a gathered piece, unless you really want to.
If you would like a layer under your back piece, cut it from the back pattern piece on the fold. I used a piece of lace.
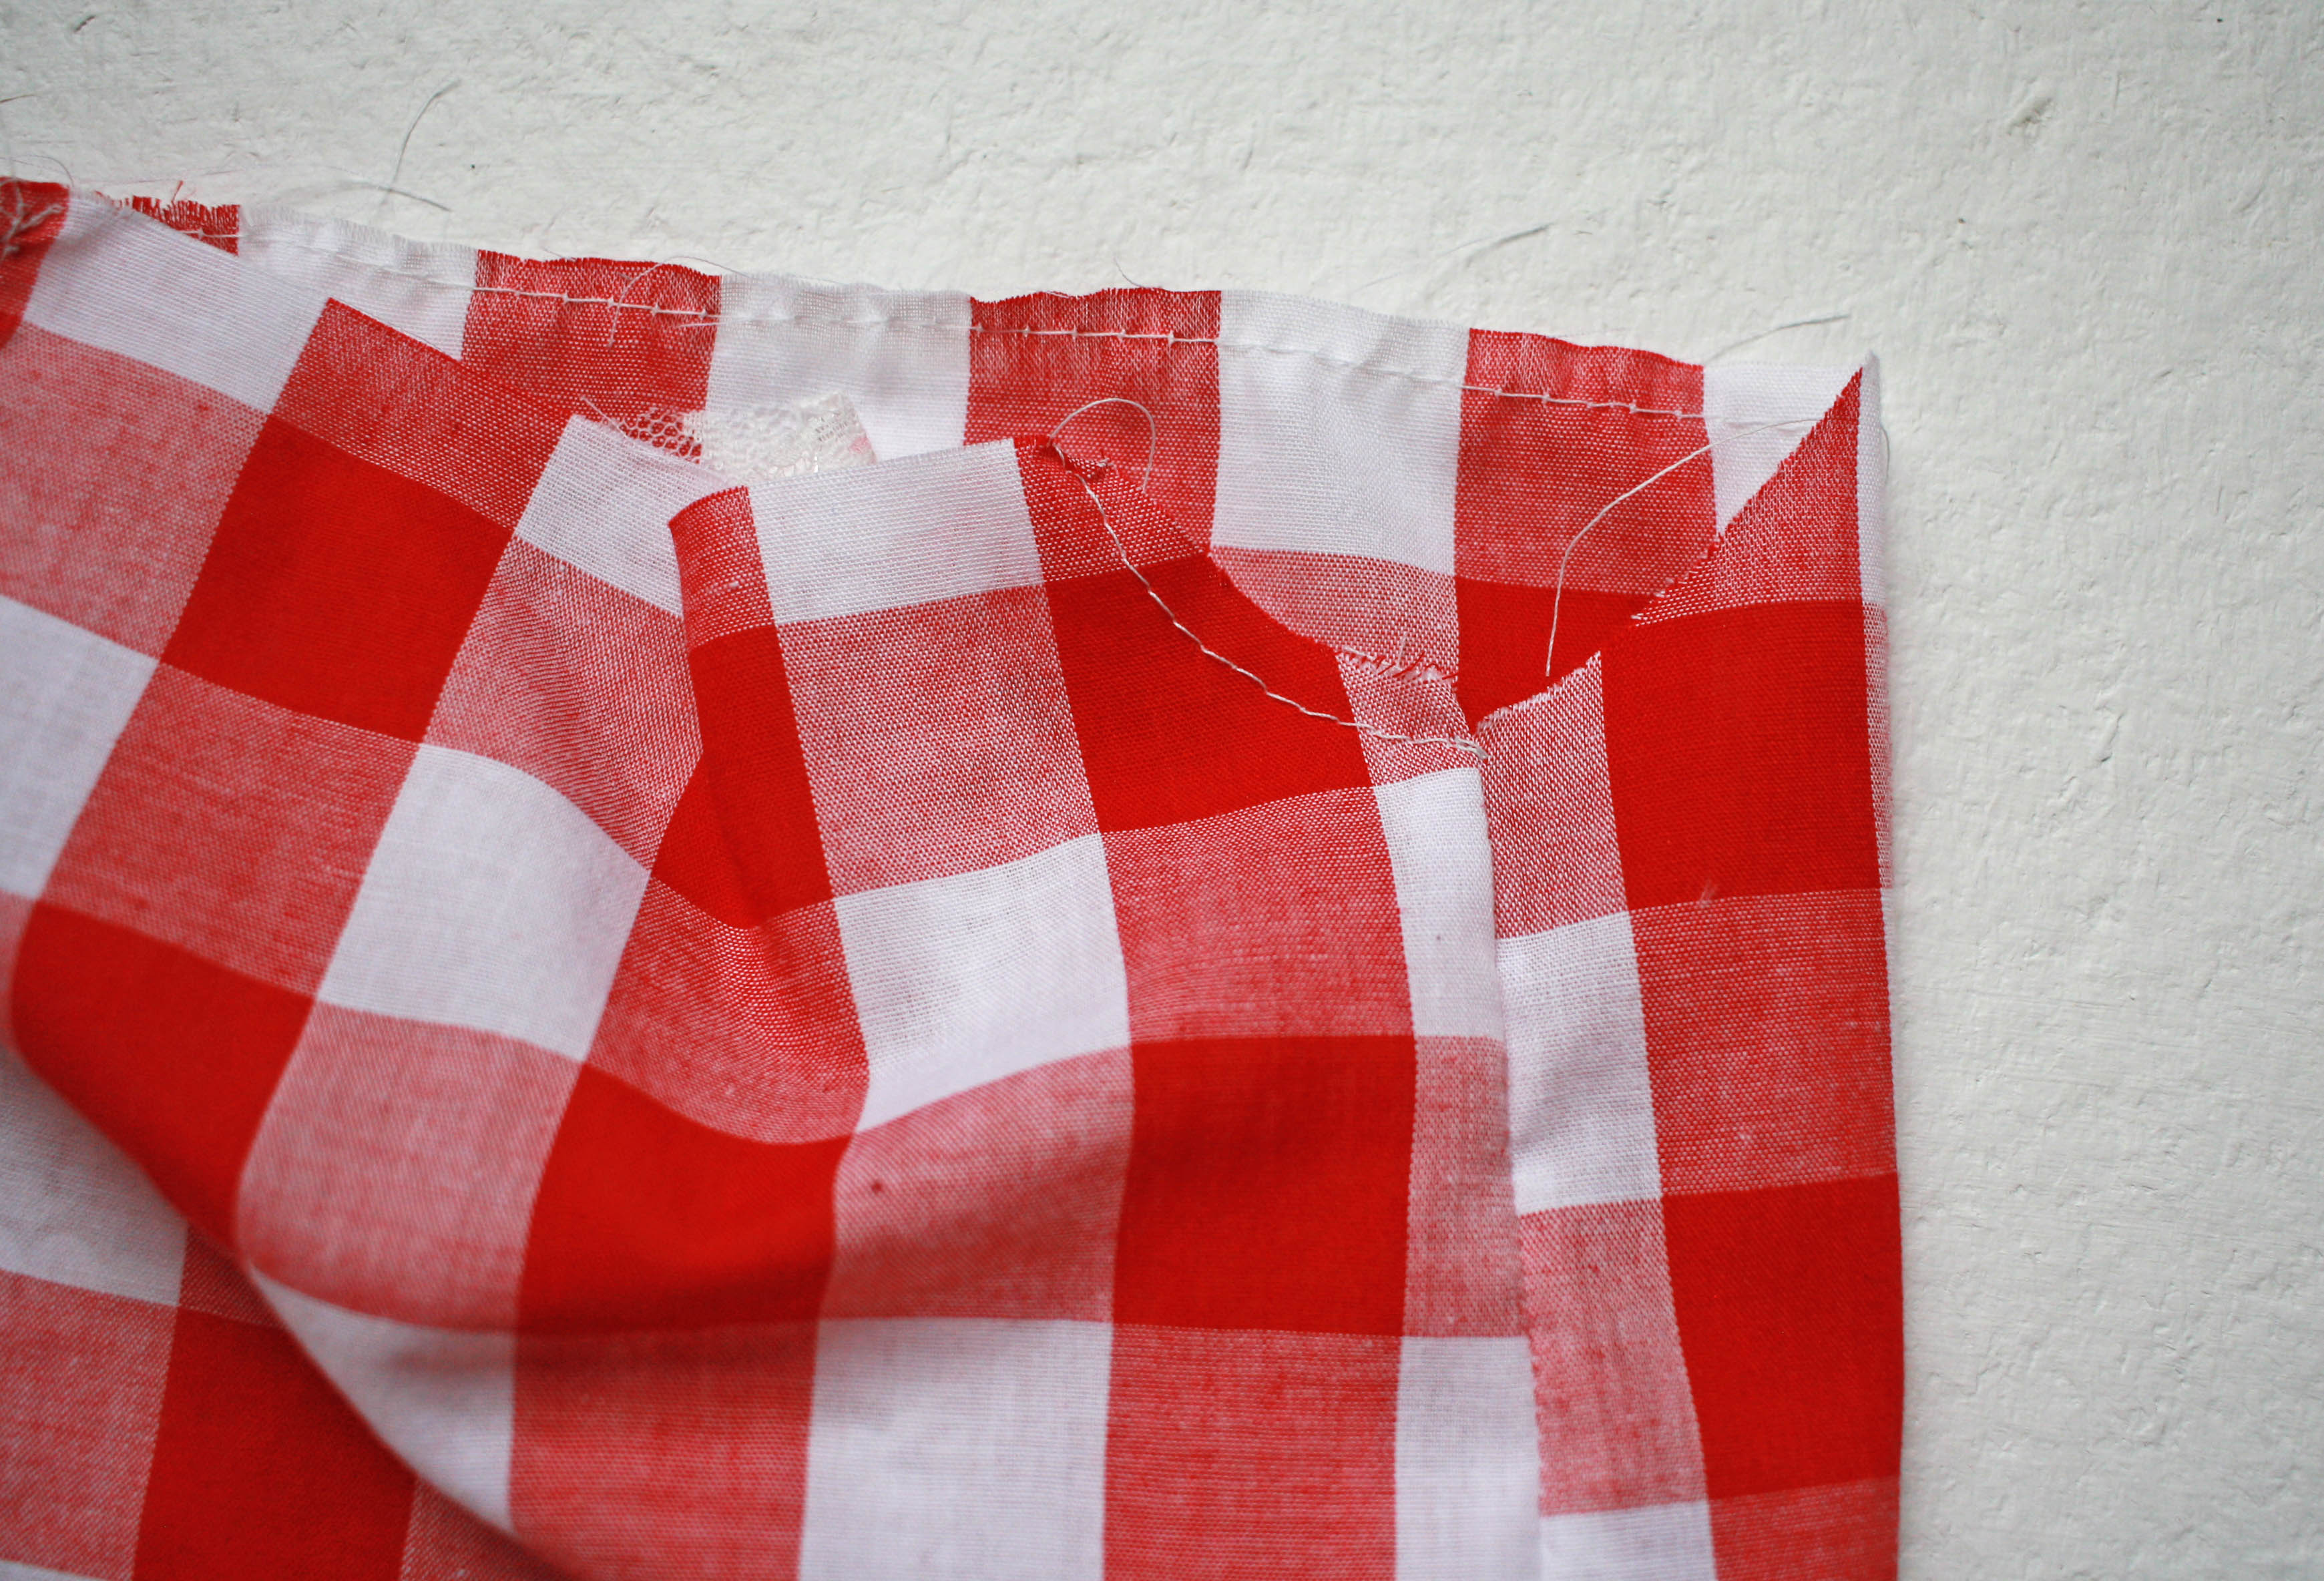
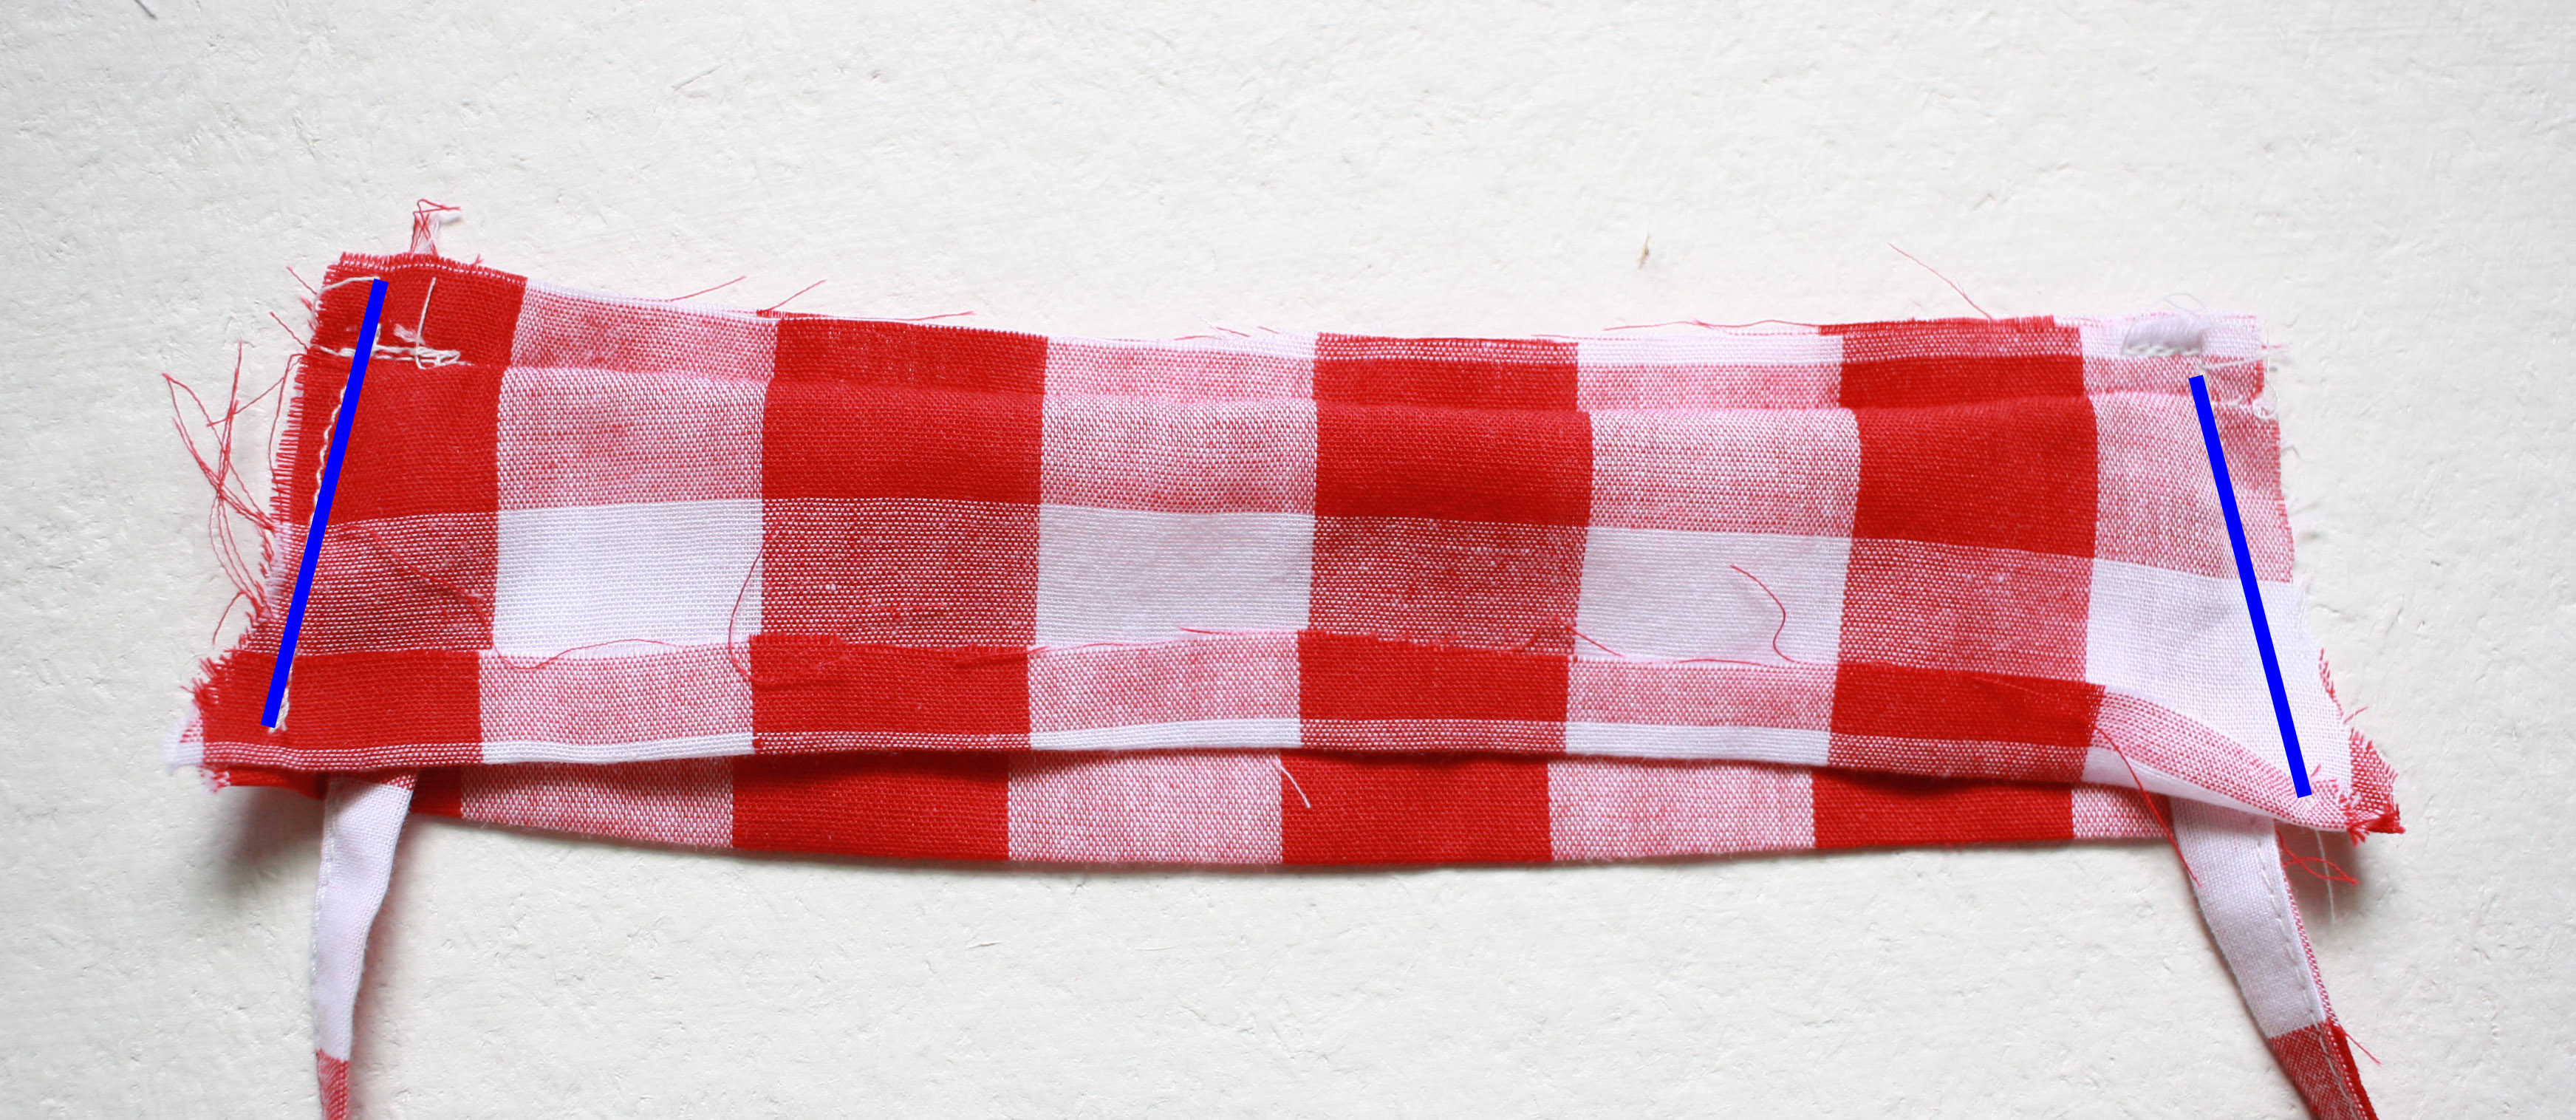
I slightly cut my center back pieces at an angle, starting at the bottom and stopping half way up.
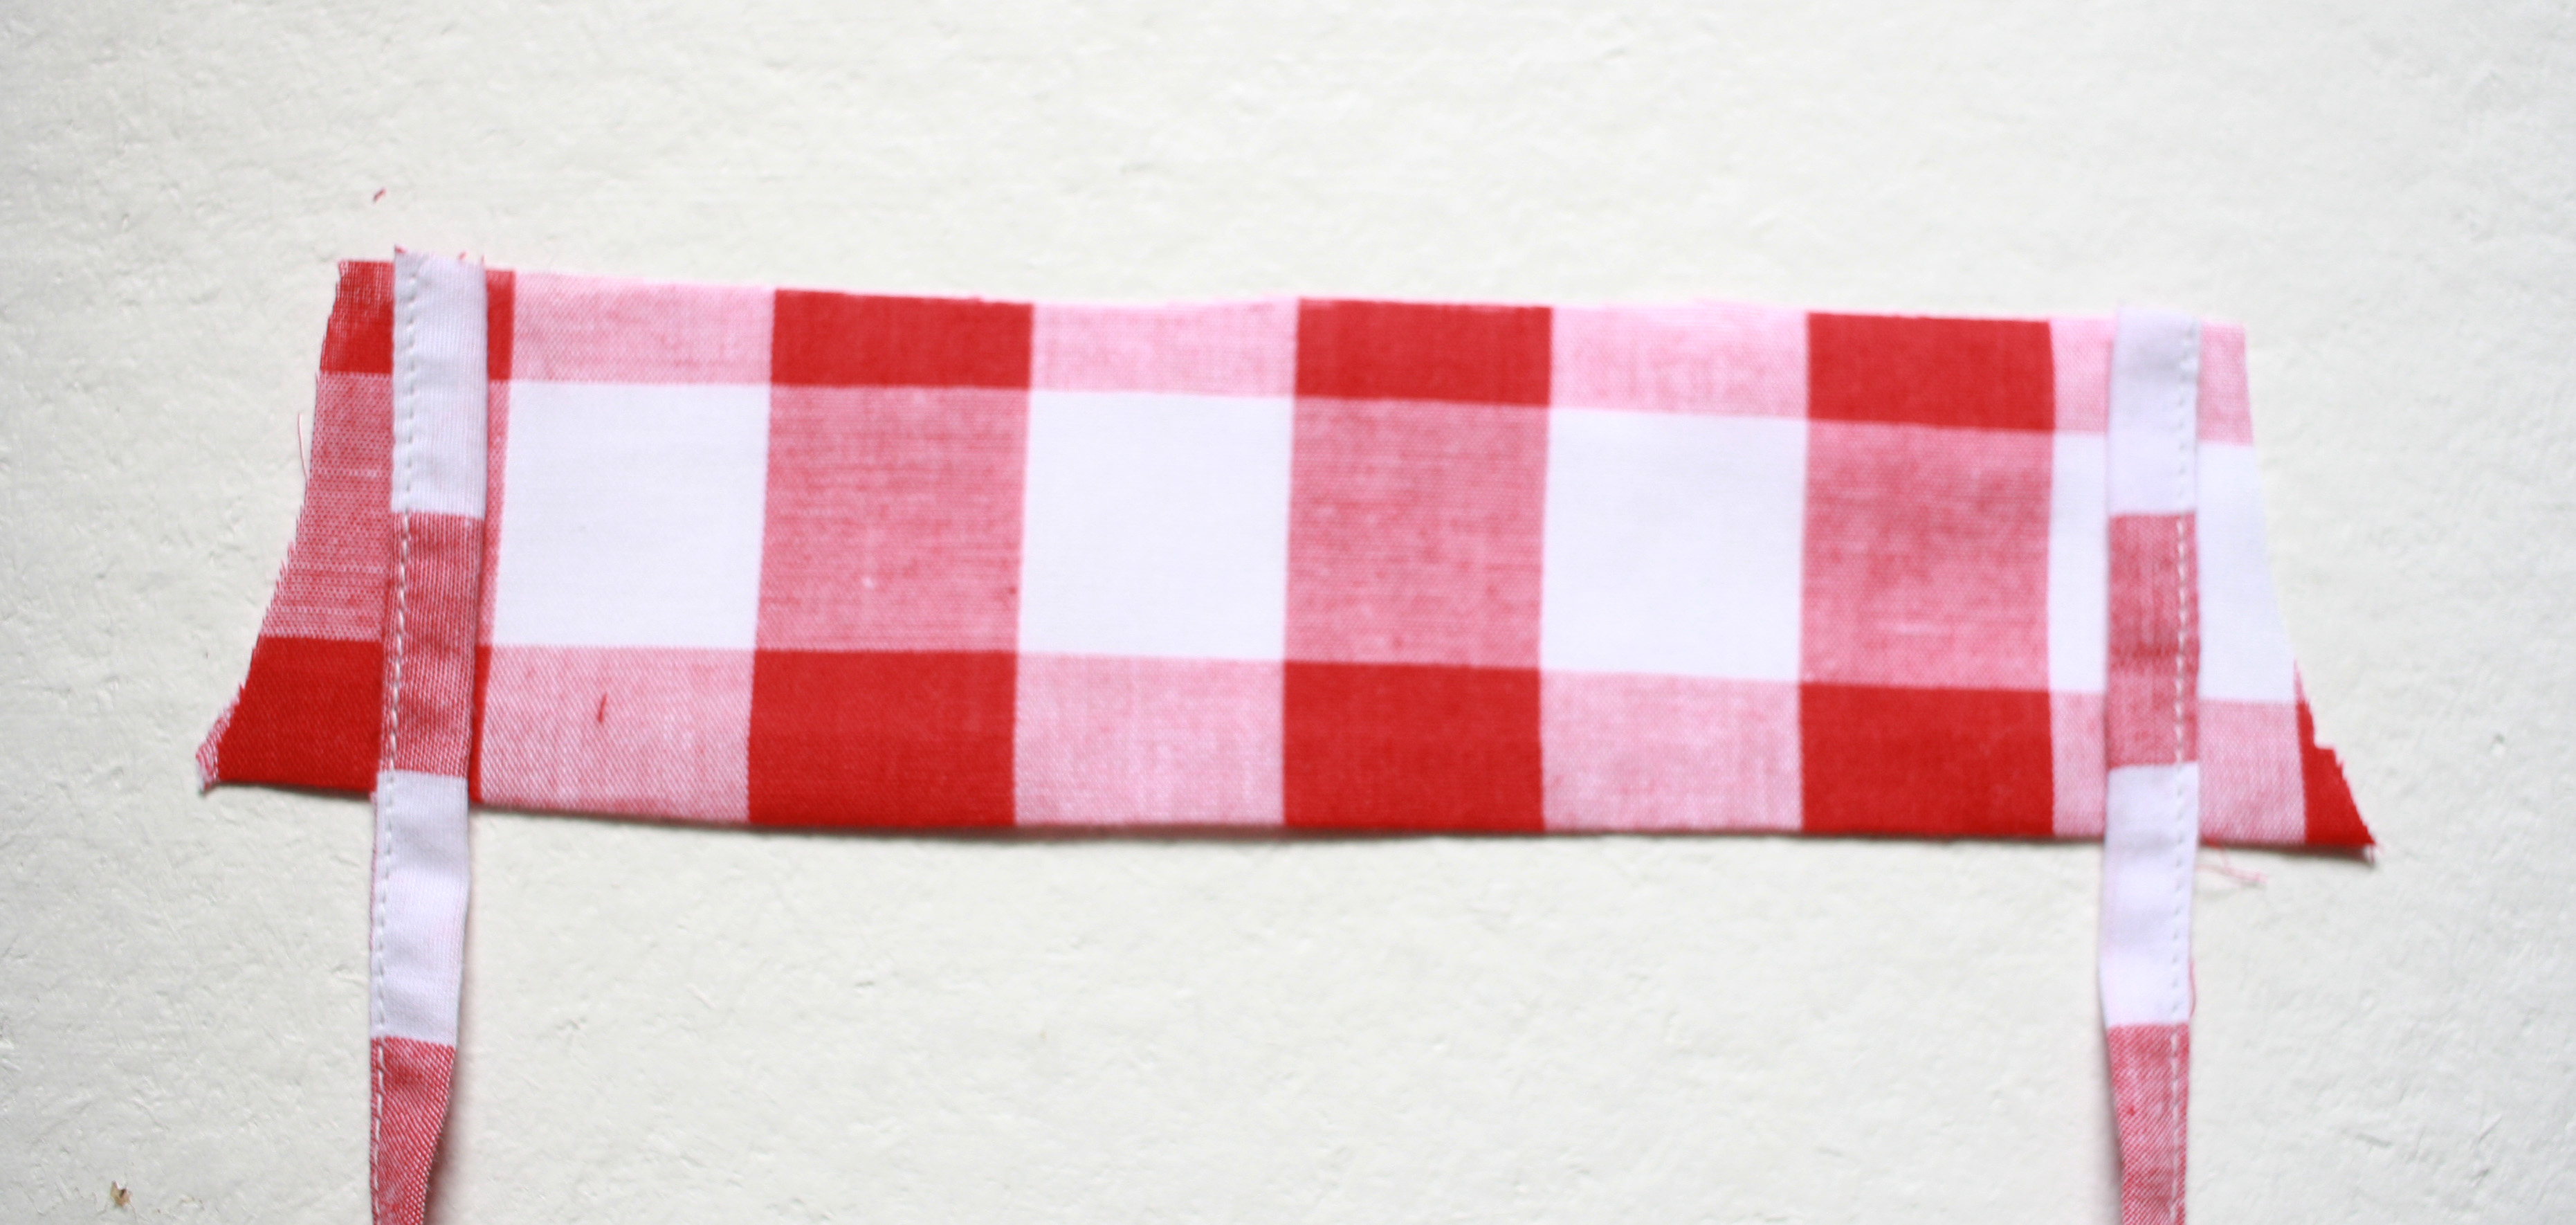
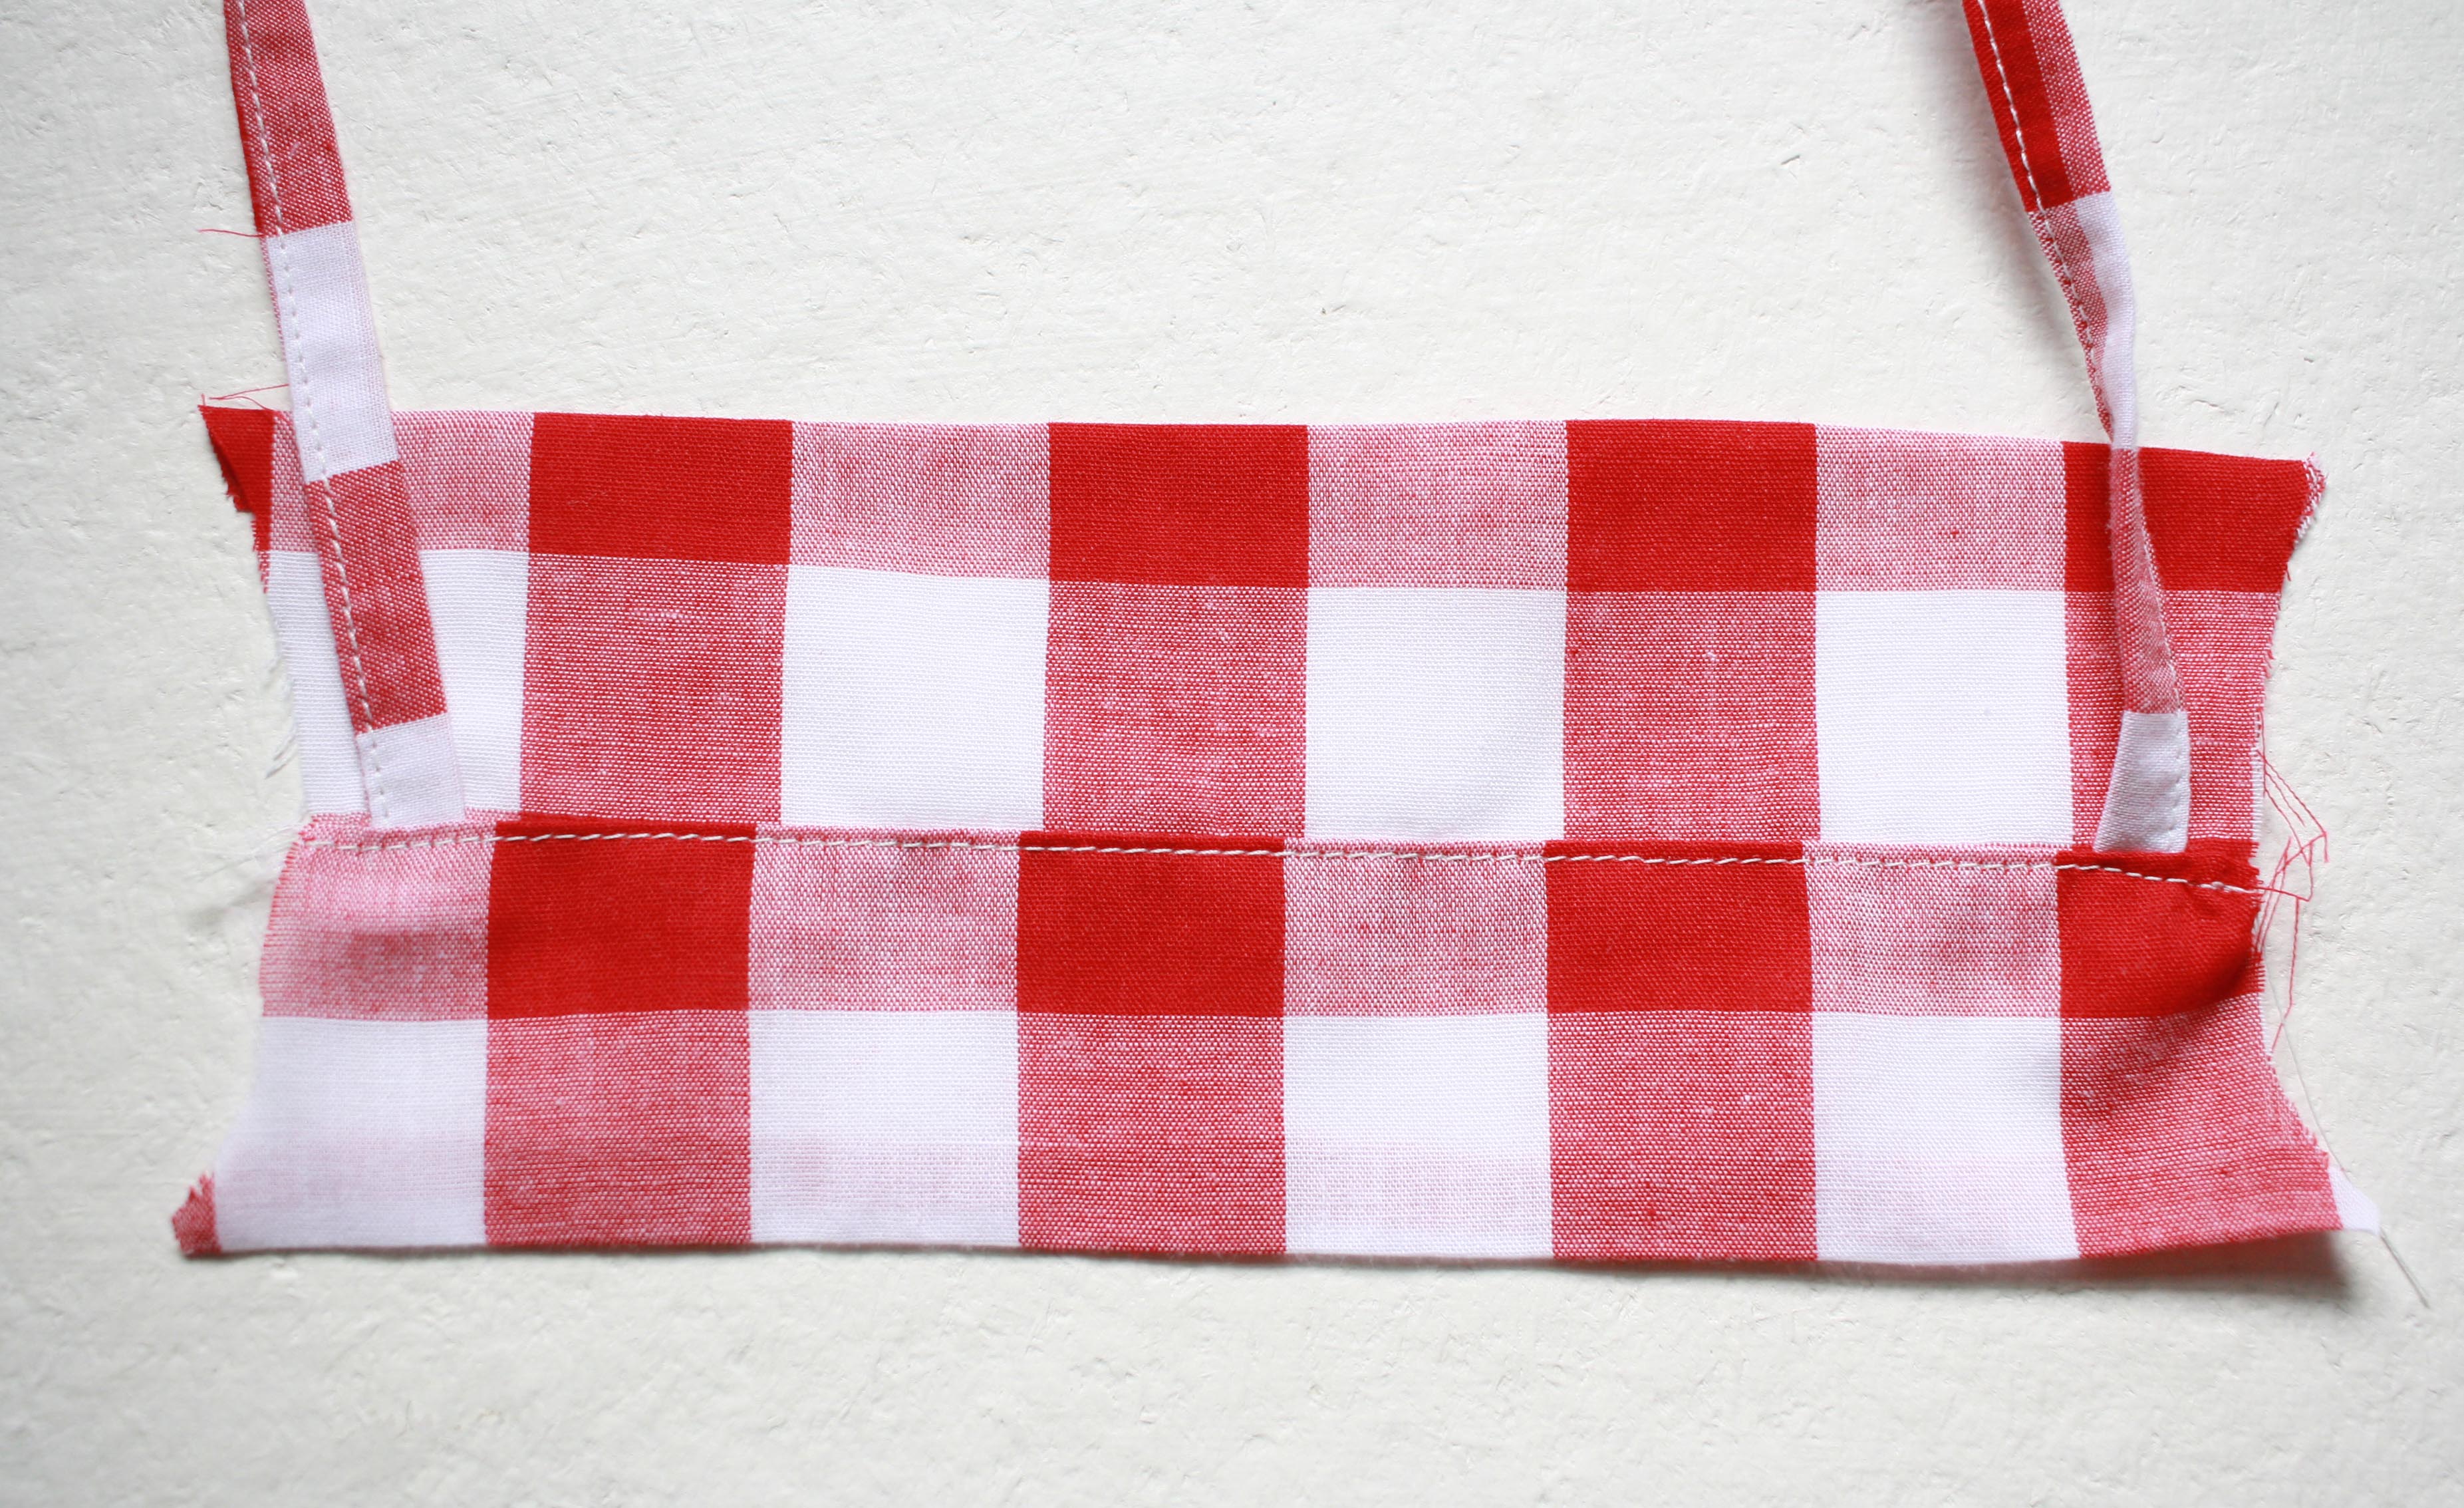
If you are adding the tie straps, you wont need the elastic back, so your back piece can be cut the same length as your front piece. Make sure that you keep the same width, or it will change the fit of your top. The back piece isn’t as wide as the front piece. You won’t need to cut your strap pieces from the pattern and you will also need about half of the bias tape. I will explain that later. The rest of you pattern pieces can be cut as noted on each piece.
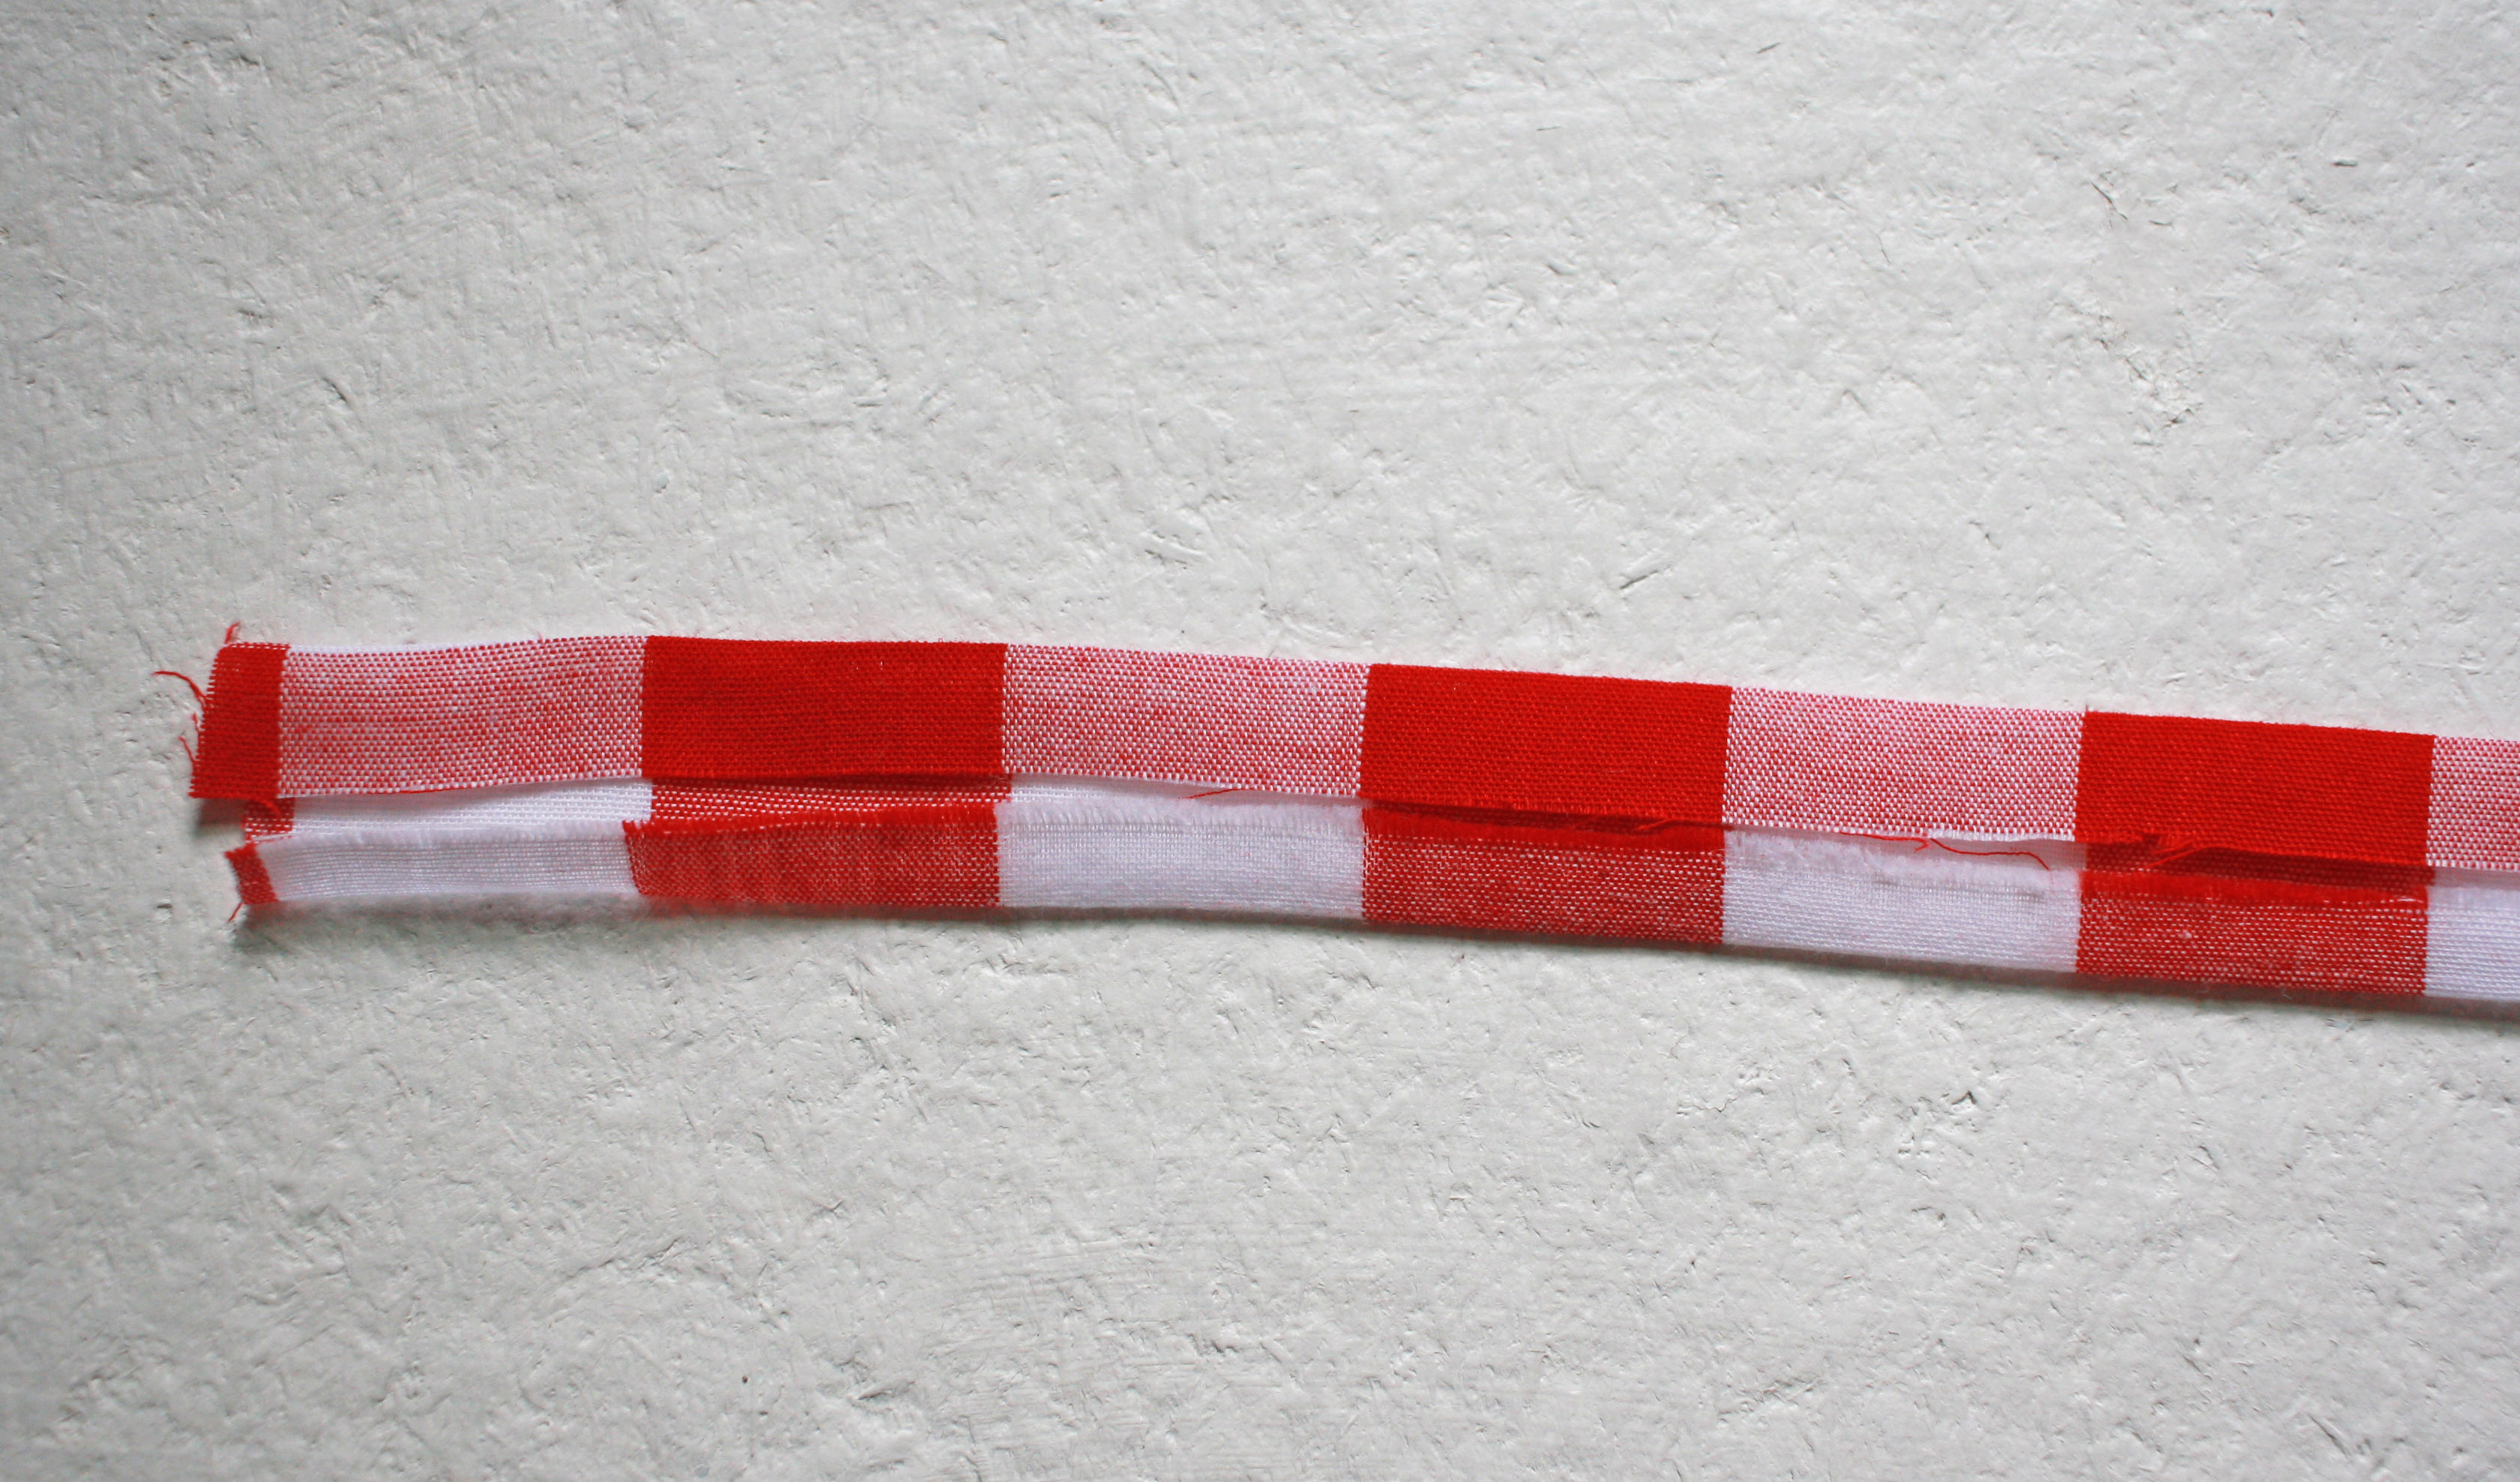
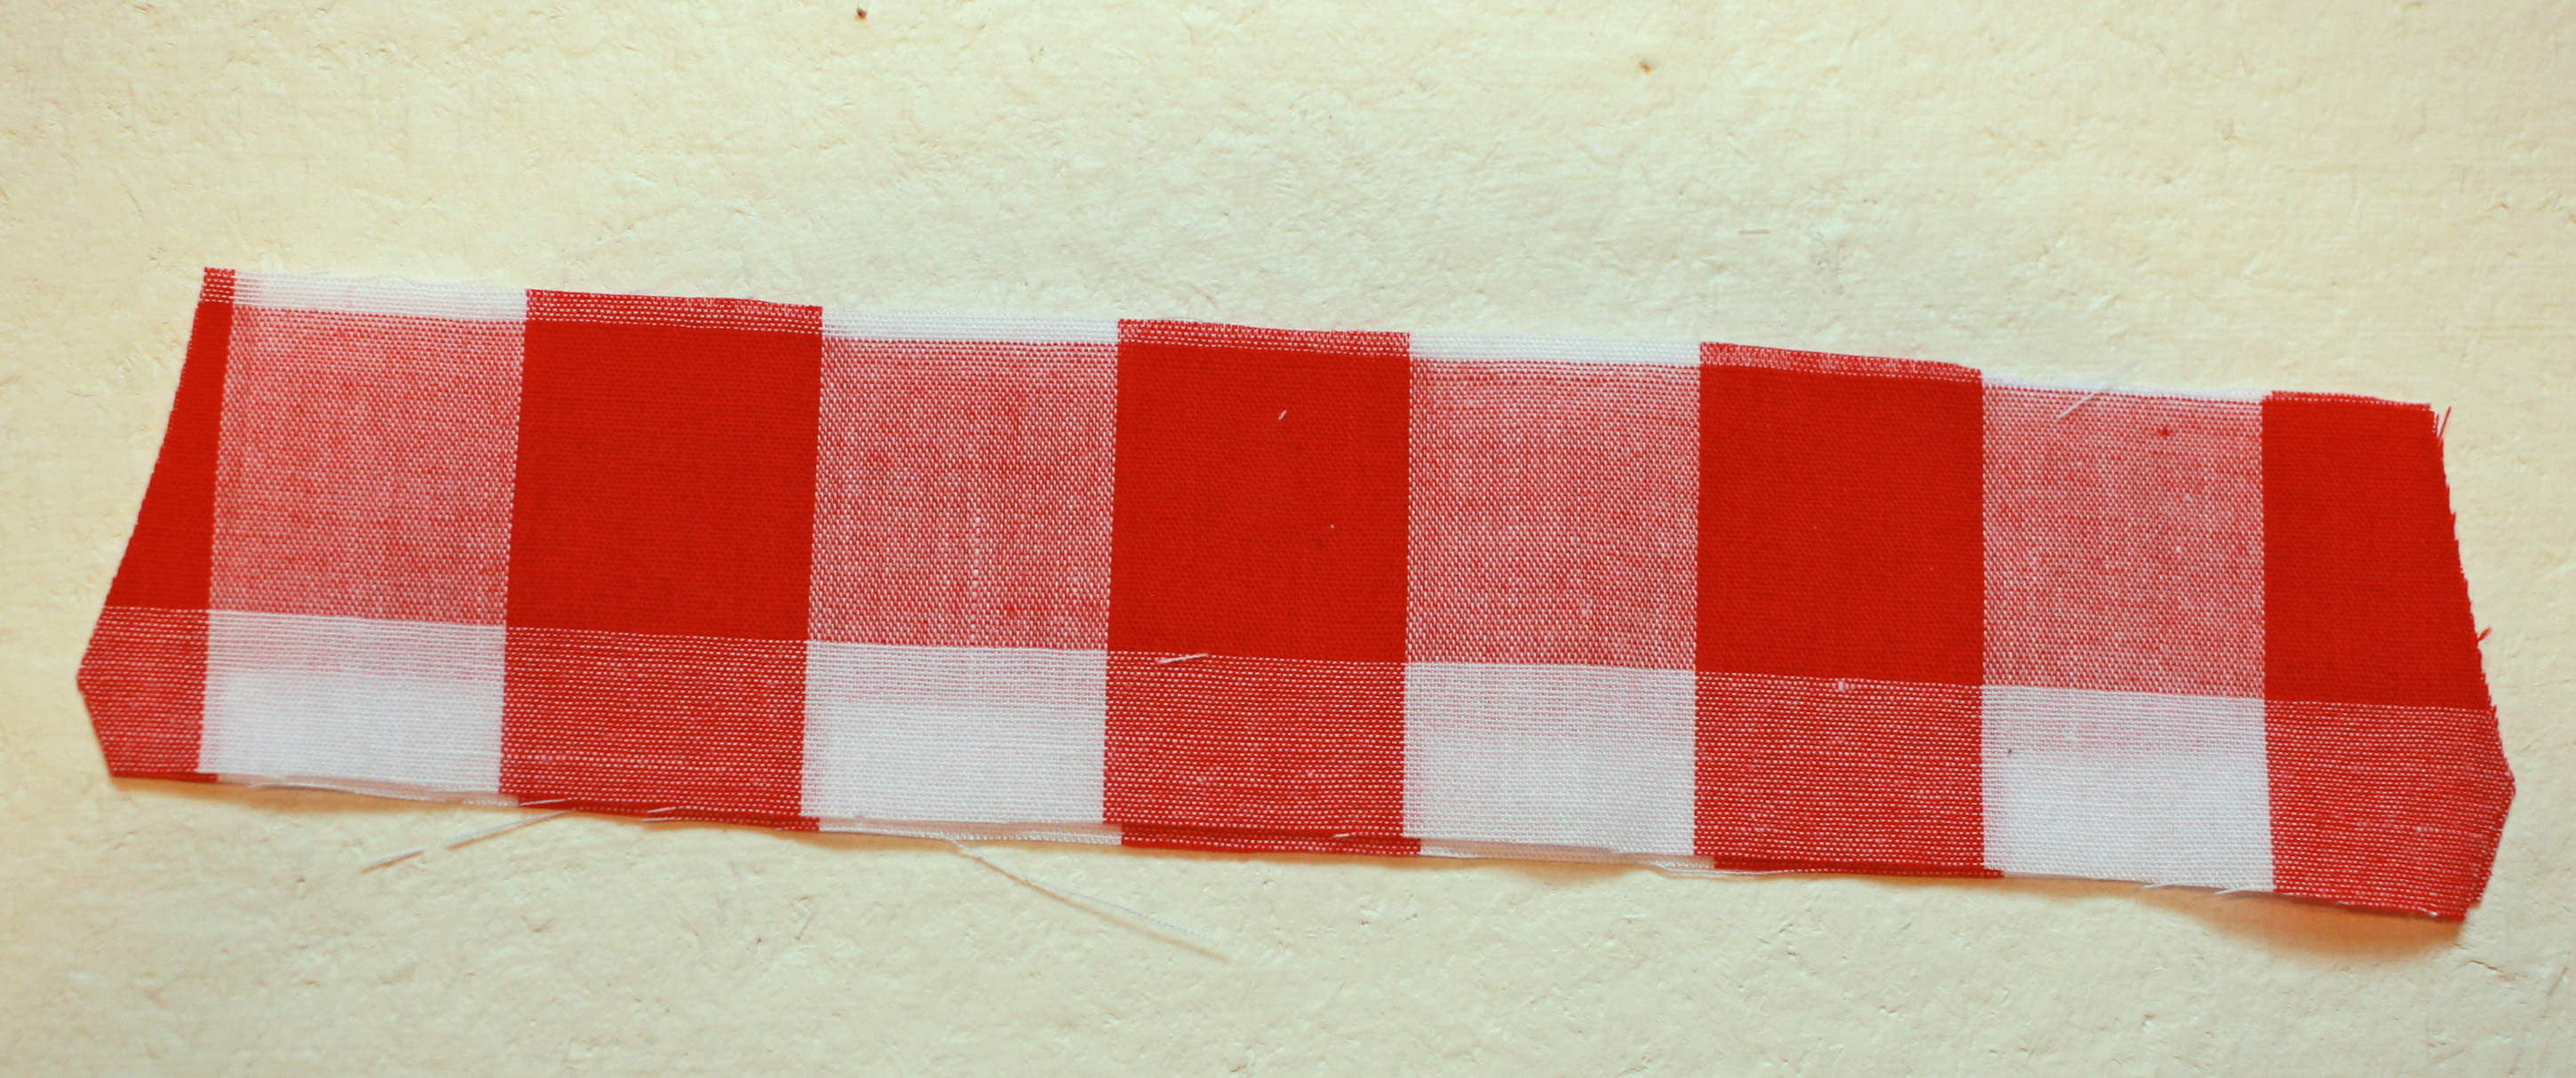
To make your straps cut a of strip of fabric 1.5″ x the desired length (x4). For the size 2, I made each of my straps a little over 12″. So I cut 1.5″ x 49″. After you’ve cut your strips, fold both long sides so they meet at the center, wrong sides together. Press well.
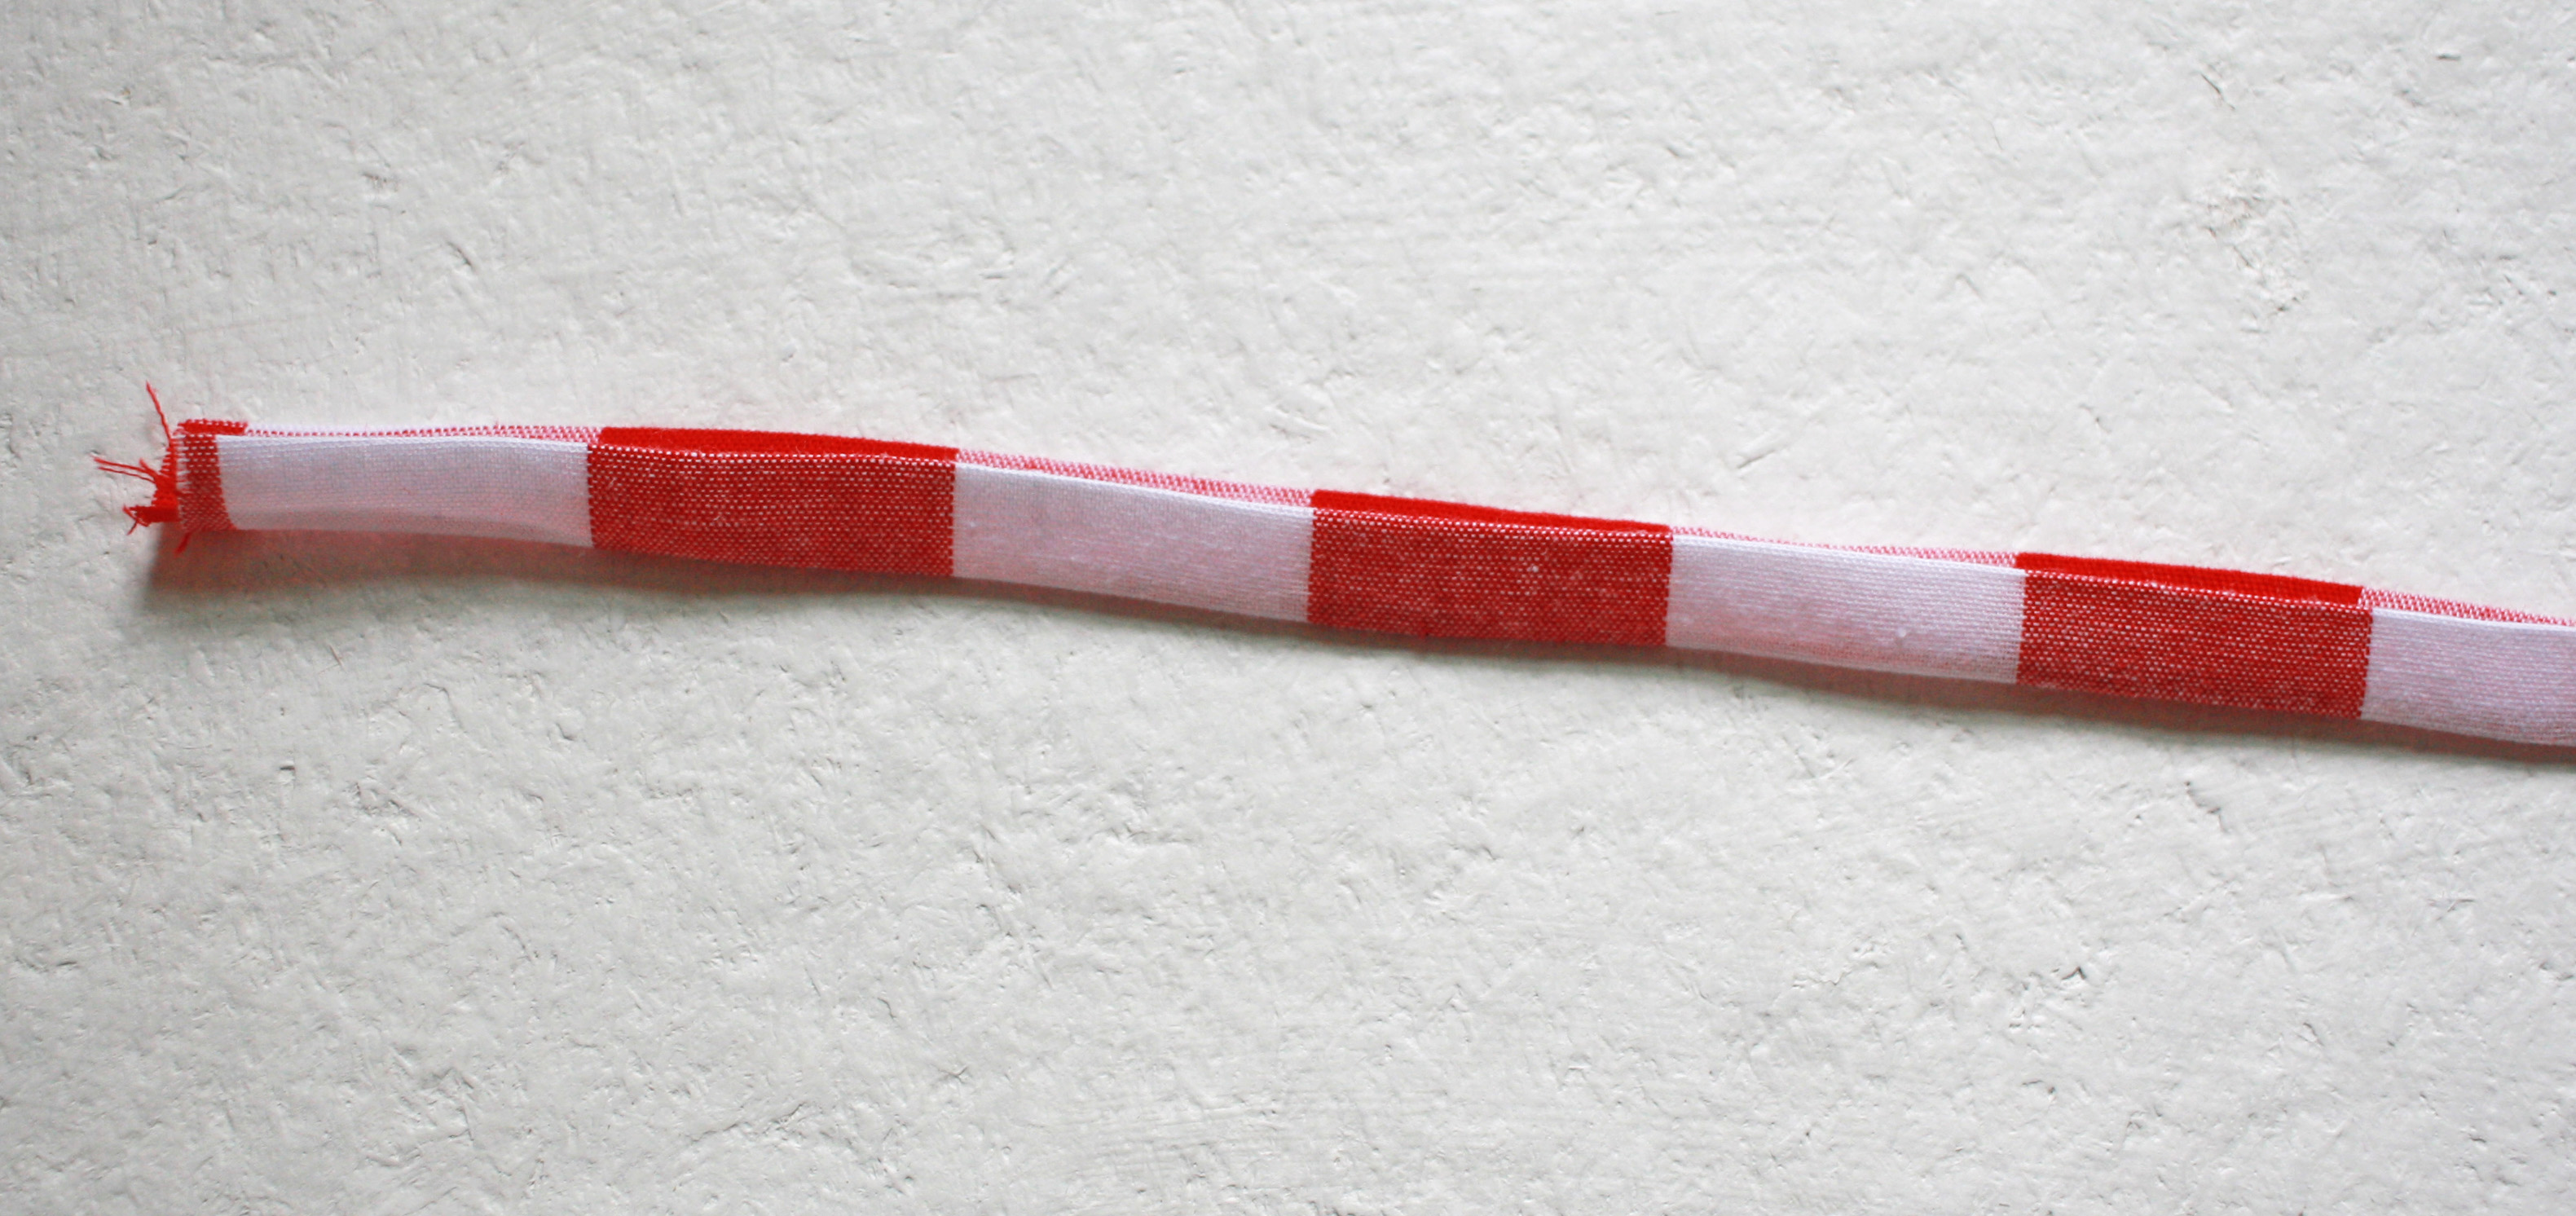
Now fold your strip in half and press well.
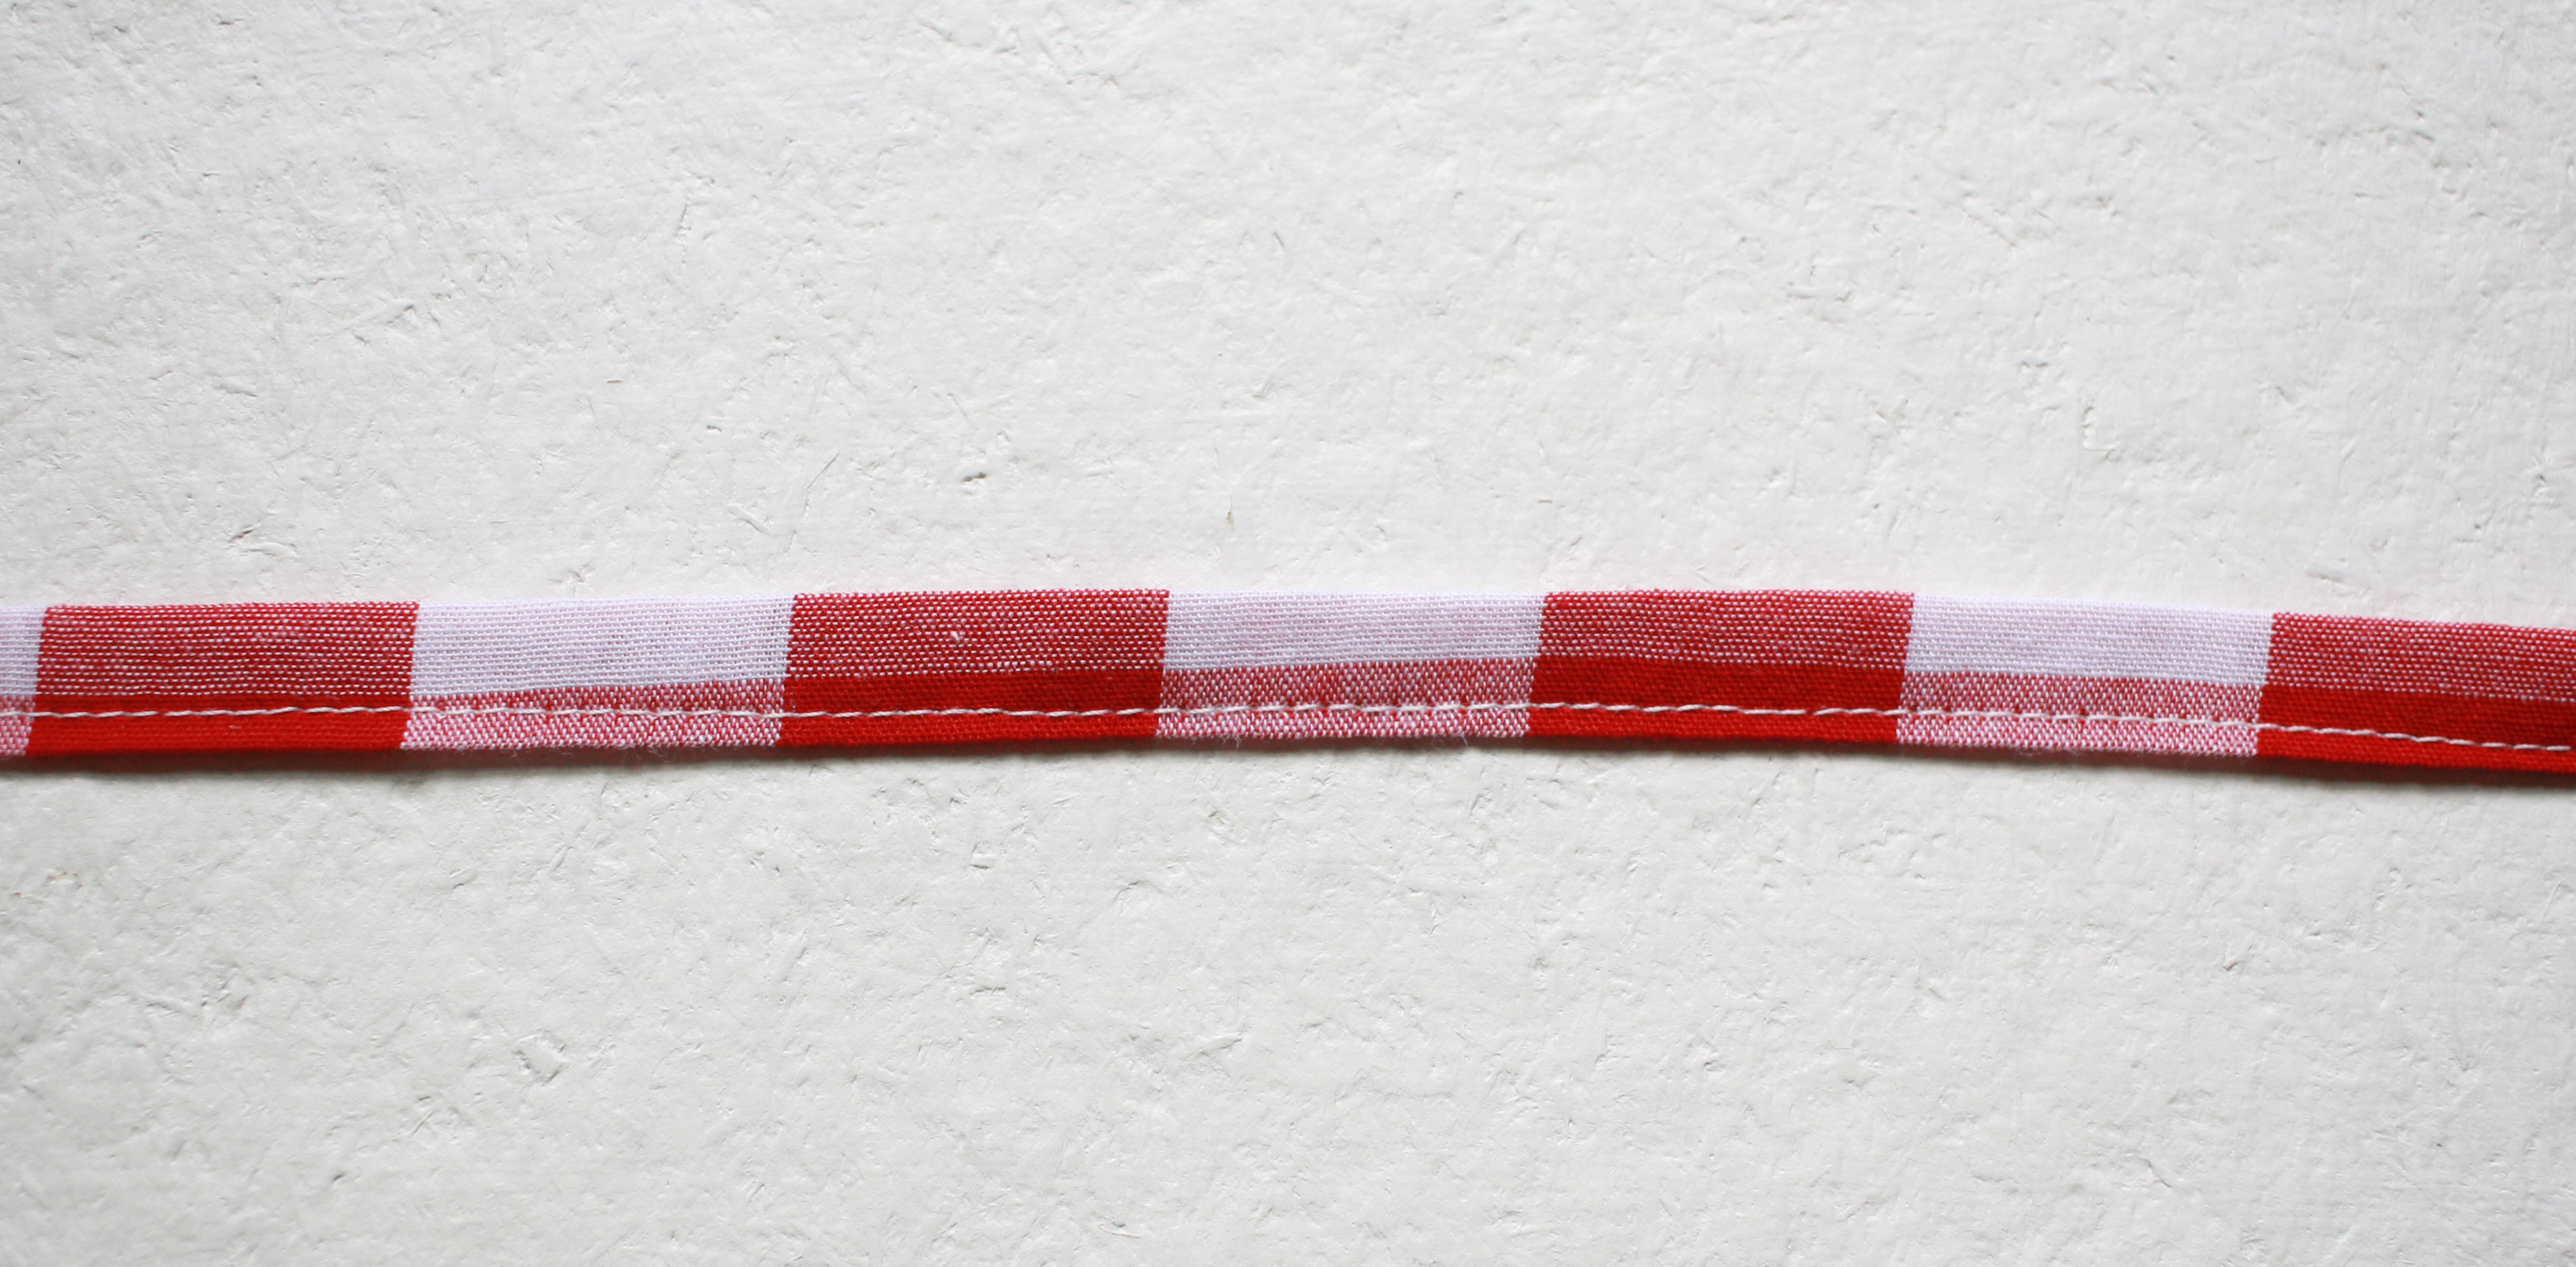
Sew the open edge together with a 1/8″ seam allowance.
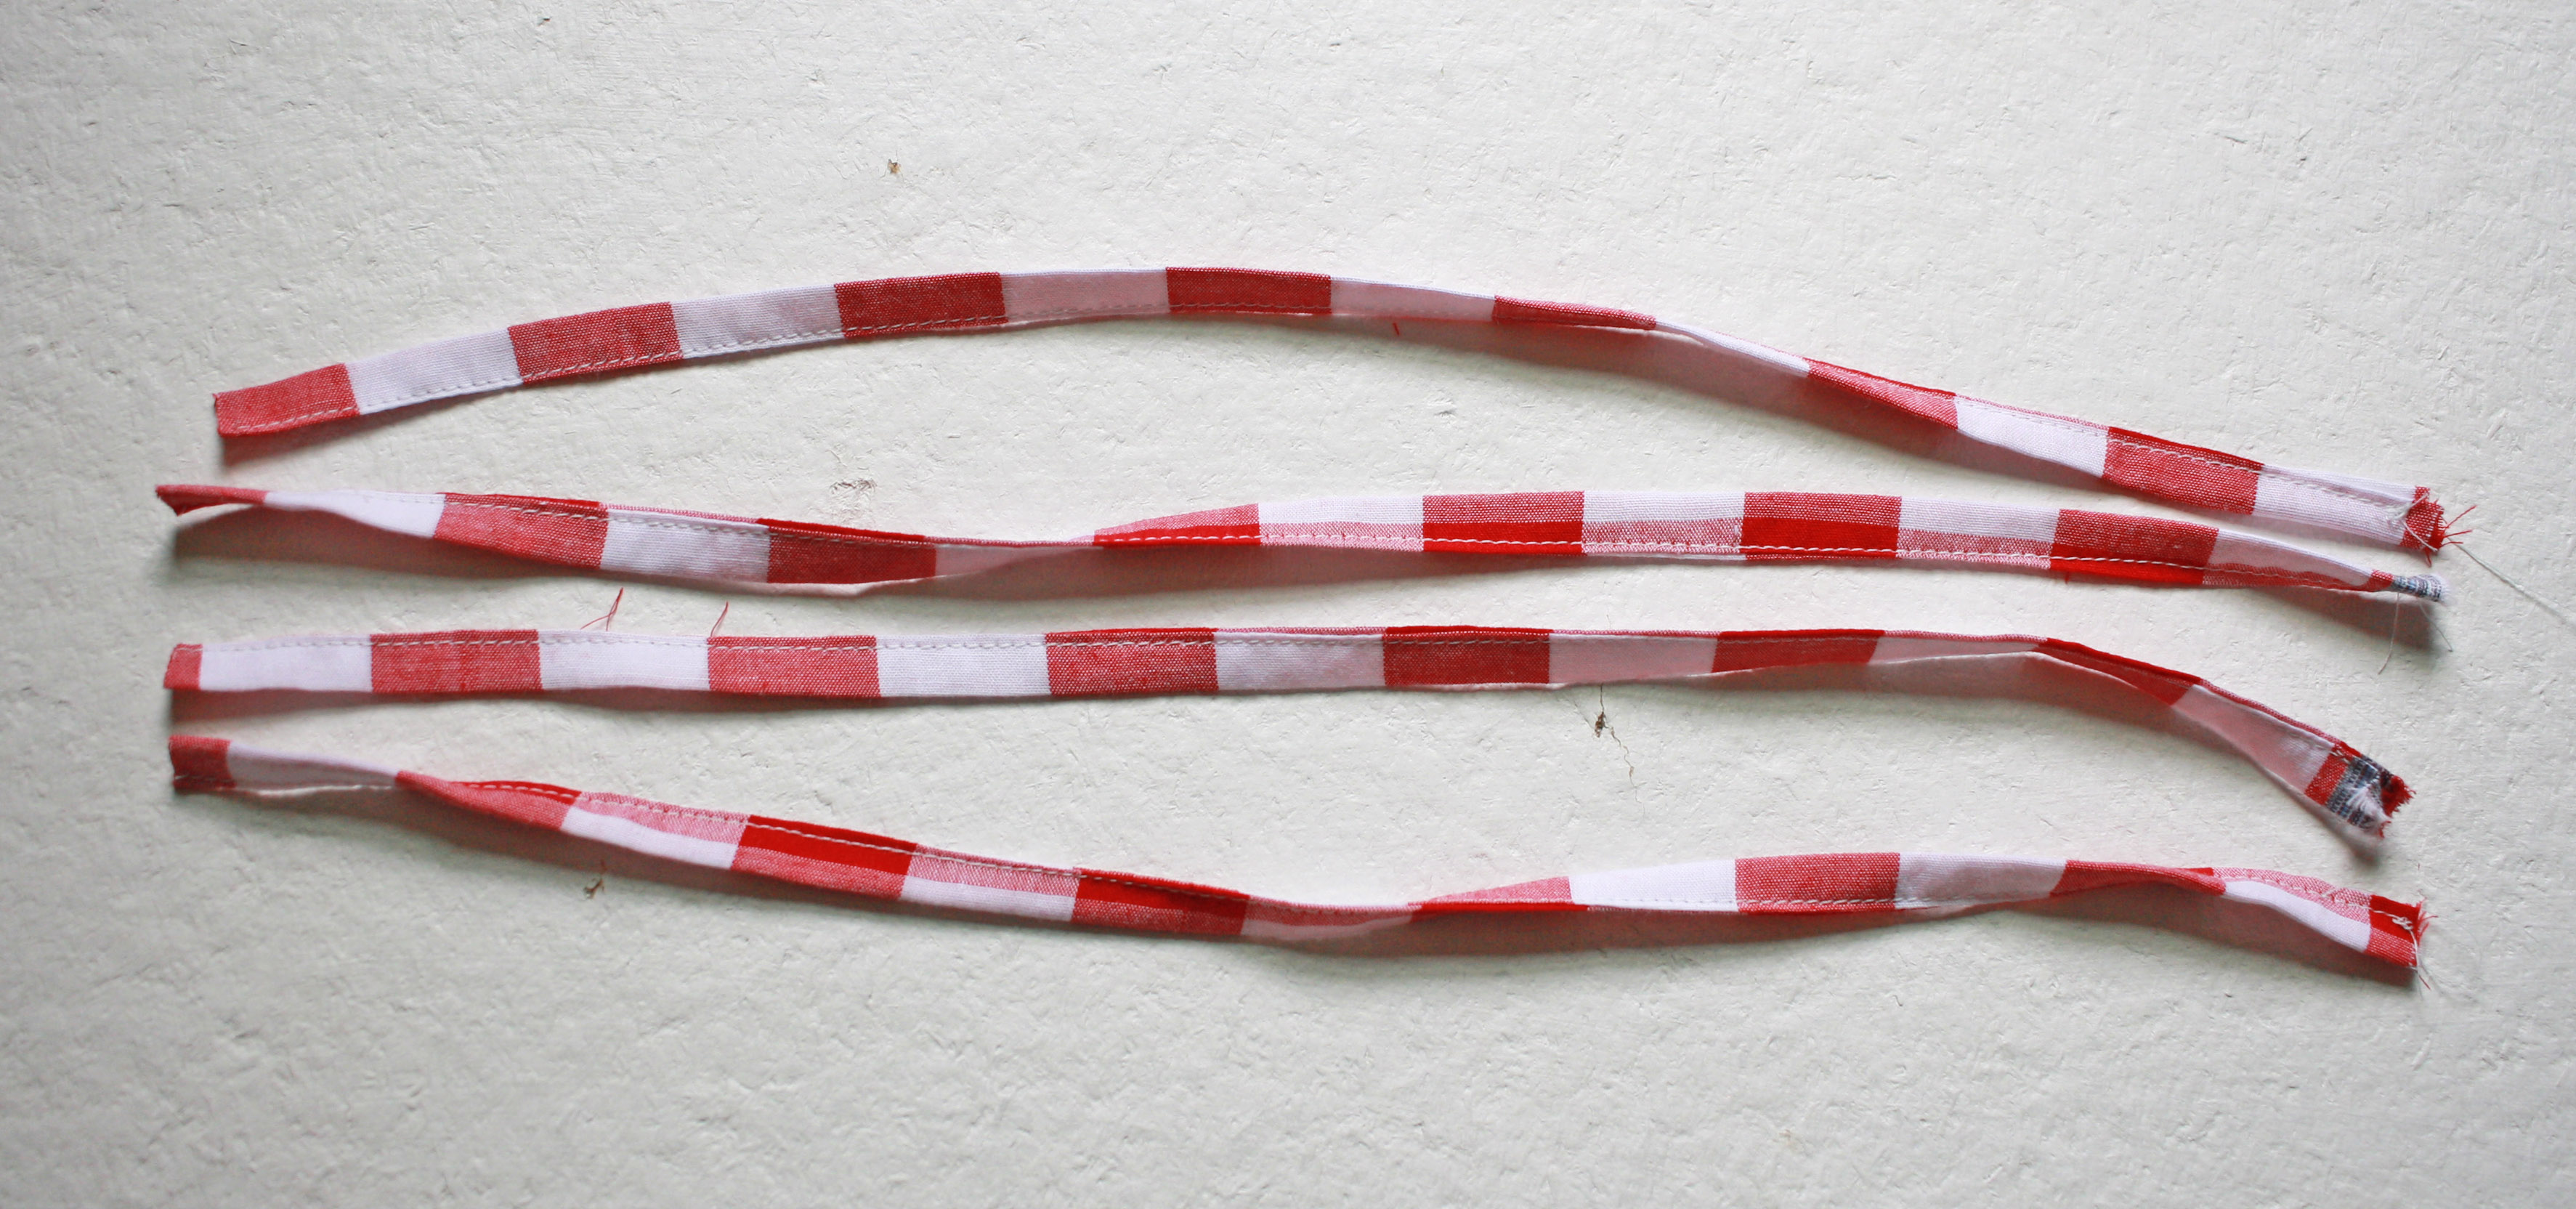
Cut your straps into four equal lengths. Make sure that they will be long enough to tie into a bow or knot with room to fit over your child’s shoulders.
Now take your two front chest pieces and fold the bottoms up 3/8″ toward the wrong side of the fabric and press.
With the right side of your chest strap facing up (folded side down), lay two of your straps, 1/4″ away from the sides and ends even with the top raw edge. The sewn edge of your straps should be facing out. You can baste your straps to help hold them in place if you want. (Note: It’s important that your straps are 1/4″ away from the side, because this will be our seam allowance and we want to make sure we come as close to the straps as we can without sewing them into the sides.)
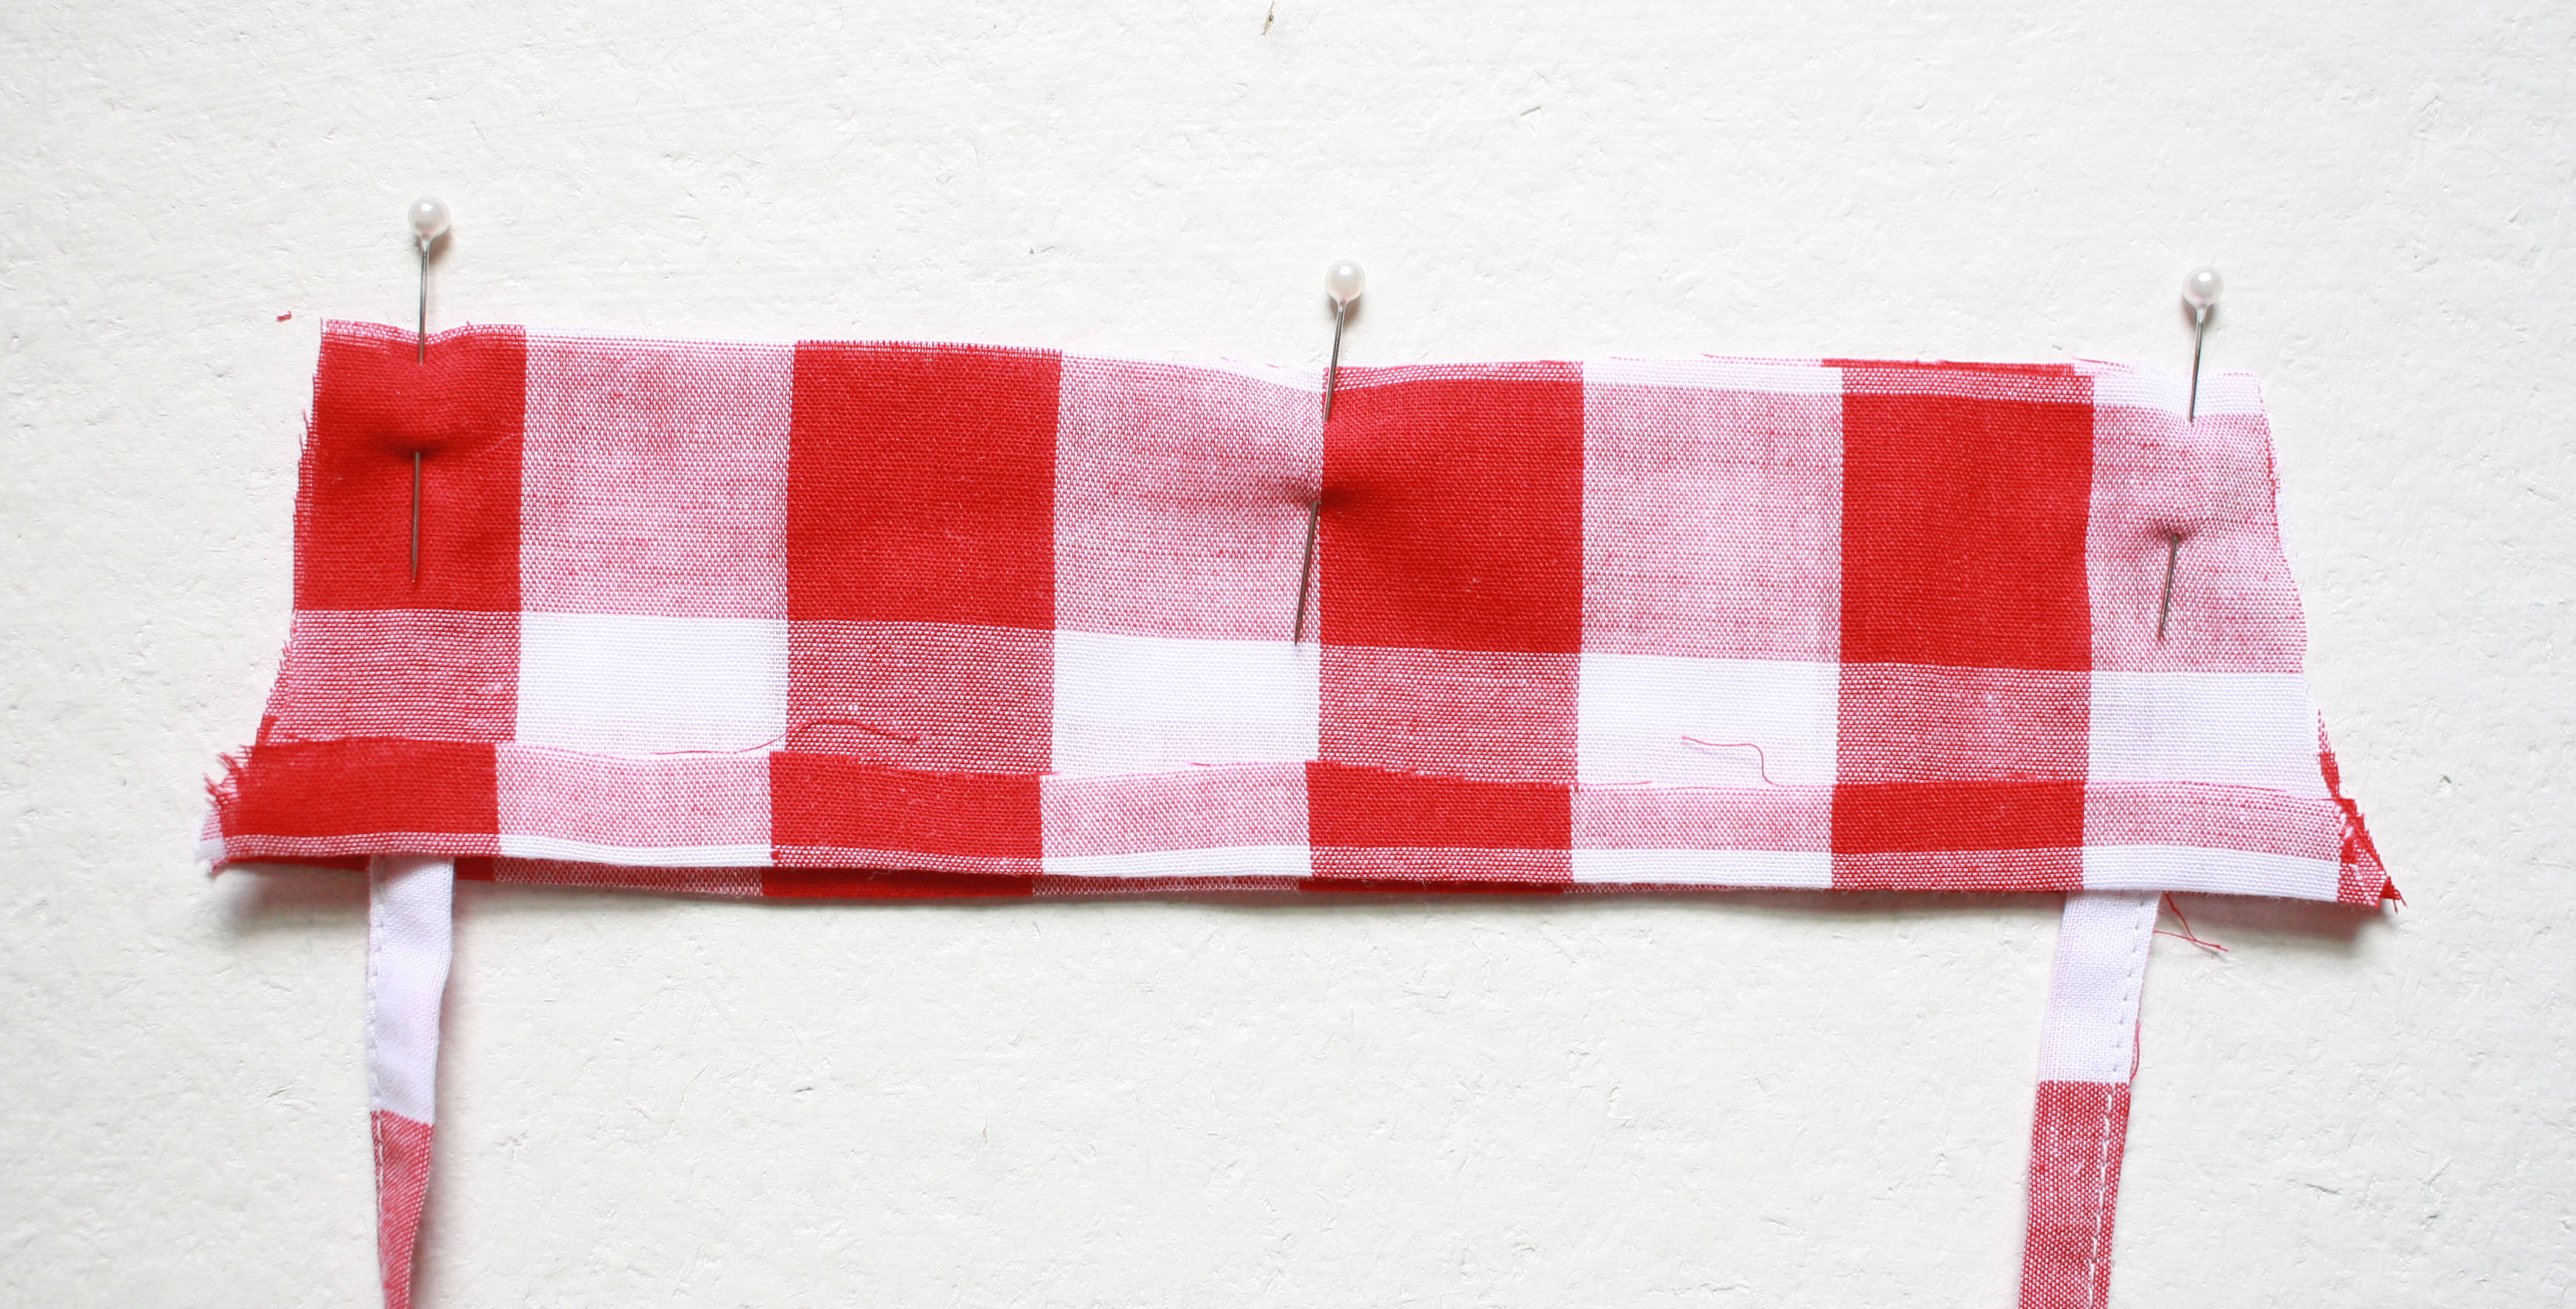
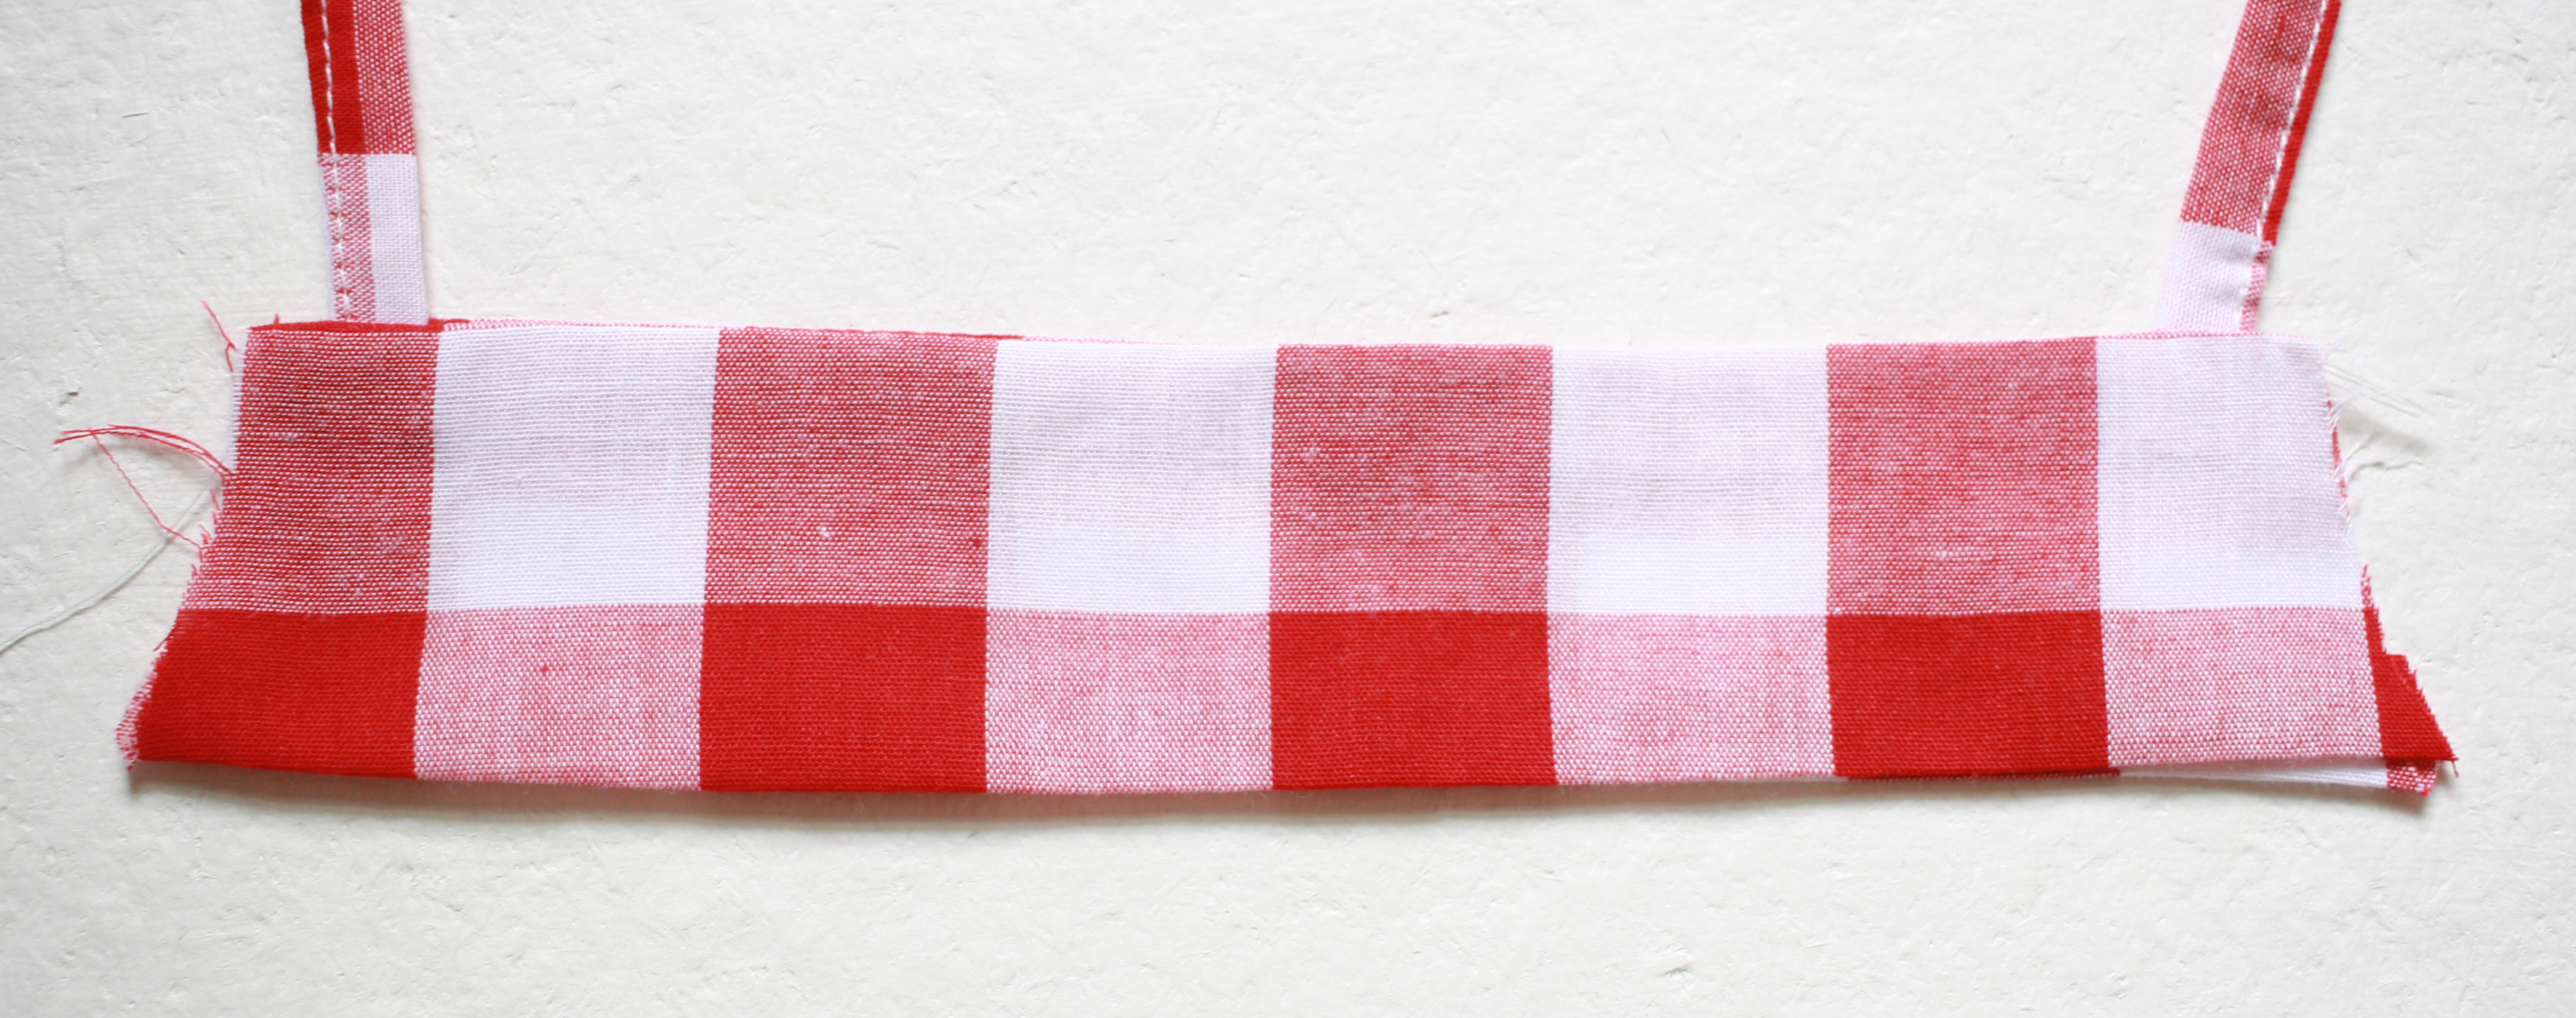
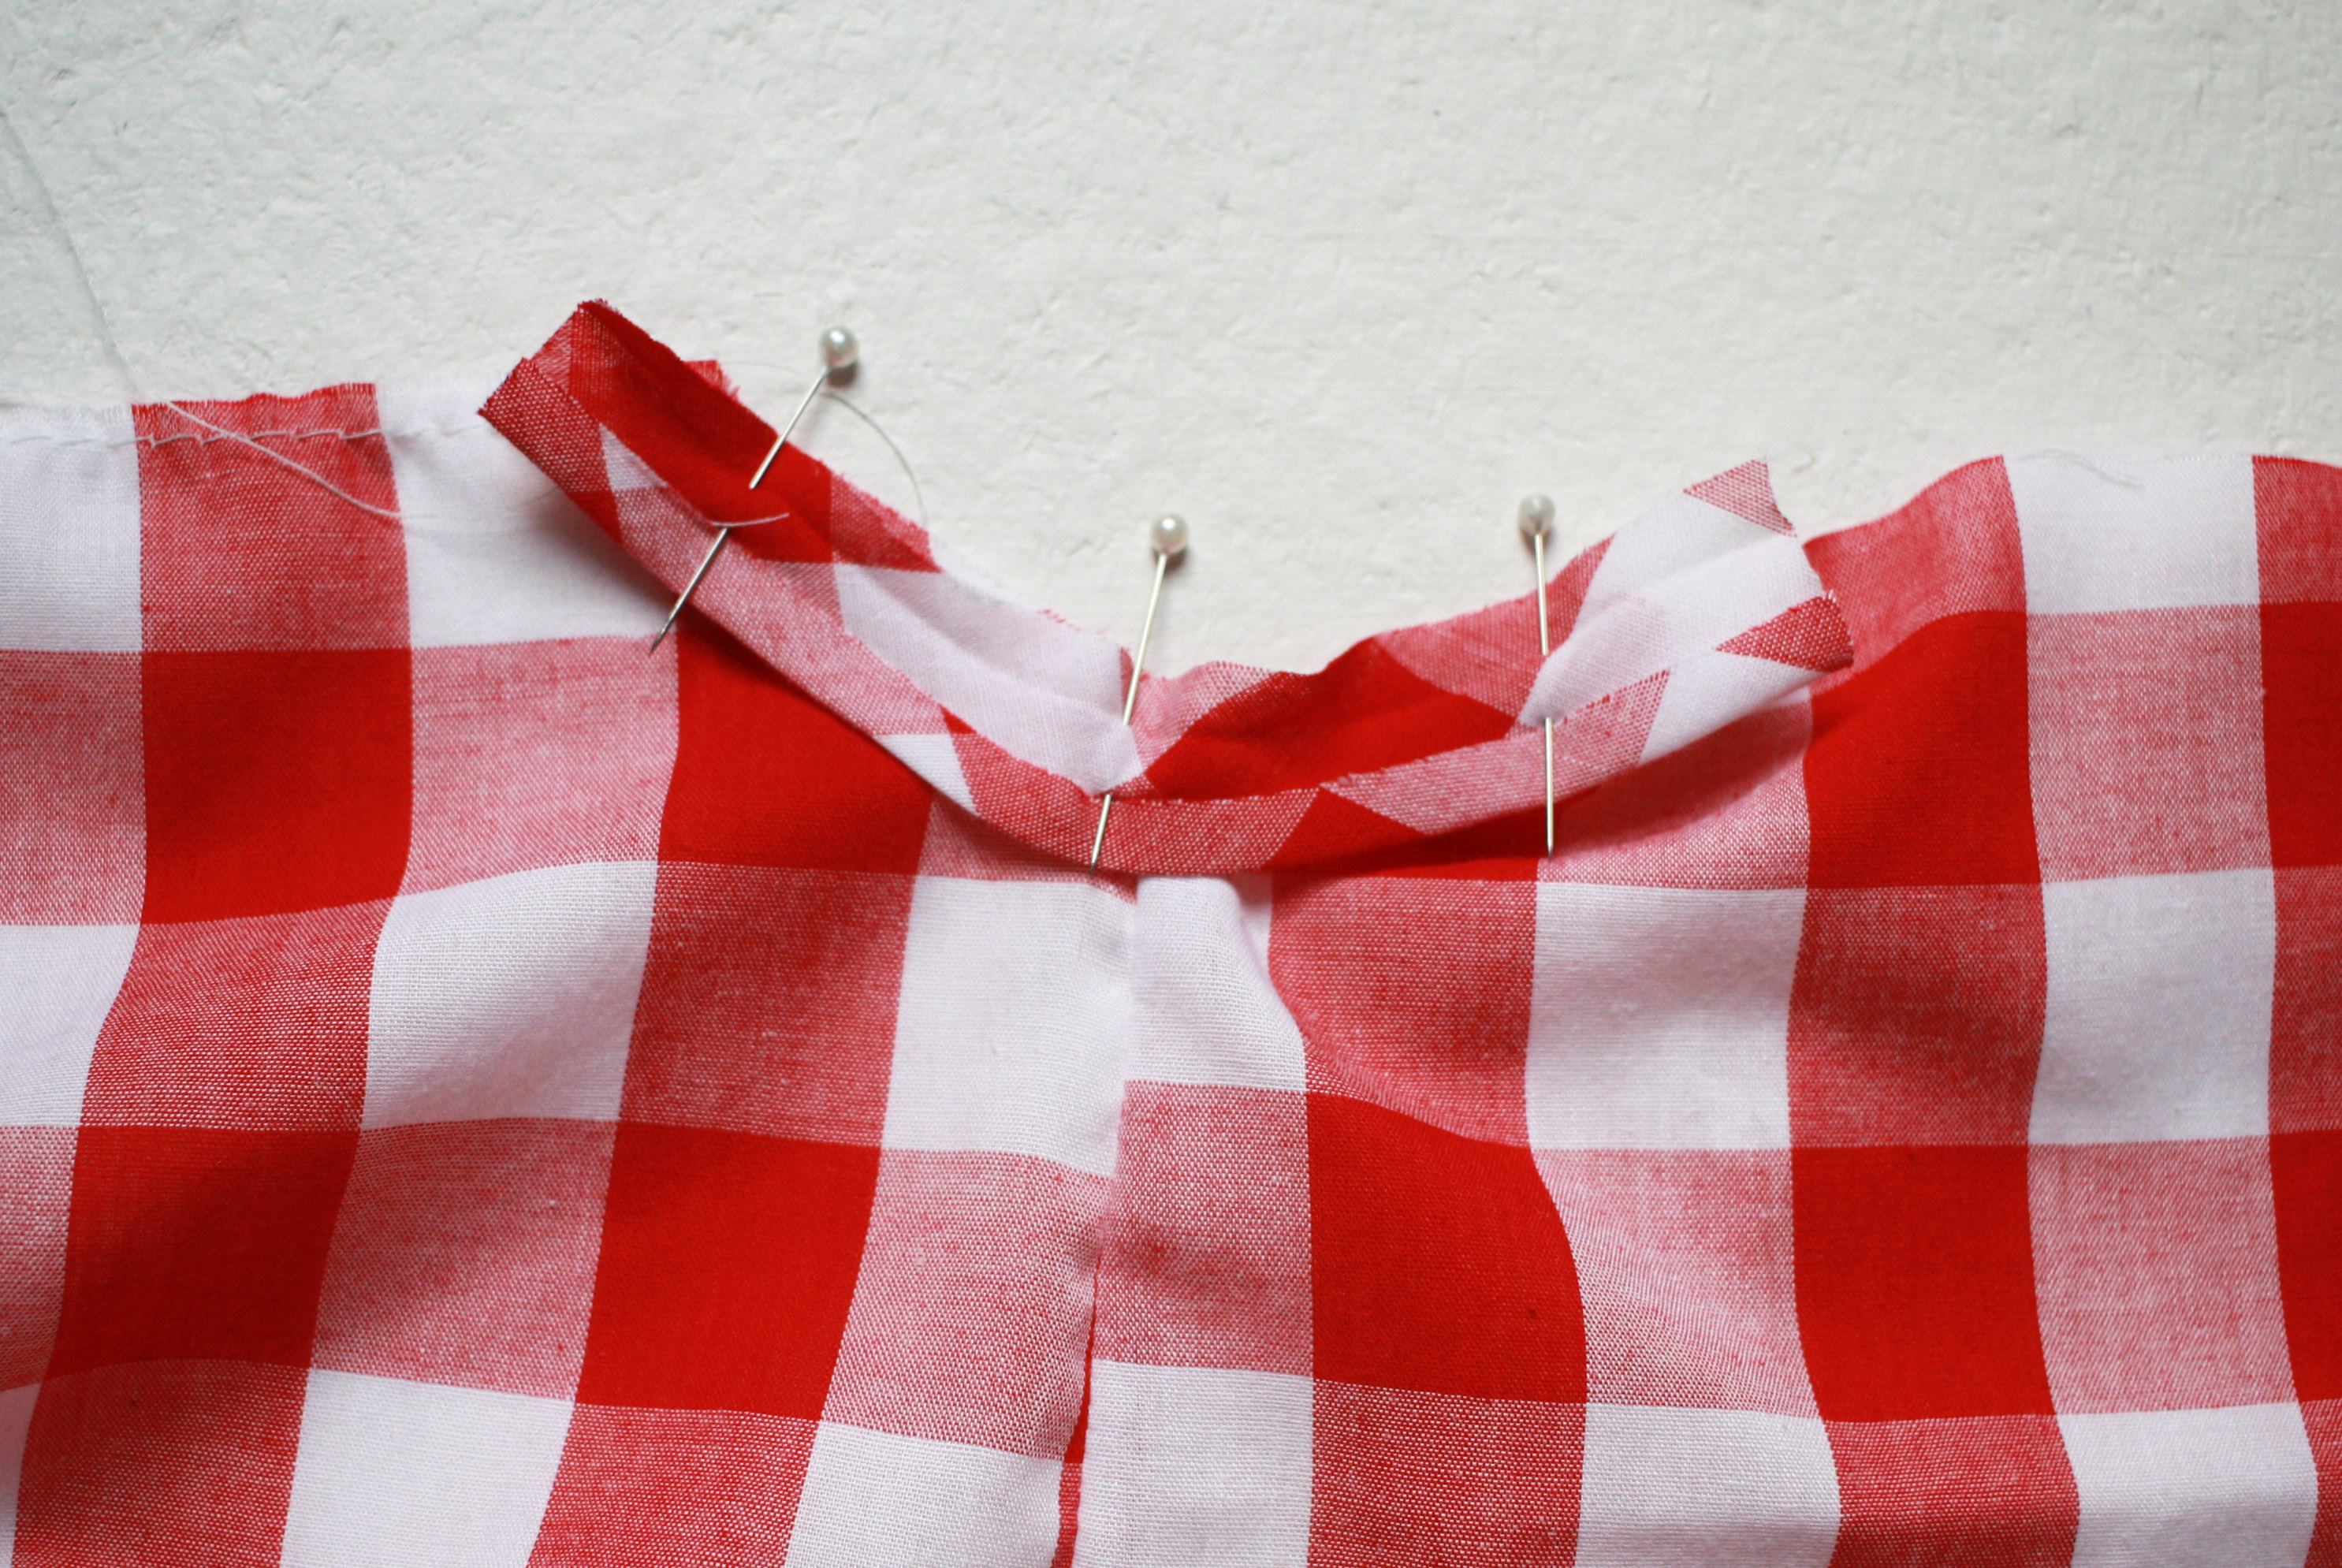
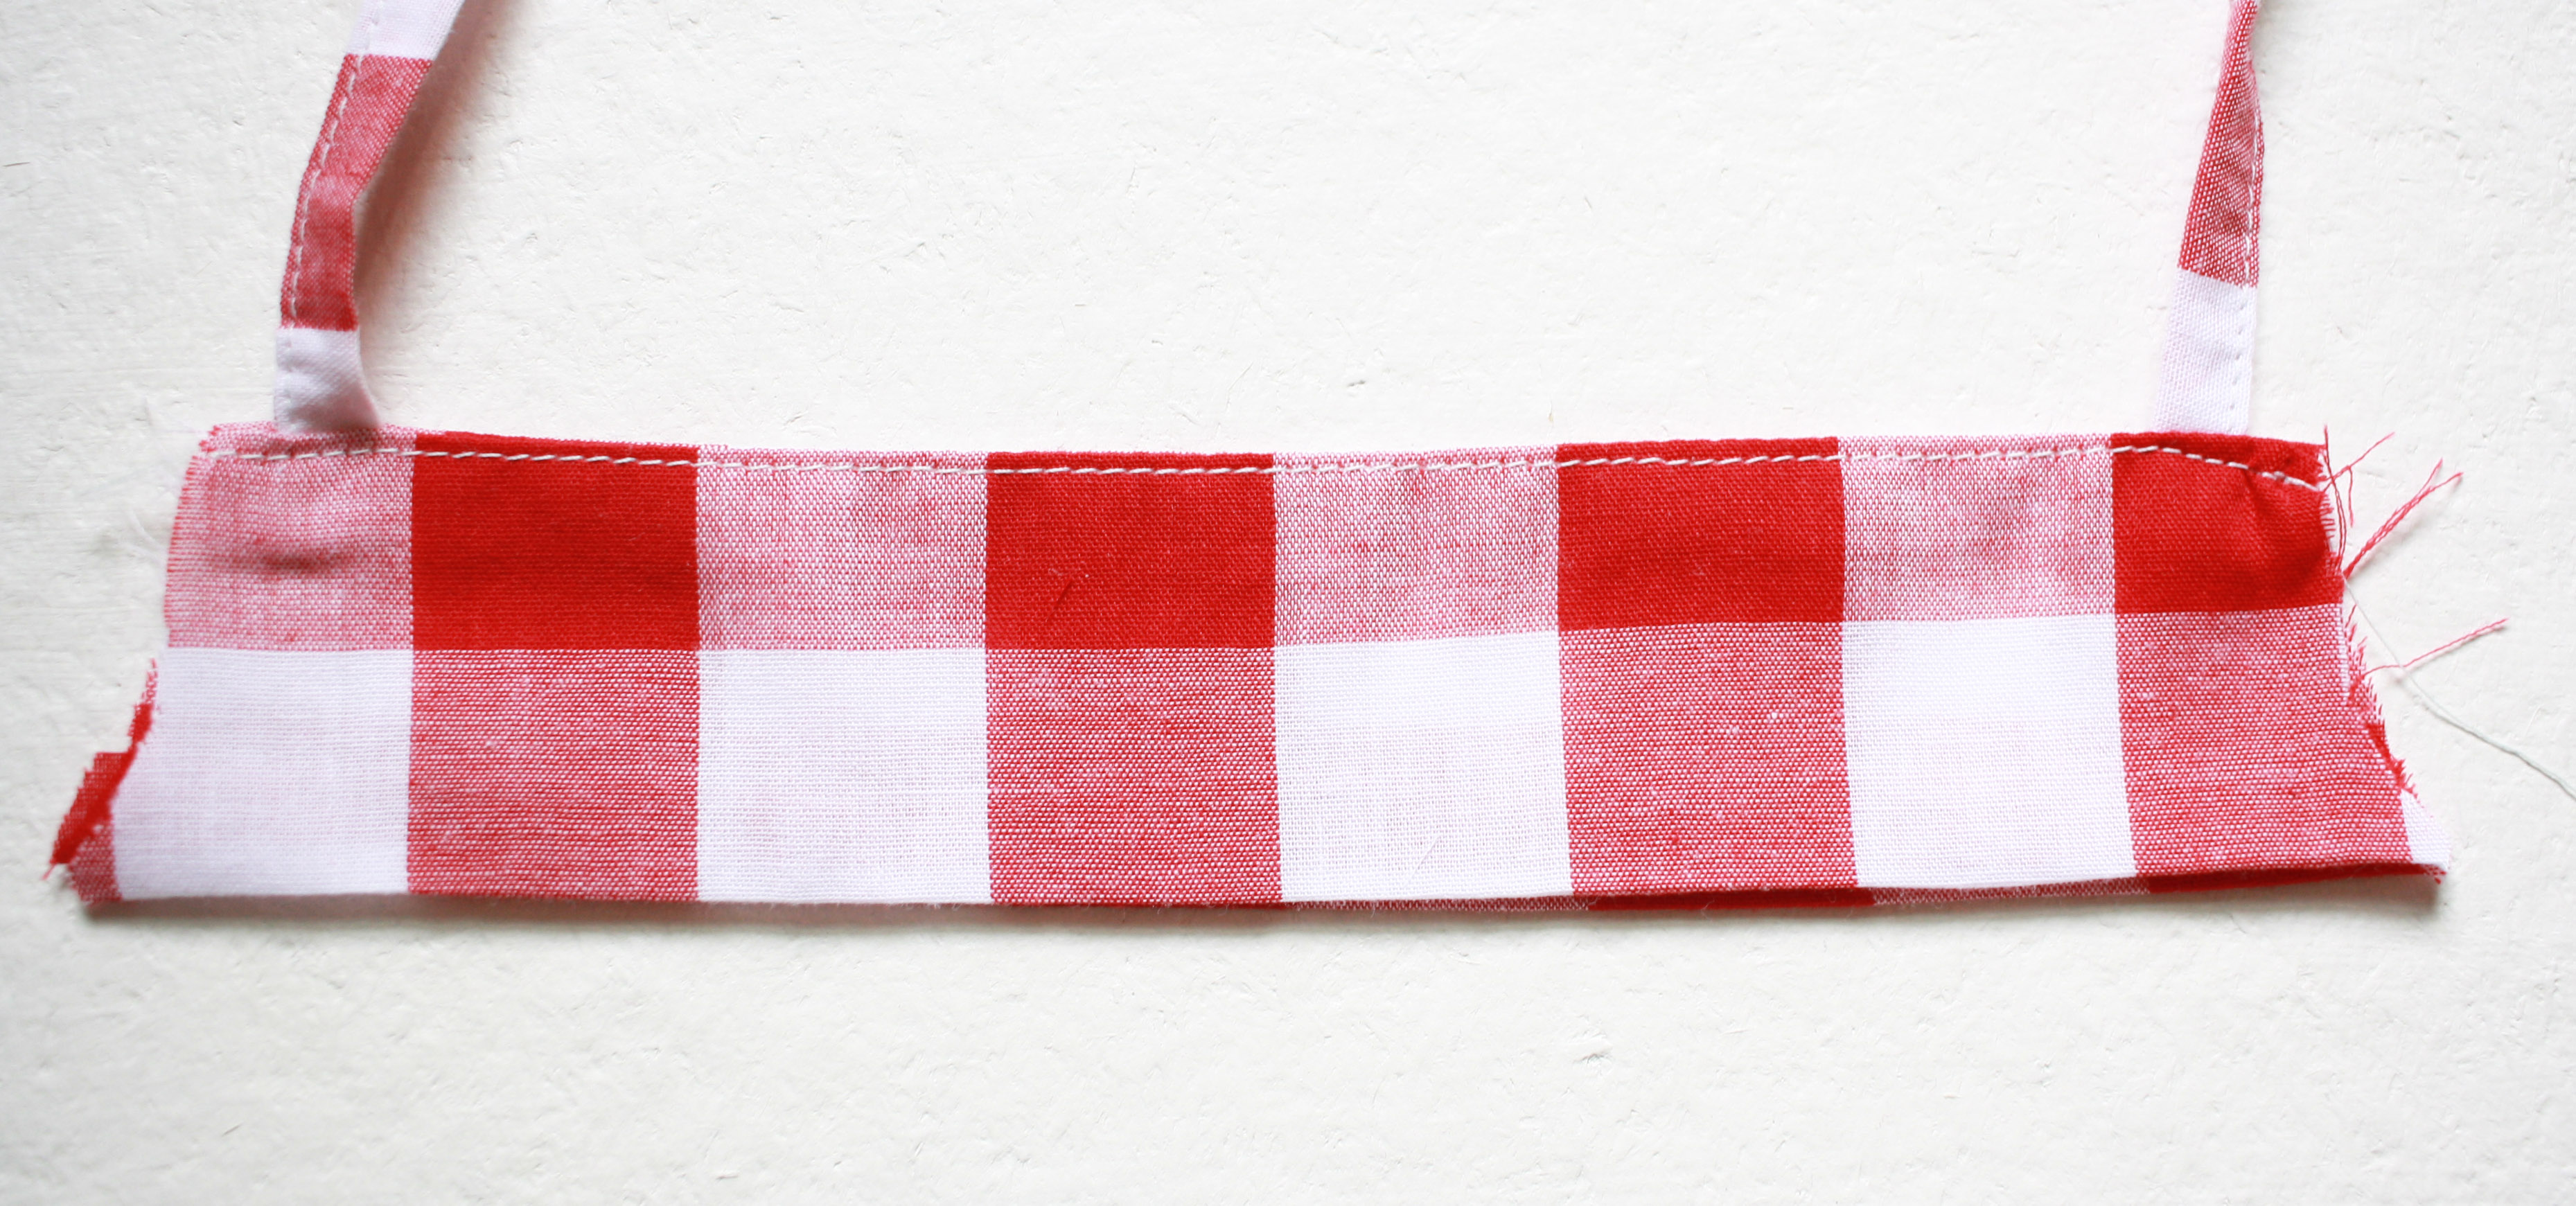
Lay your other chest piece right side down (folded side up) on top of your other piece, with straps sandwiched in the middle. Pin your straps and chest pieces together along the top. Sew only along the top raw edge with a 3/8″ seam allowance.
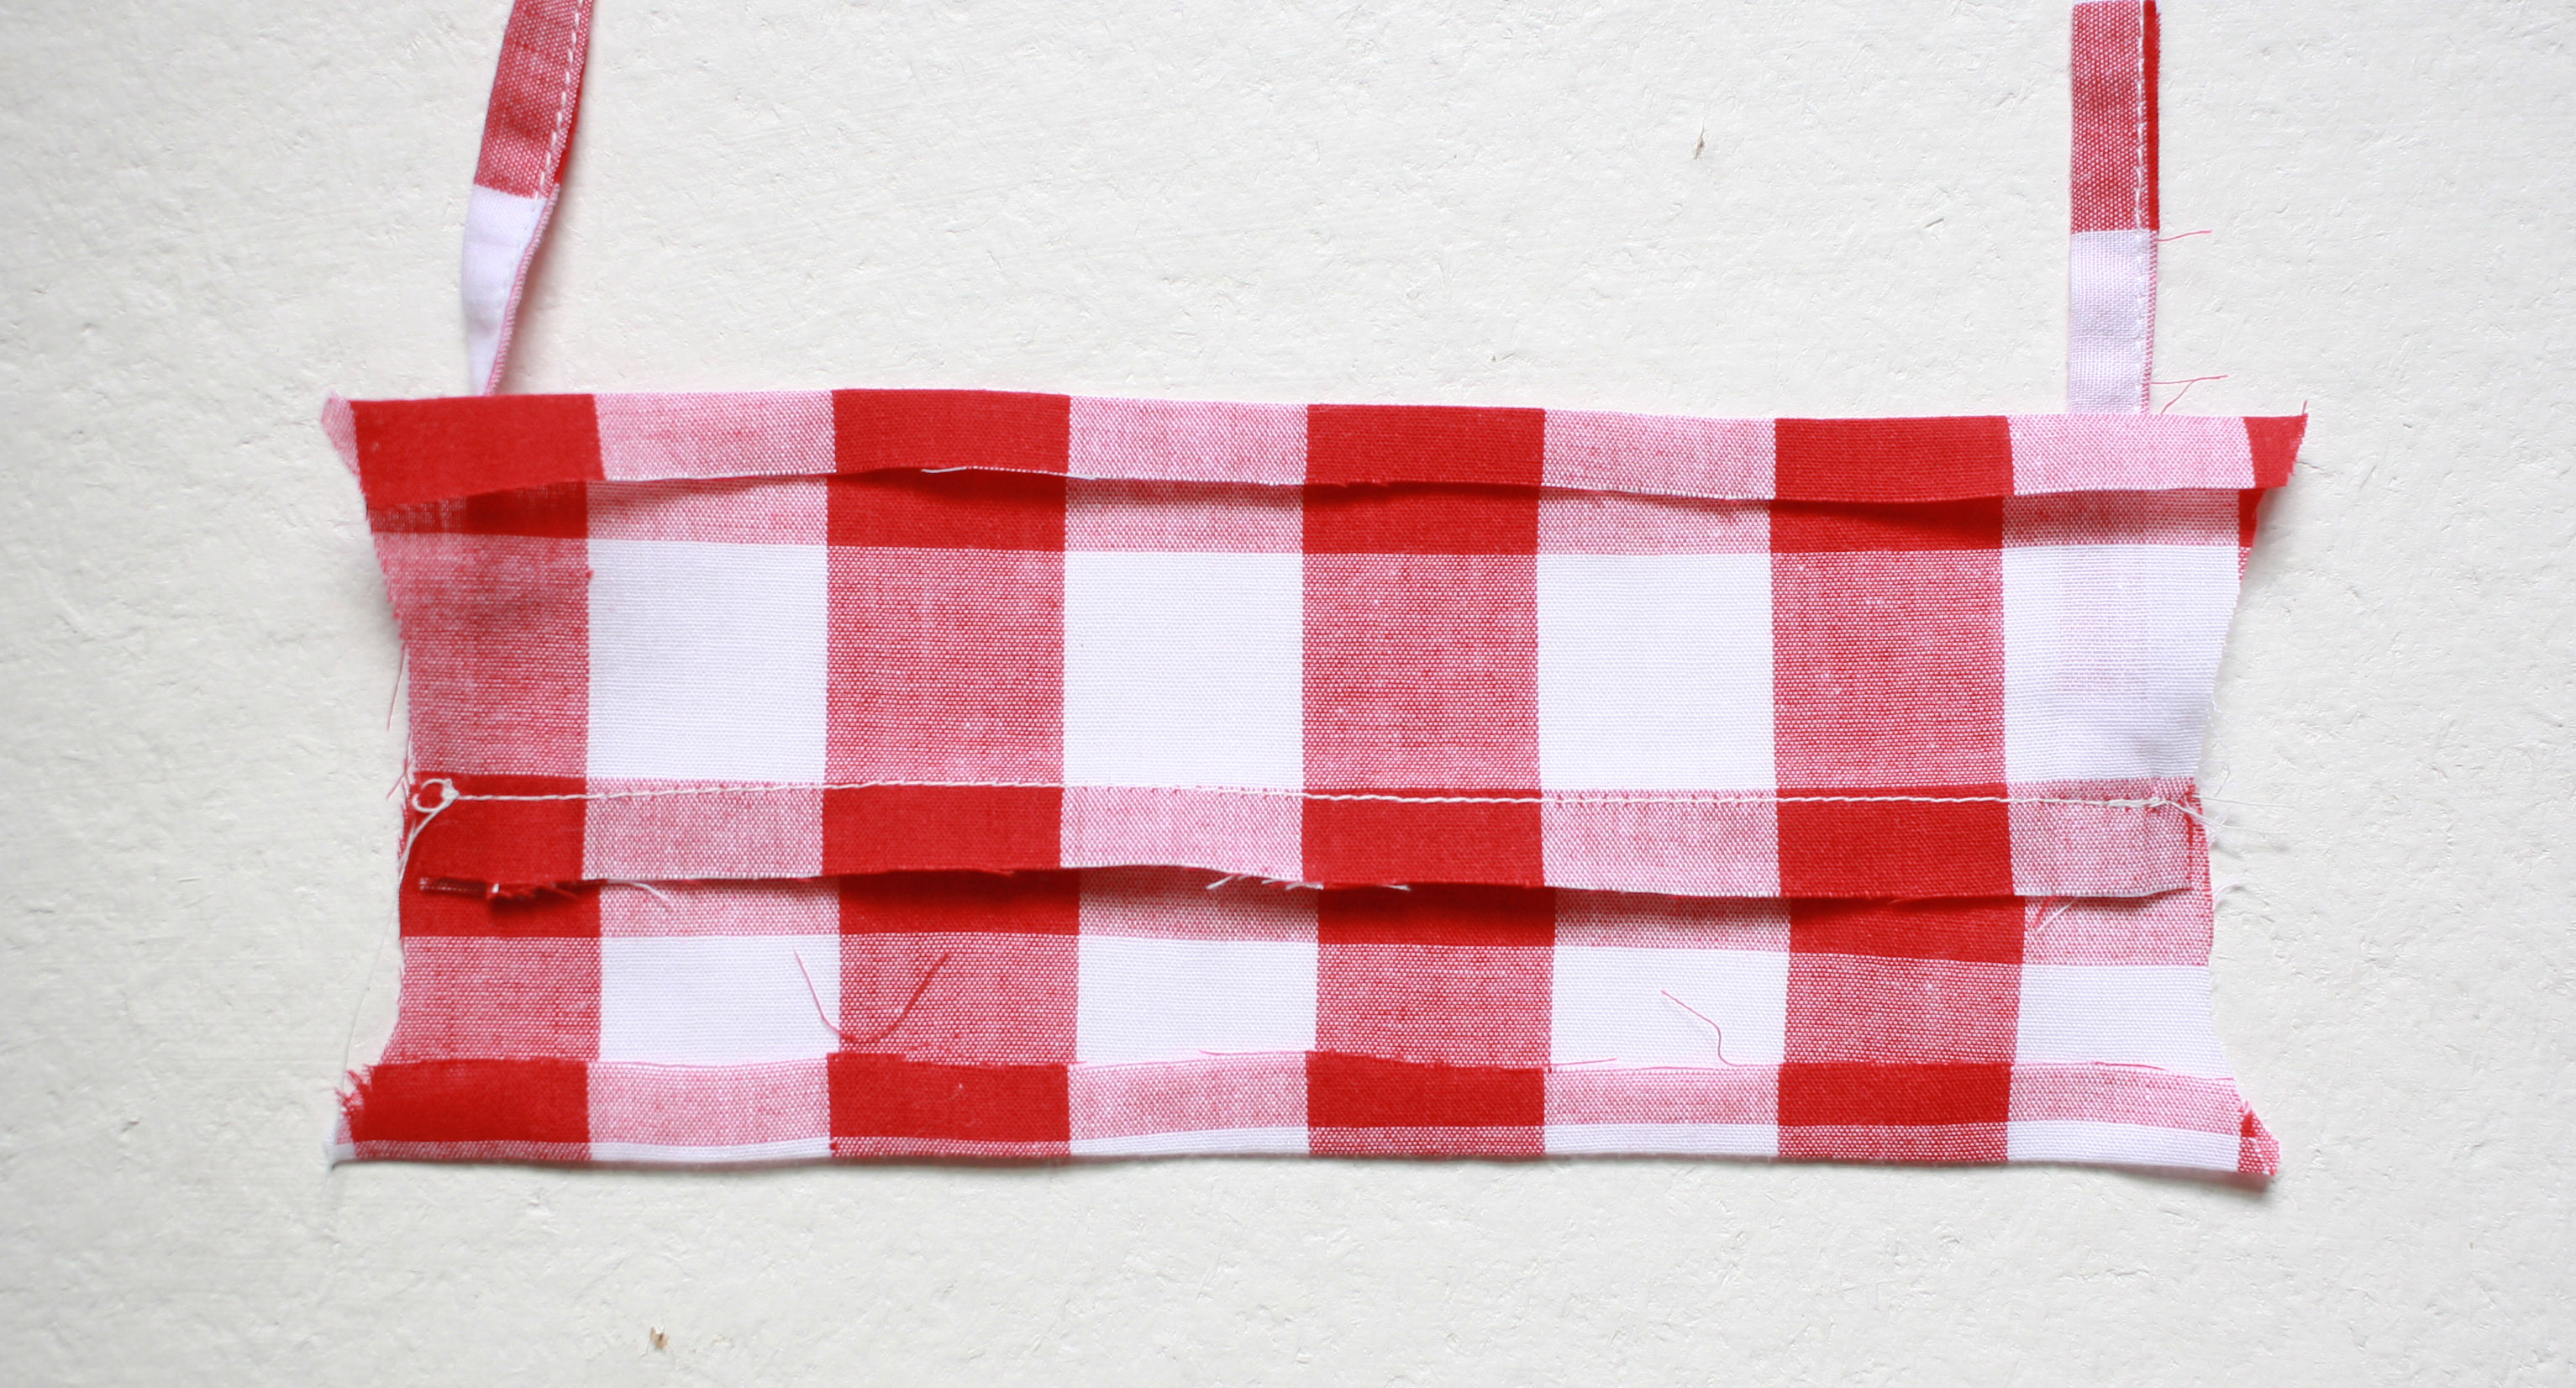
Open up your chest pieces and press you seam allowance toward whichever side you want to be the back. We are going to understitch along the back chest piece, so that you can only see the stitch from the inside of the top, but it will hold everything in place nicely.
Sew along the top of the back chest piece, 1/8″ away from the seam starting on the inside of one strap and finishing on the inside of the other. Make sure you are sewing the seam allowance to your back chest piece.
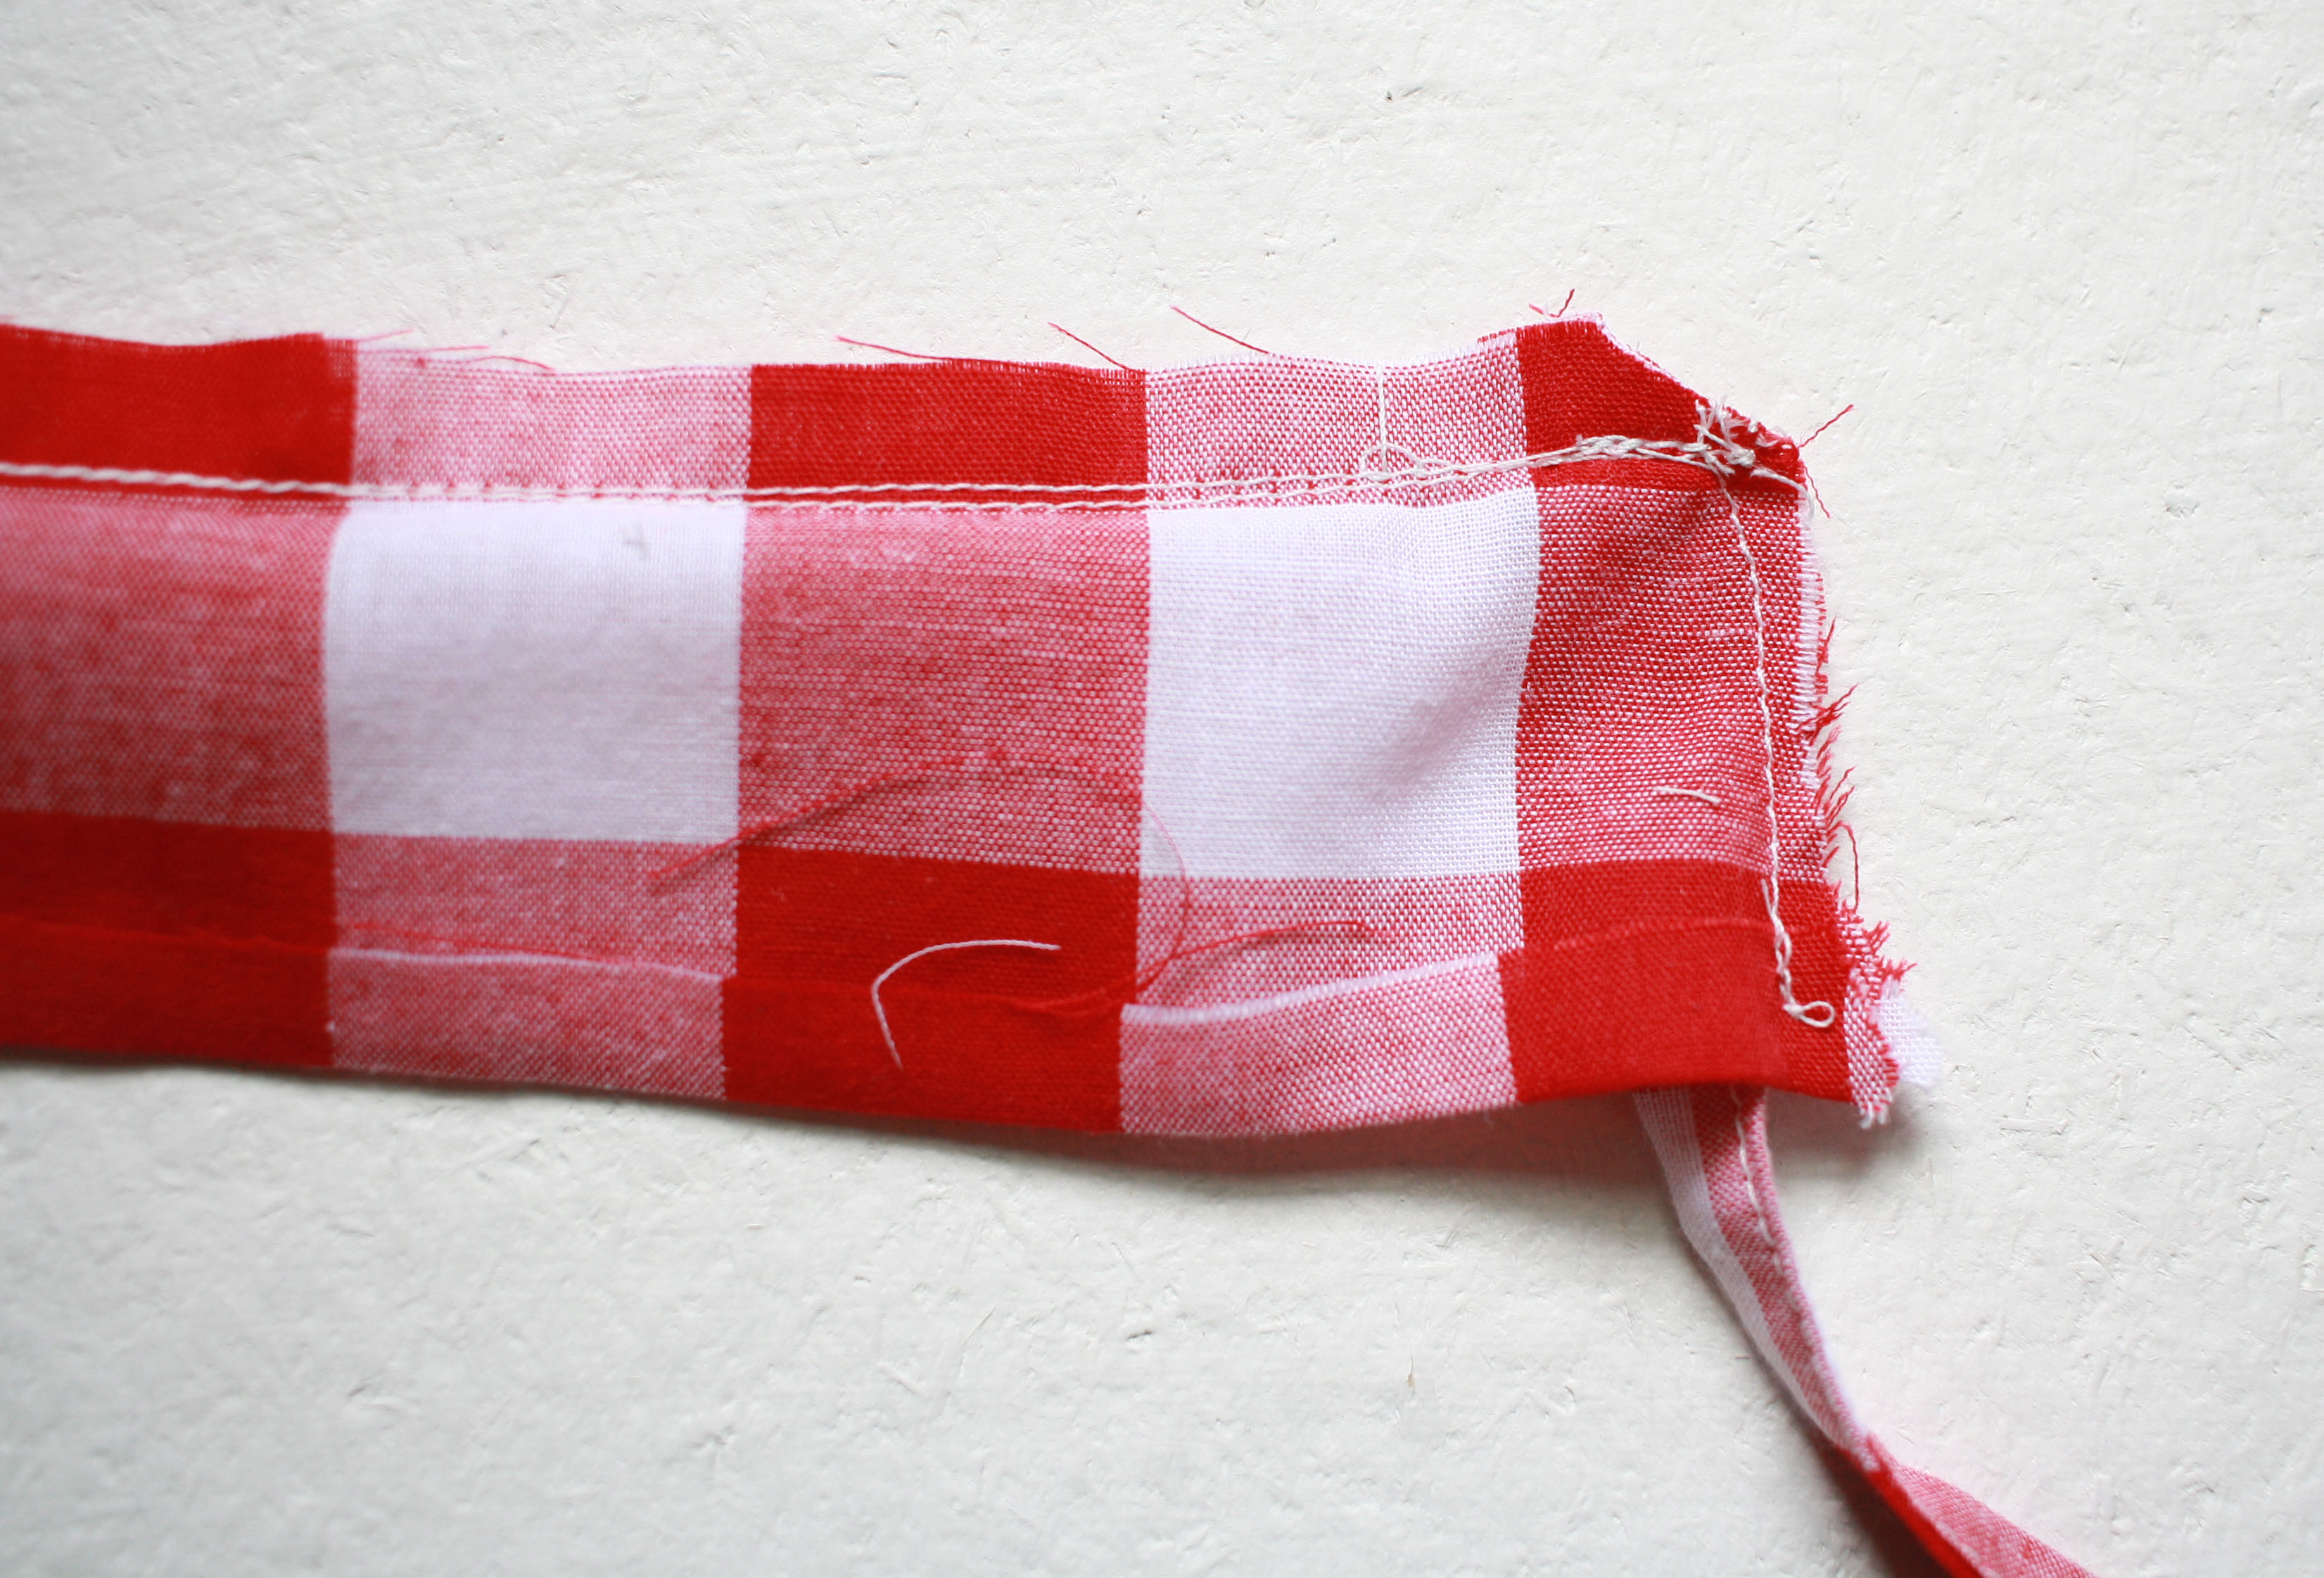
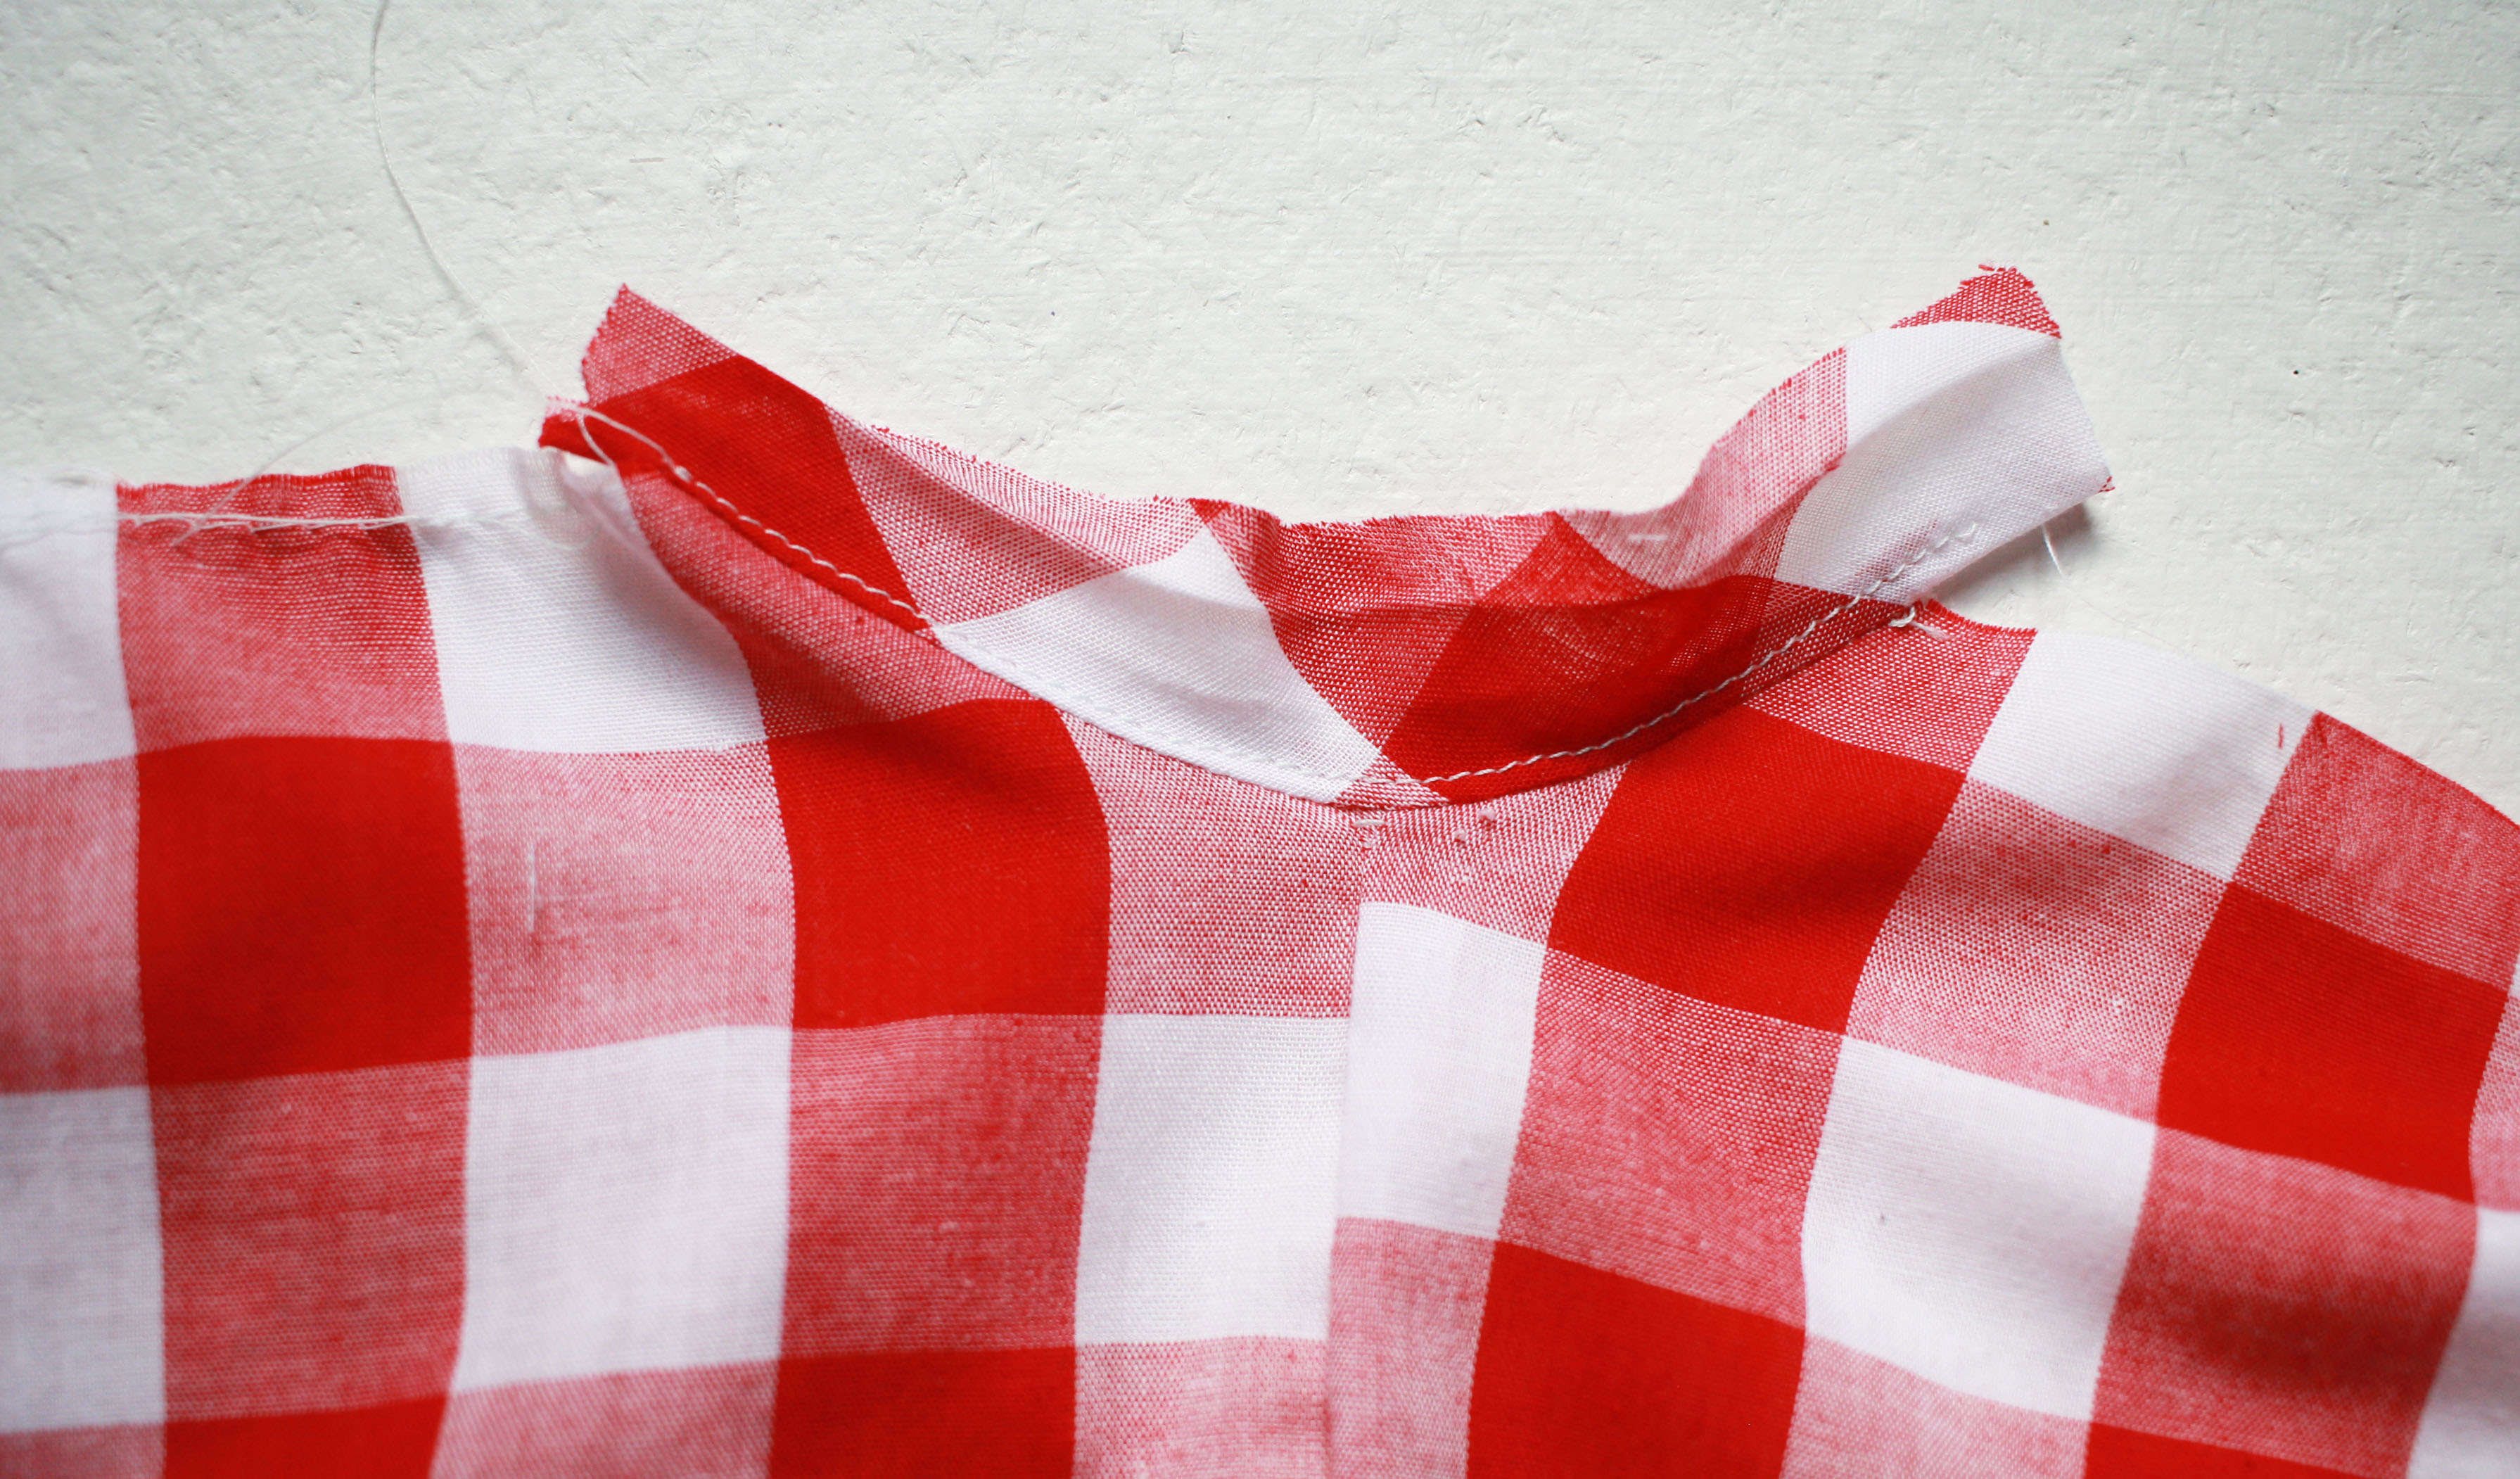
Press your chest pieces together. From the front, you shouldn’t be able to see your understitching.
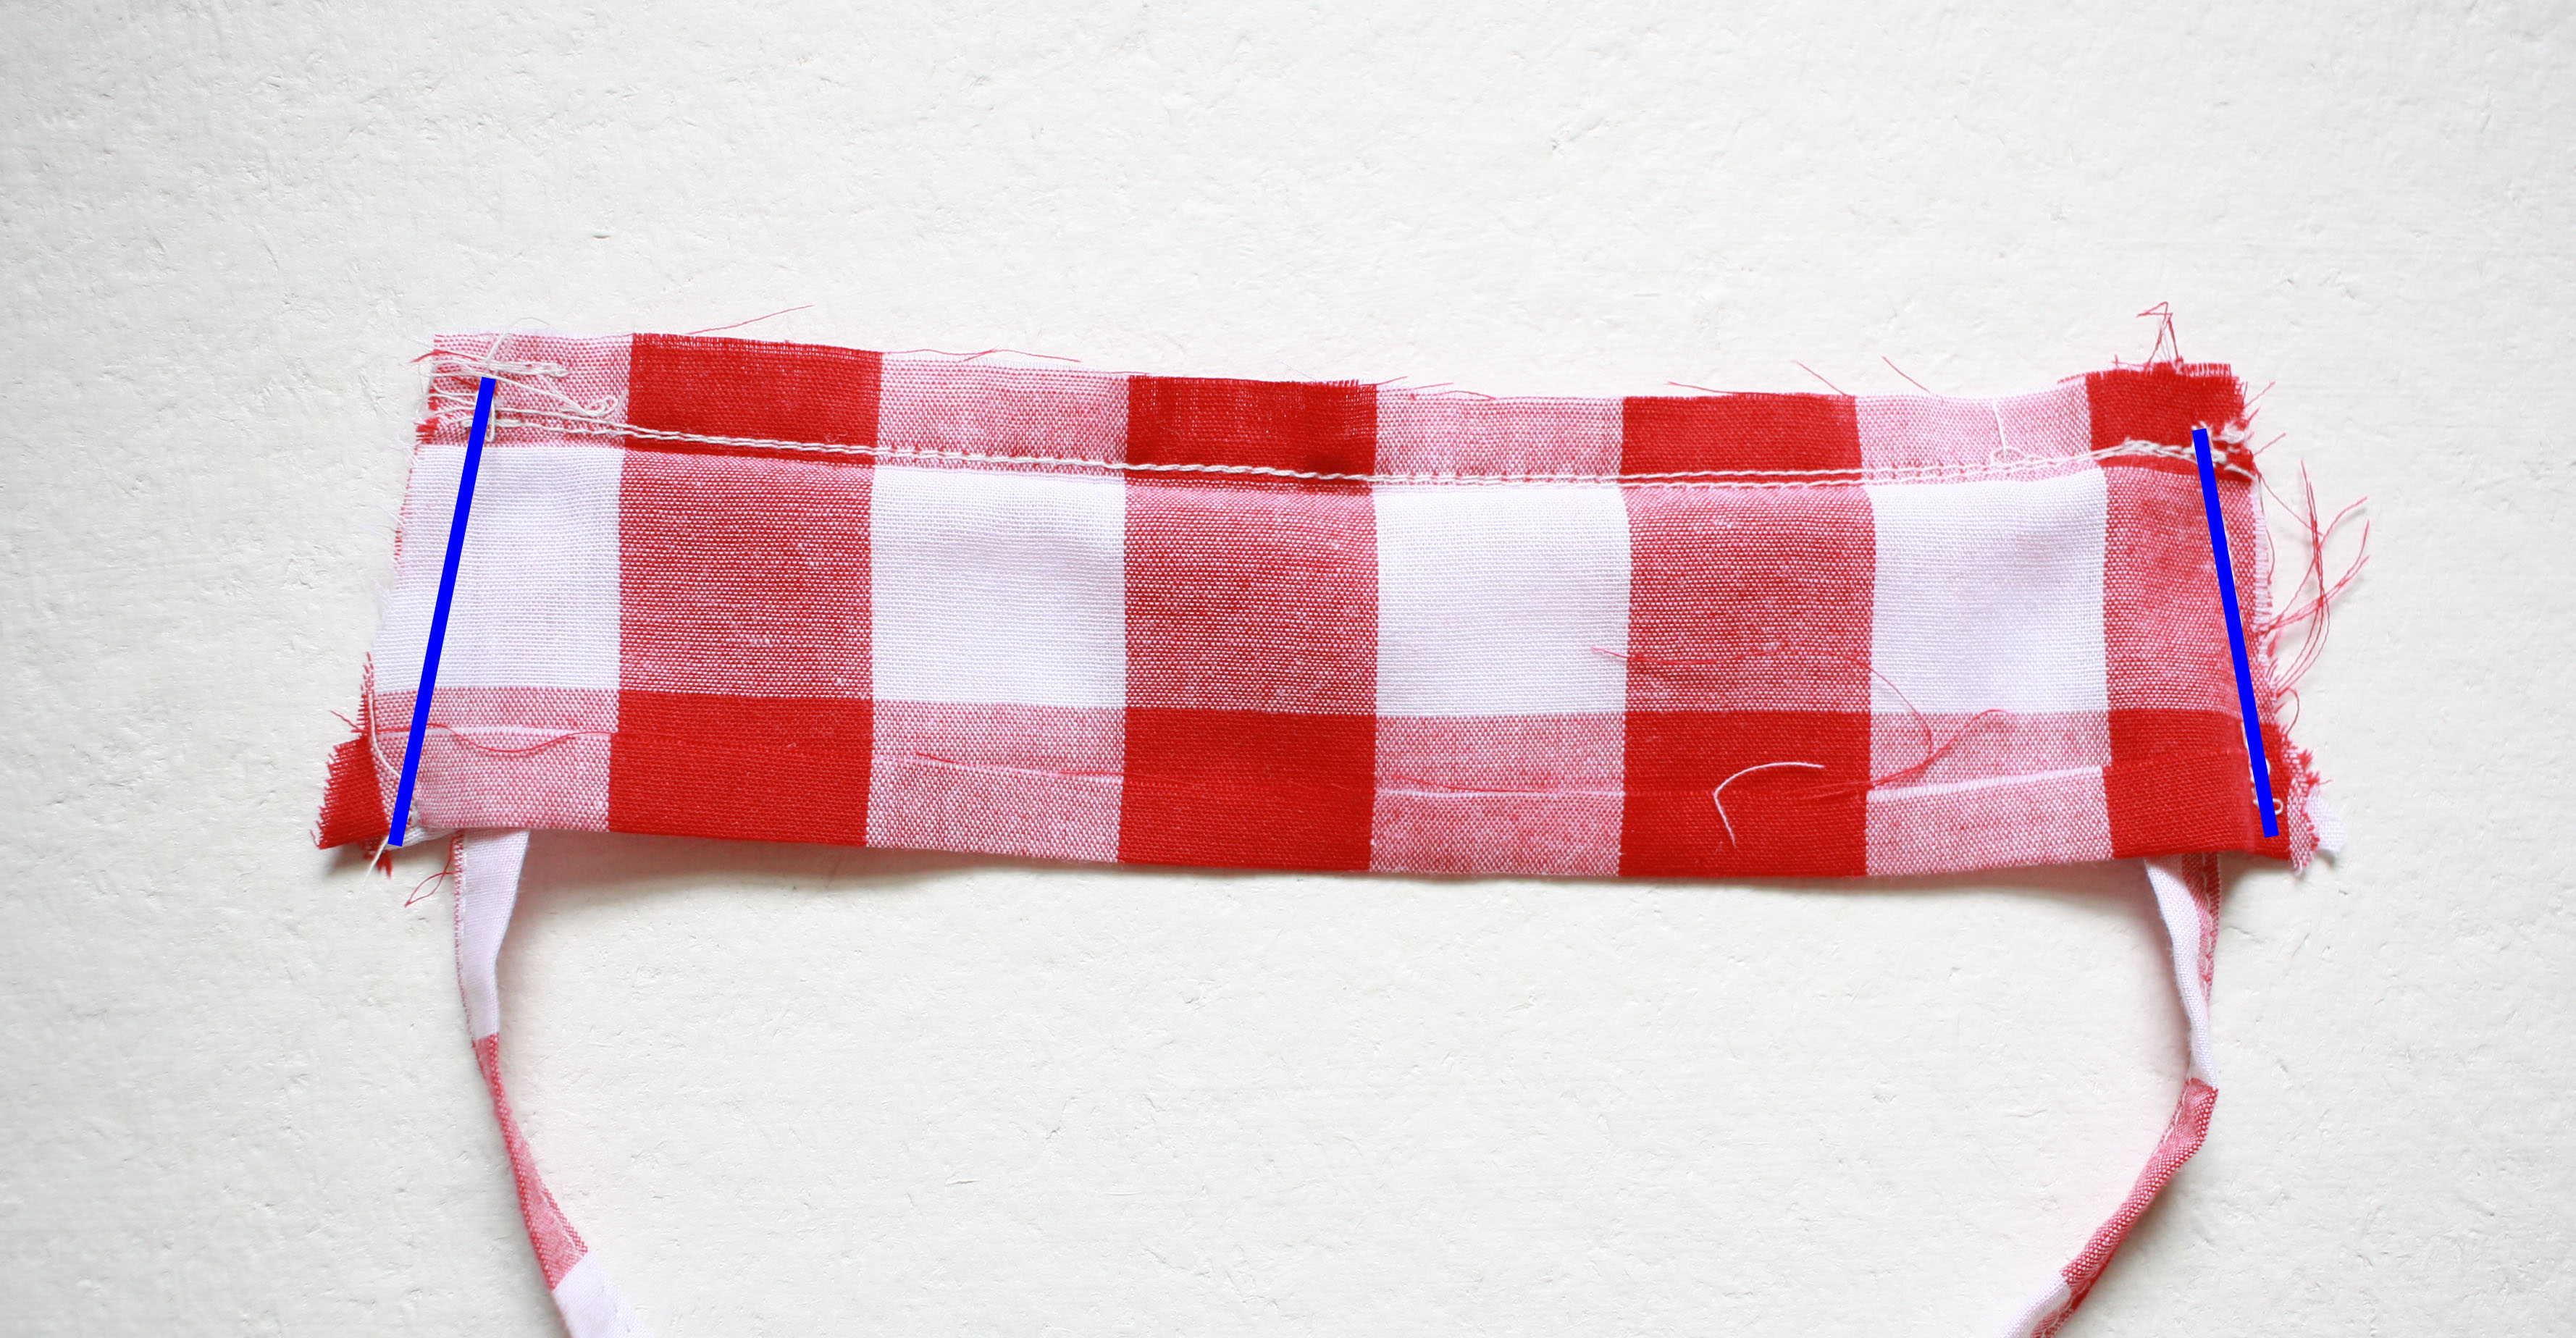
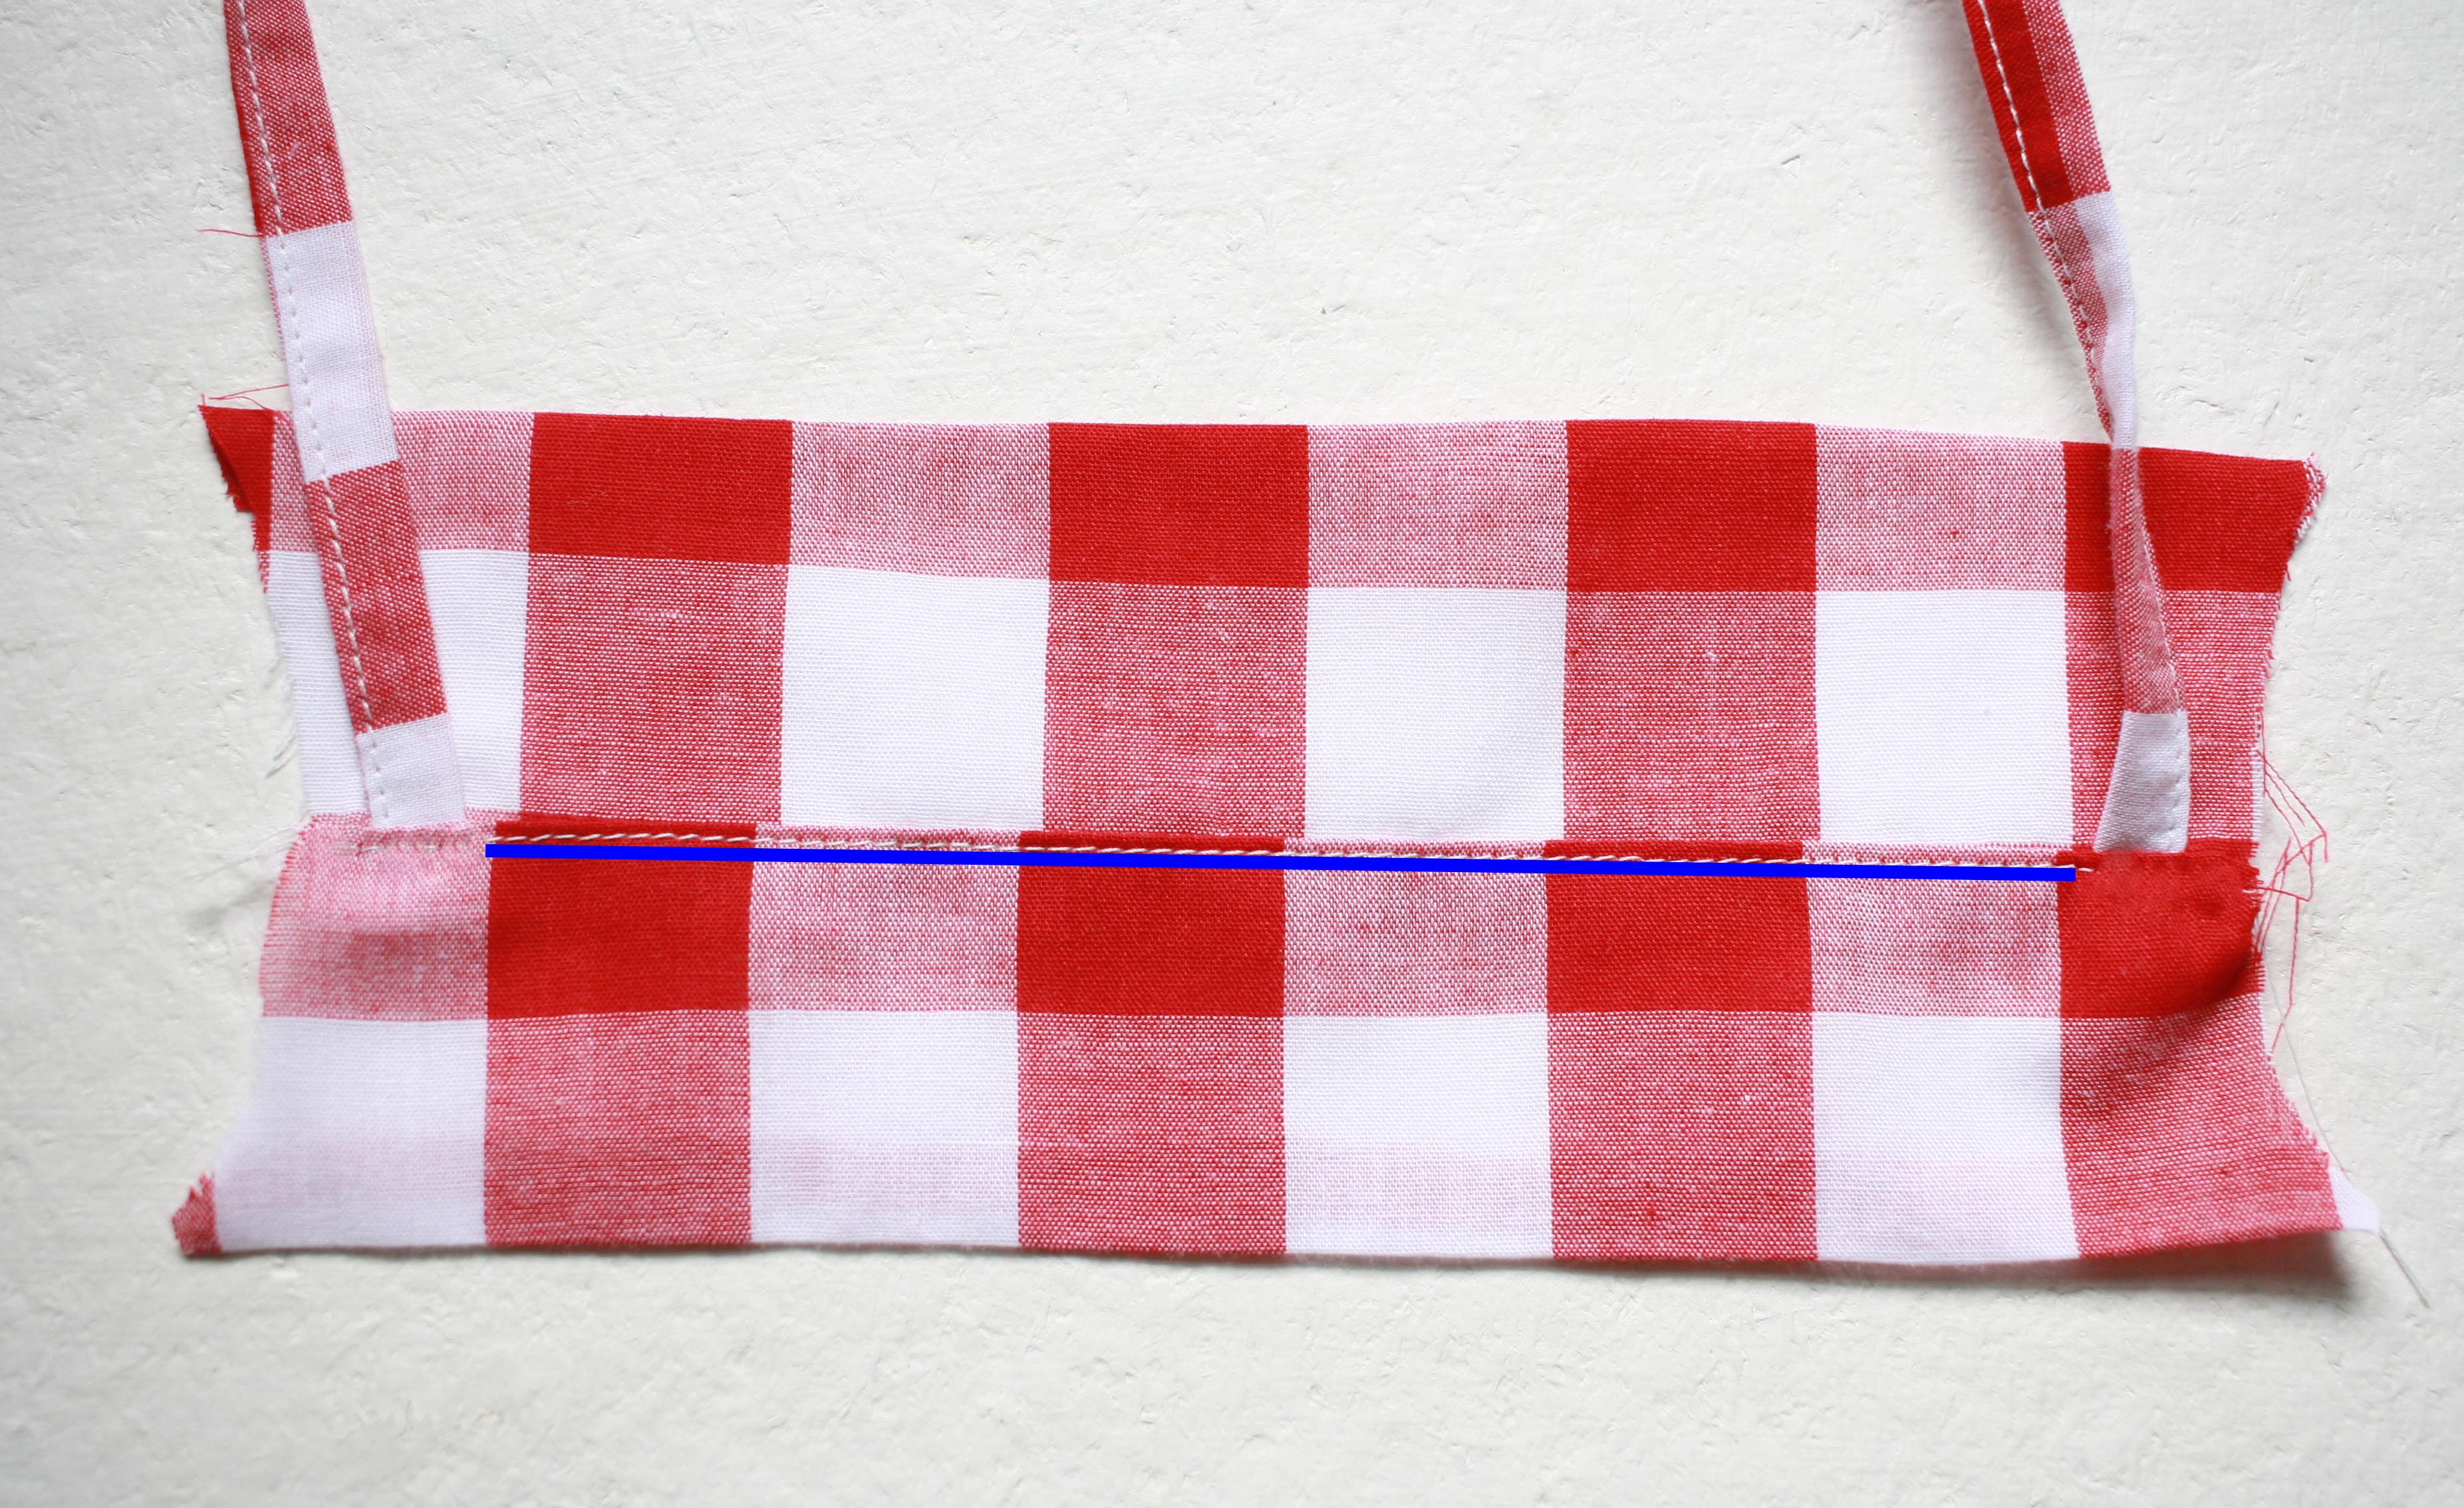
Fold your chest piece with right sides together again and sew down both sides with a 1/4″ seam allowance. Sew close to the top of the strap without catching it, and make sure the strap is out of the way as you sew the rest of the way down. Also make sure that your bottom edges are still folded up by 3/8″. You want to sew them up. At this point I also like to reinforce my straps, by sewing over the tops again.
Trim off your top corners, being careful not to get too close to your stitching. Turn right side out and press well. Repeat these steps for your back pieces. We are not adding elastic in this version.
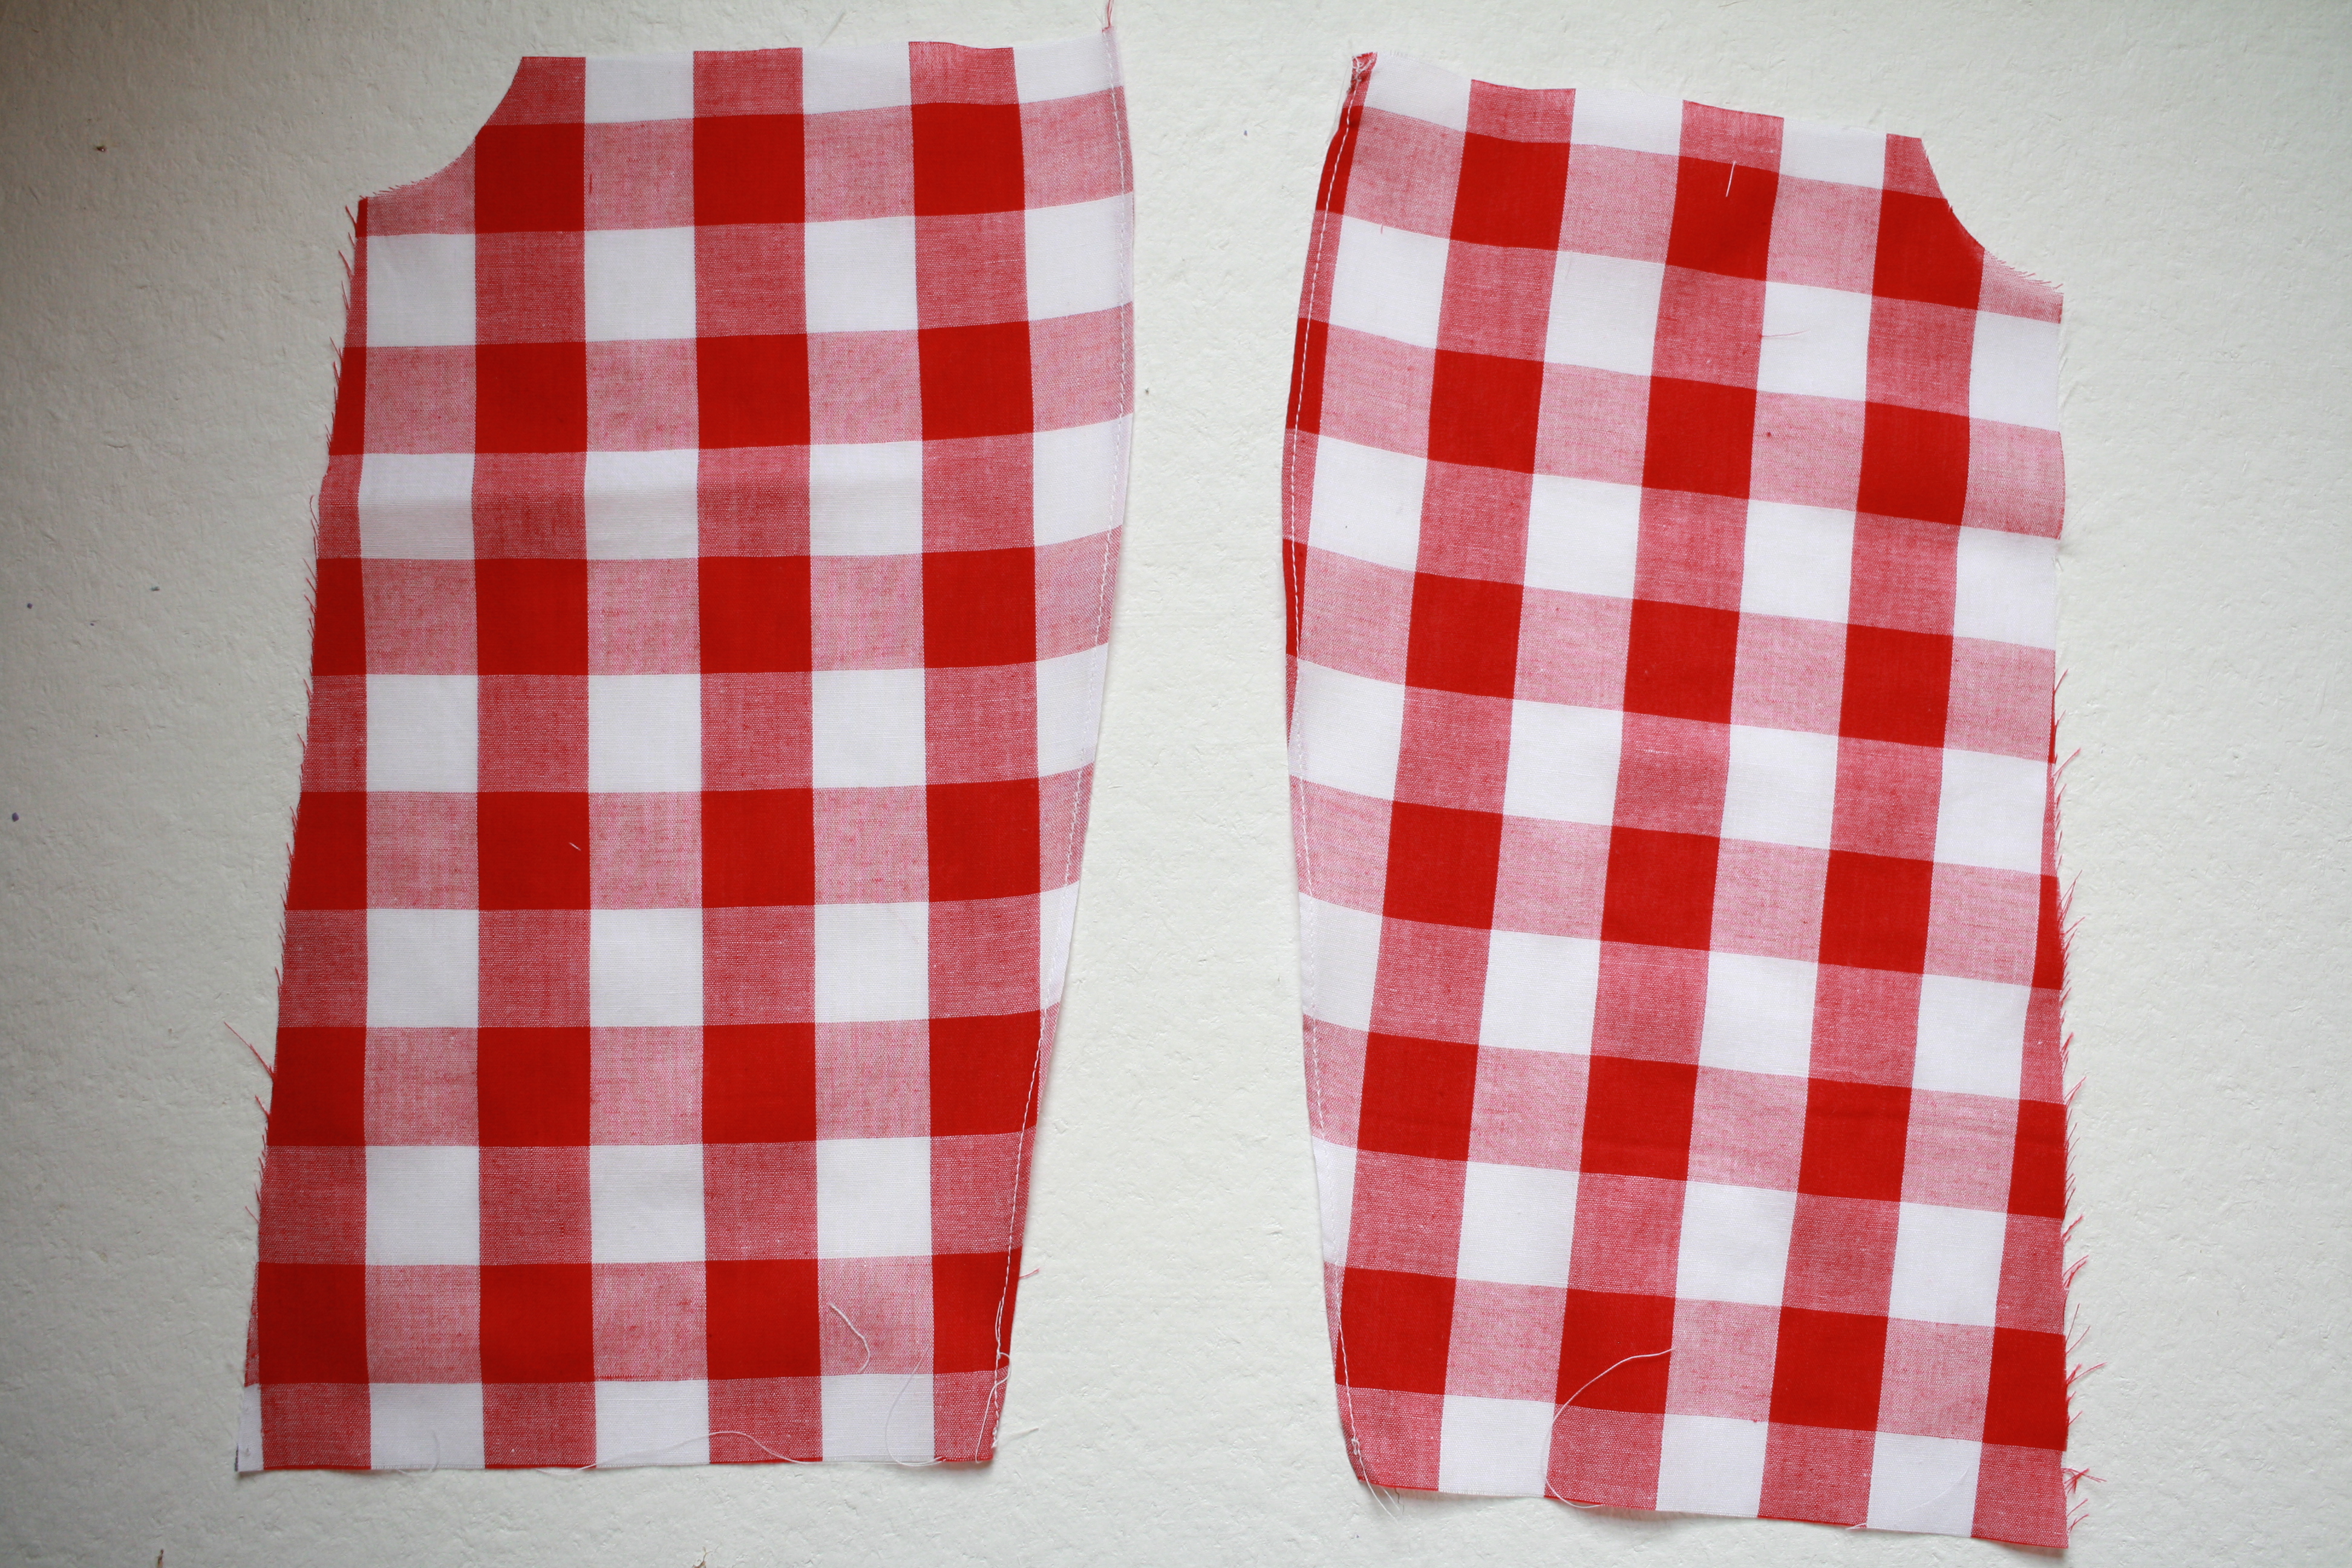
Hem the inside edges of your back pieces. These will be the sides opposite the arm holes. I used a rolled hem, but you could also fold 1/4″ and press, followed by another 1/4″. Sew close to the inside fold.
If you are including an inside layer, hem that as well. Fold 1/2″ to the wrong side, followed by 1″. Sew close to the top edge. Still working with your inside layer, lay it right side down. We are going to create a little sandwich with our layers.
Next, lay your top piece on your inside layer, right side up.
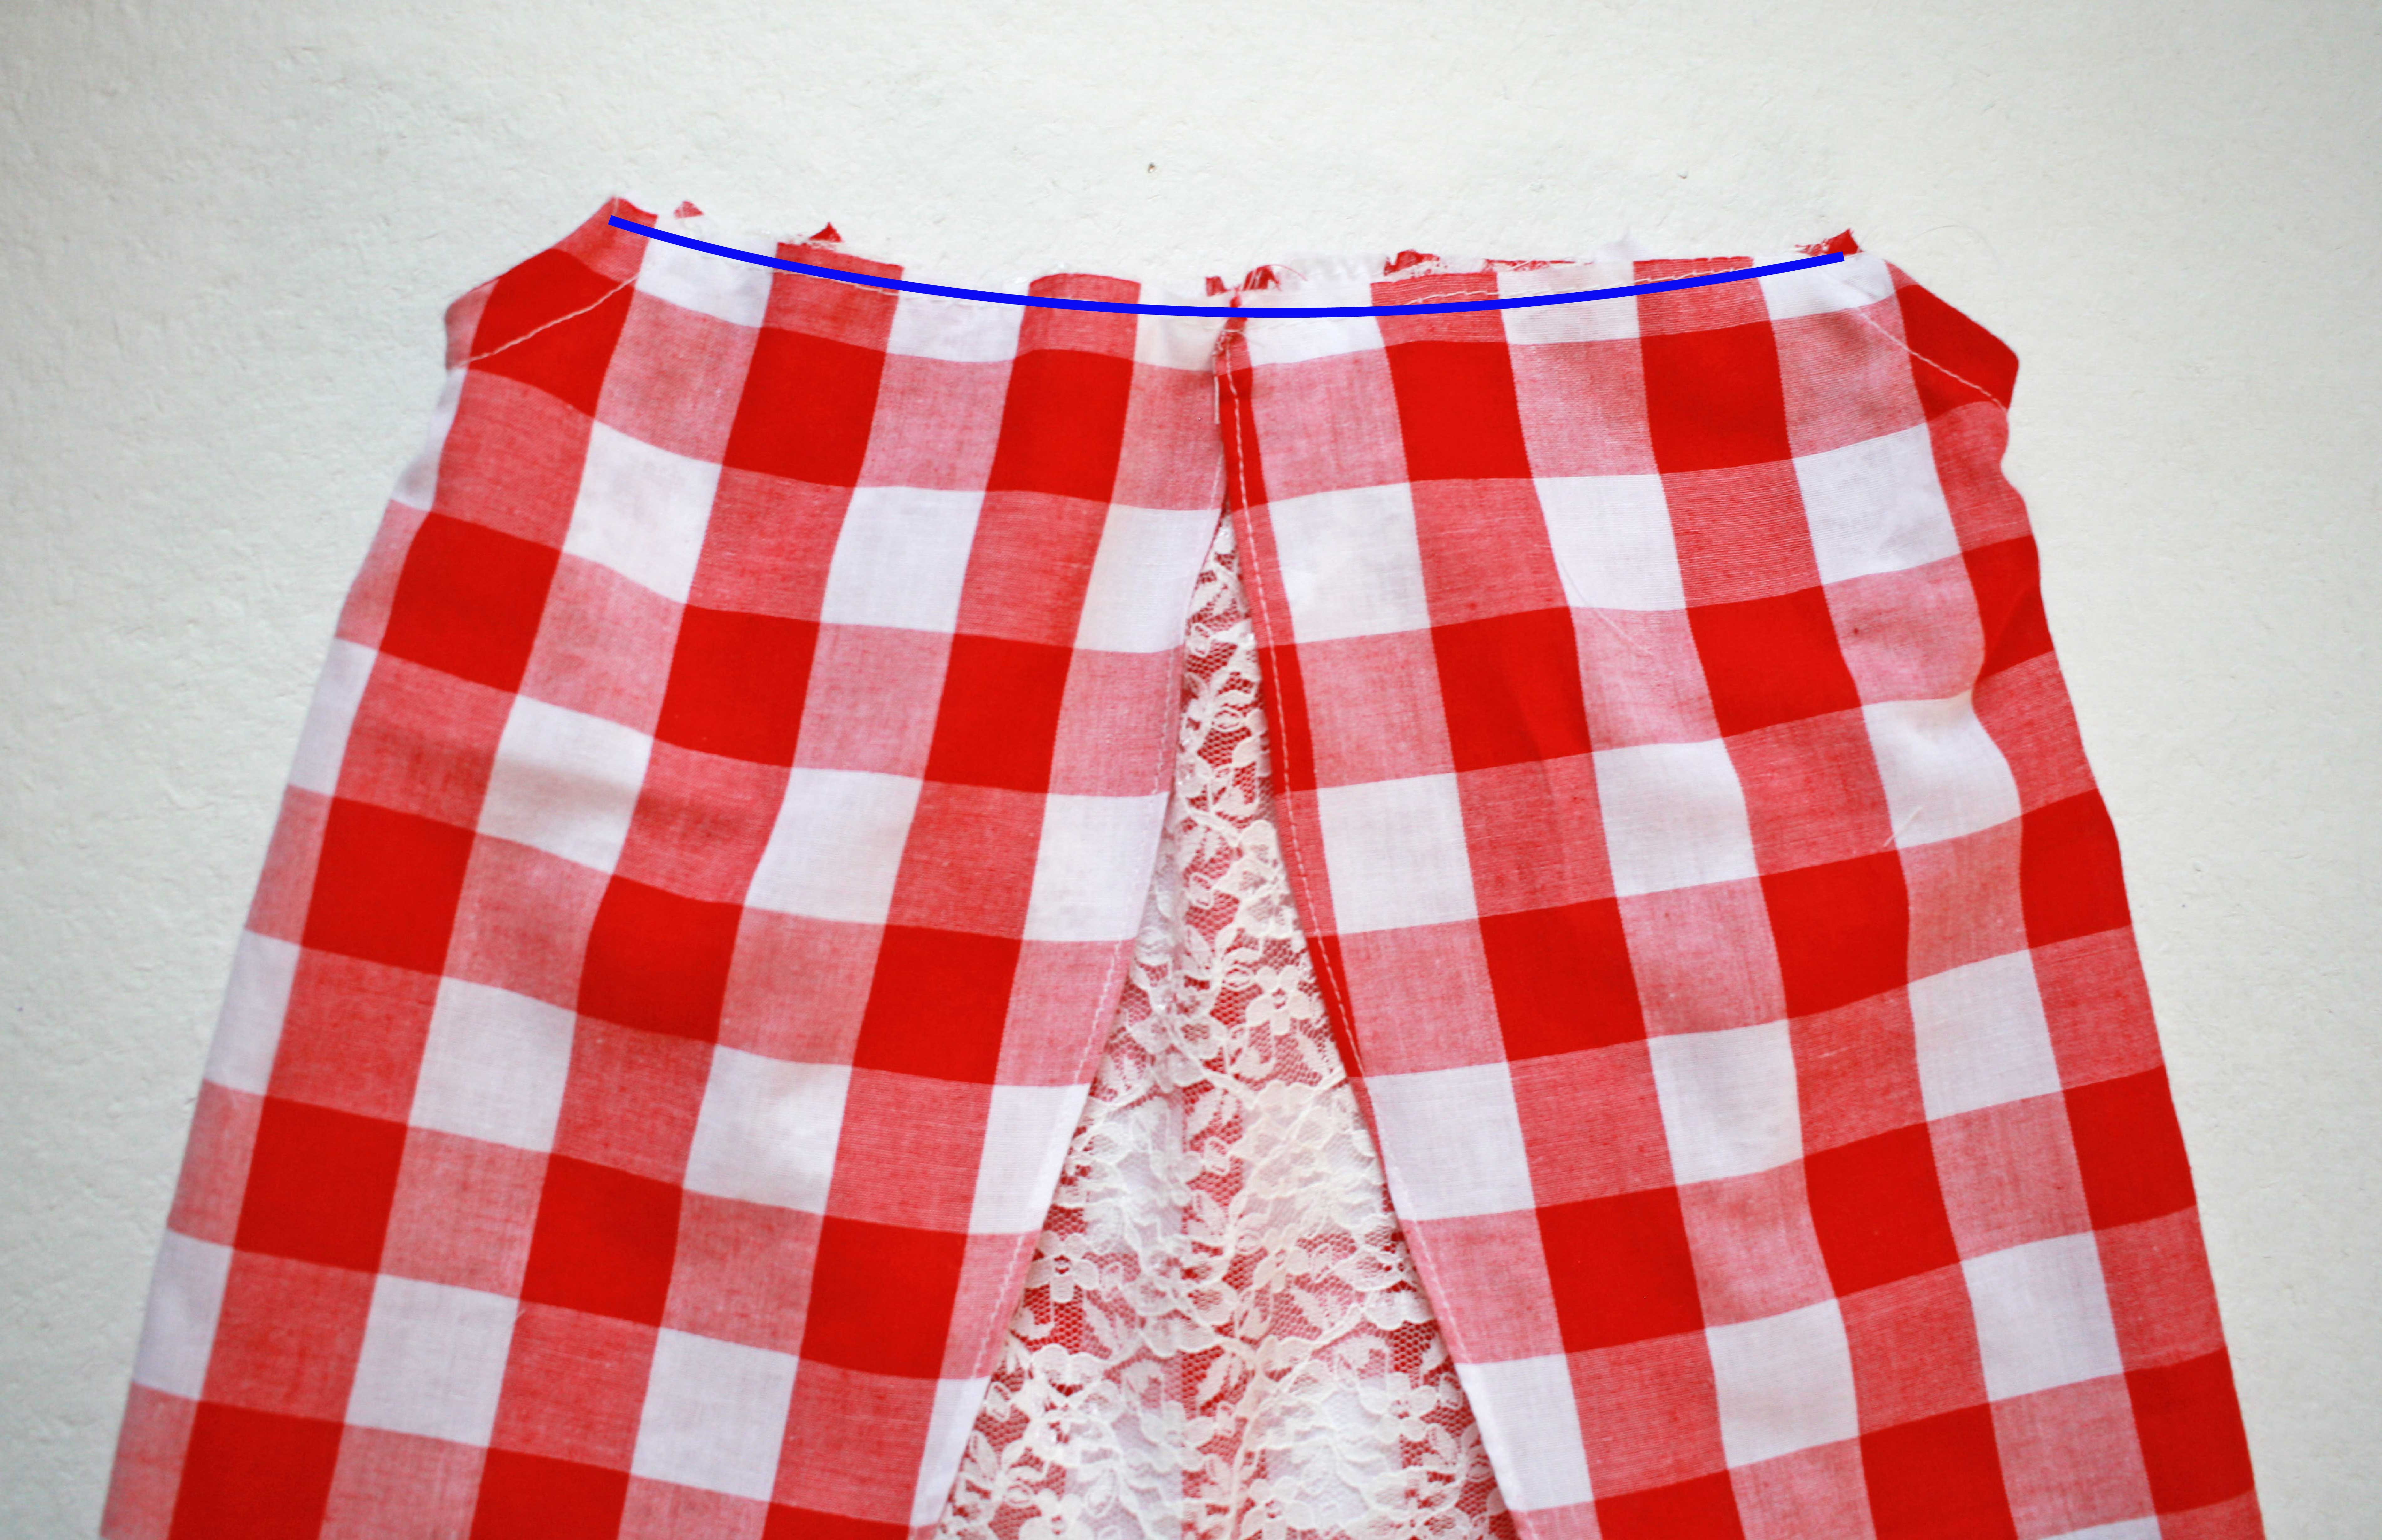
Finally, lay your back pieces on your front piece, wrong side up. Line up your side edges for all three layers and pin. Sew with a 1/2″ seam allowance down both side edges. You can trim your seam allowance in half and finish the edges if you want. Press your seams to the back.
Now take your inside layer and your back piece and baste them together 1/4″ along the underarm. Repeat for the other side.
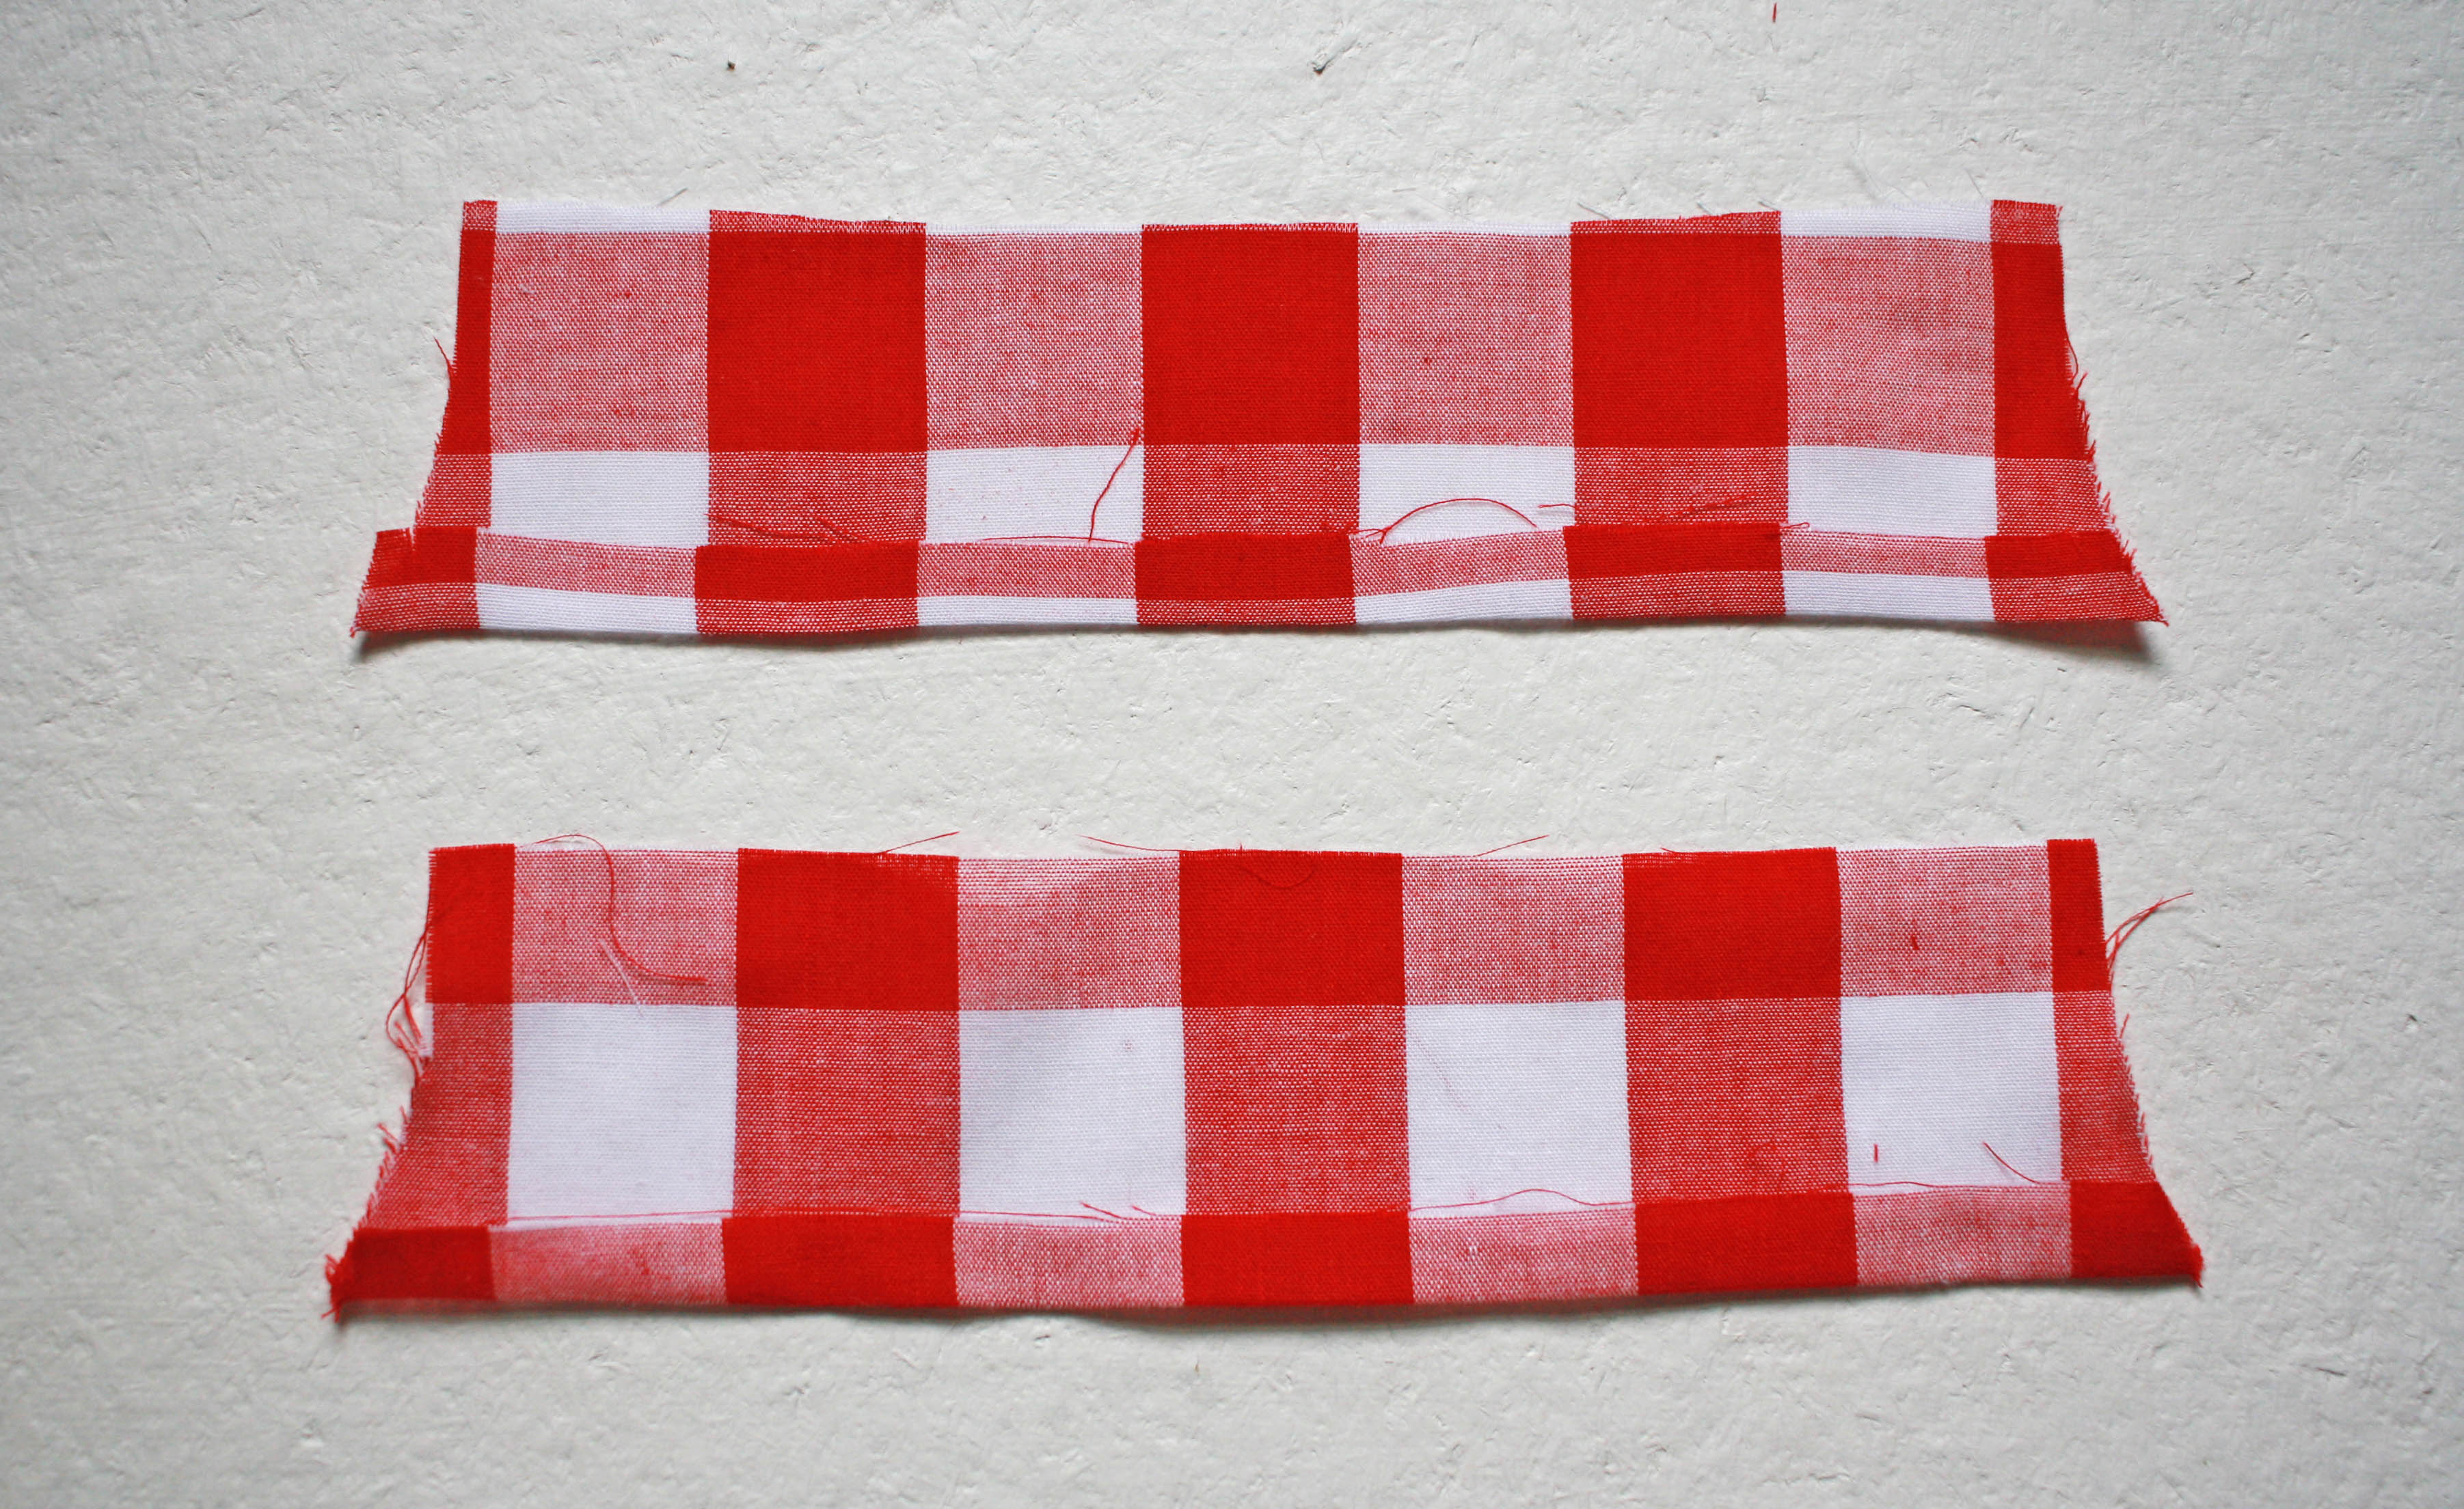
I would also like to show you how not to match your fabric along your side seams. Jeesh! I must have been daydreaming about something when I was cutting this one out. But let’s pretend it’s artsy and I did it on purpose. Moving on…
Measure your arm opening and cut a piece of bias tape about 1″ longer than your measurement. (Instructions for cutting bias tape are included in the PDF). Pin your bias tape to your arm opening right sides together, lining up the raw edges. Sew along the inside fold to attach your bias tape to your top.
Press your bias tape and your seam allowance up, away from the top. Understitch 1/8″ away from the seam catching your seam allowance as well.

Working from the inside of the top now, fold and press your bias tape to the inside. You should have a nice fold along the underarm, so you can’t see your bias tape from the right side of the top. Fold the raw edges of the bias tape under and pin in place. Sew close to the inside edge of the tape and trim off any excess. Repeat for the other side.
Before you start on the next step, mark the center of your front and back pieces as well as the center bottom of your chest piece and upper back piece (elastic casing as marked on the pattern).
Sew a gathering stitch (a straight stich set at the longest length) 1/4″ from the tops of both your front and back pieces. Sew another row 1/2″ from the top. (If you are using a delicate fabric, just sew the top row). For the back pieces, I overlapped them at the top by 1″. Make sure you are lining up the top edges of both your inner and outer layers on the back when you sew. When you overlap your back pieces, you’ll have some excess inner fabric. Just gather it a bit at the center with your fingers as you sew.

Working on the front, pull on one of the threads from each row of the gathering stitches you just made and slide the fabric along it to gather it until it is the same length as your top chest piece.
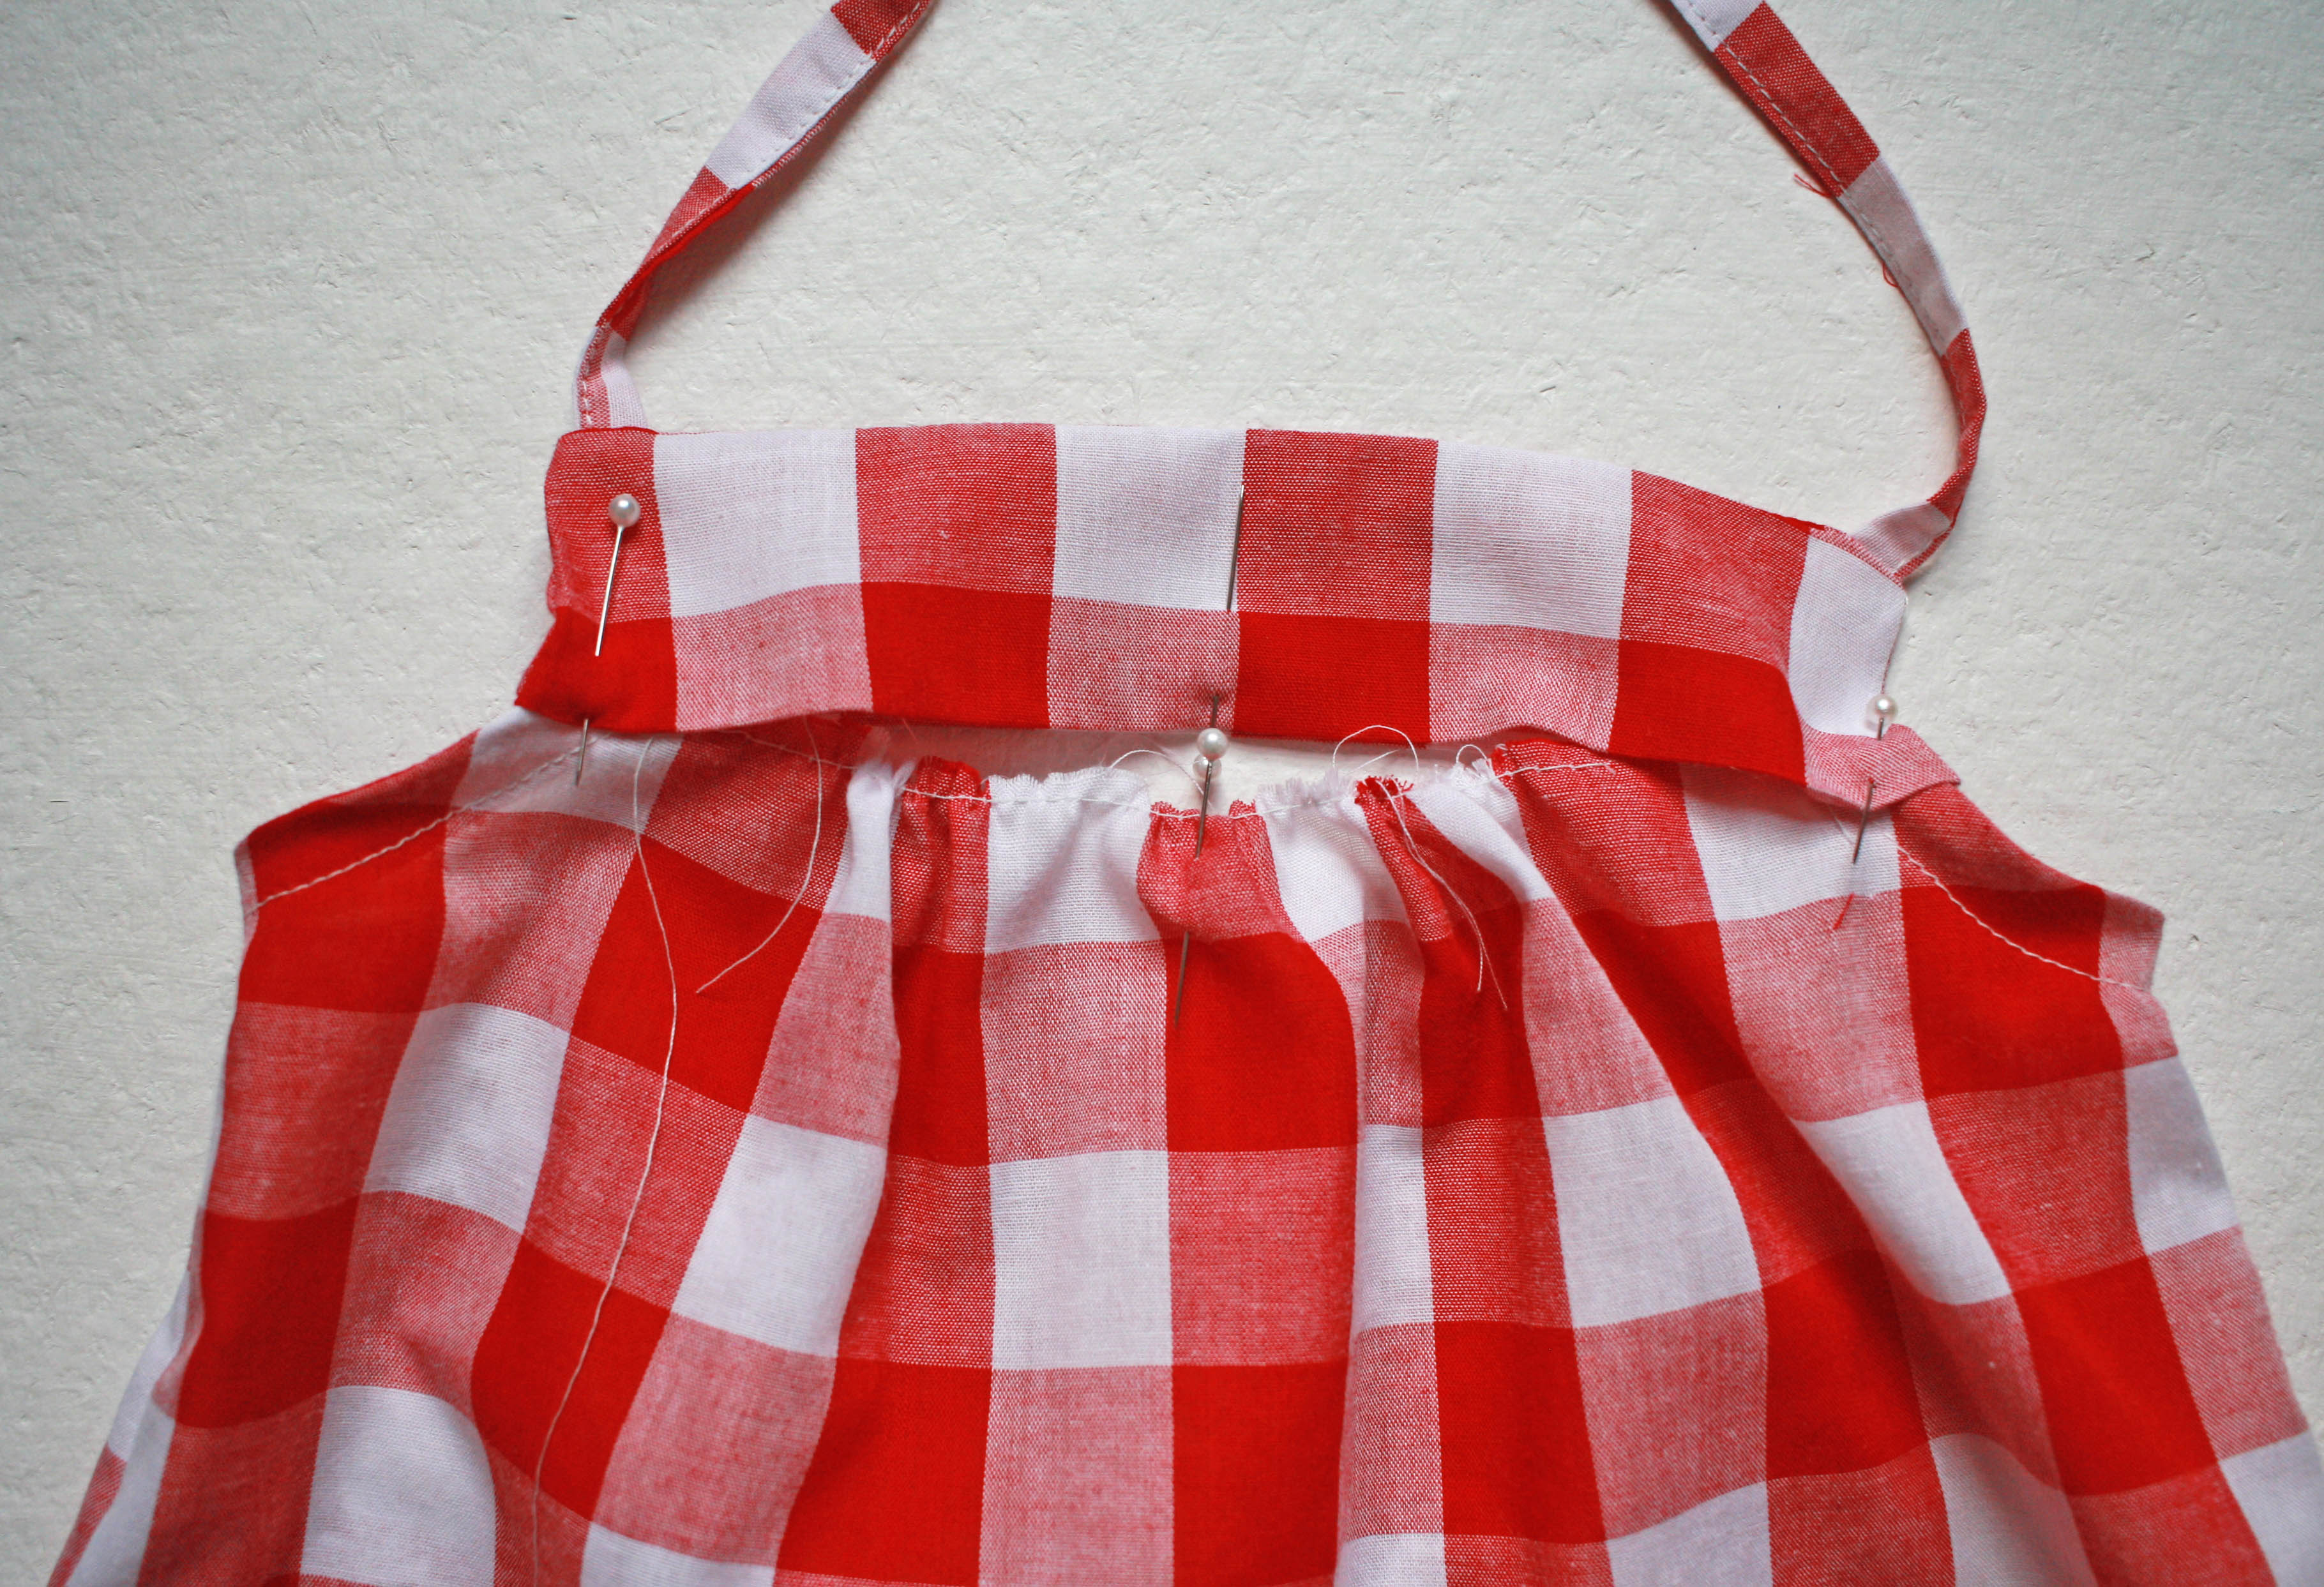
Insert your lower front bodice into the opening in the chest pieces by 3/8″ starting at one corner. Snug it up nice and tight against the corner and pin in place. Make sure that the bottoms of both your front and back chest pieces are even. This is important when we topstitch so we catch both. Repeat for the other corner and then for your center. Check that your gathers are nice and even.
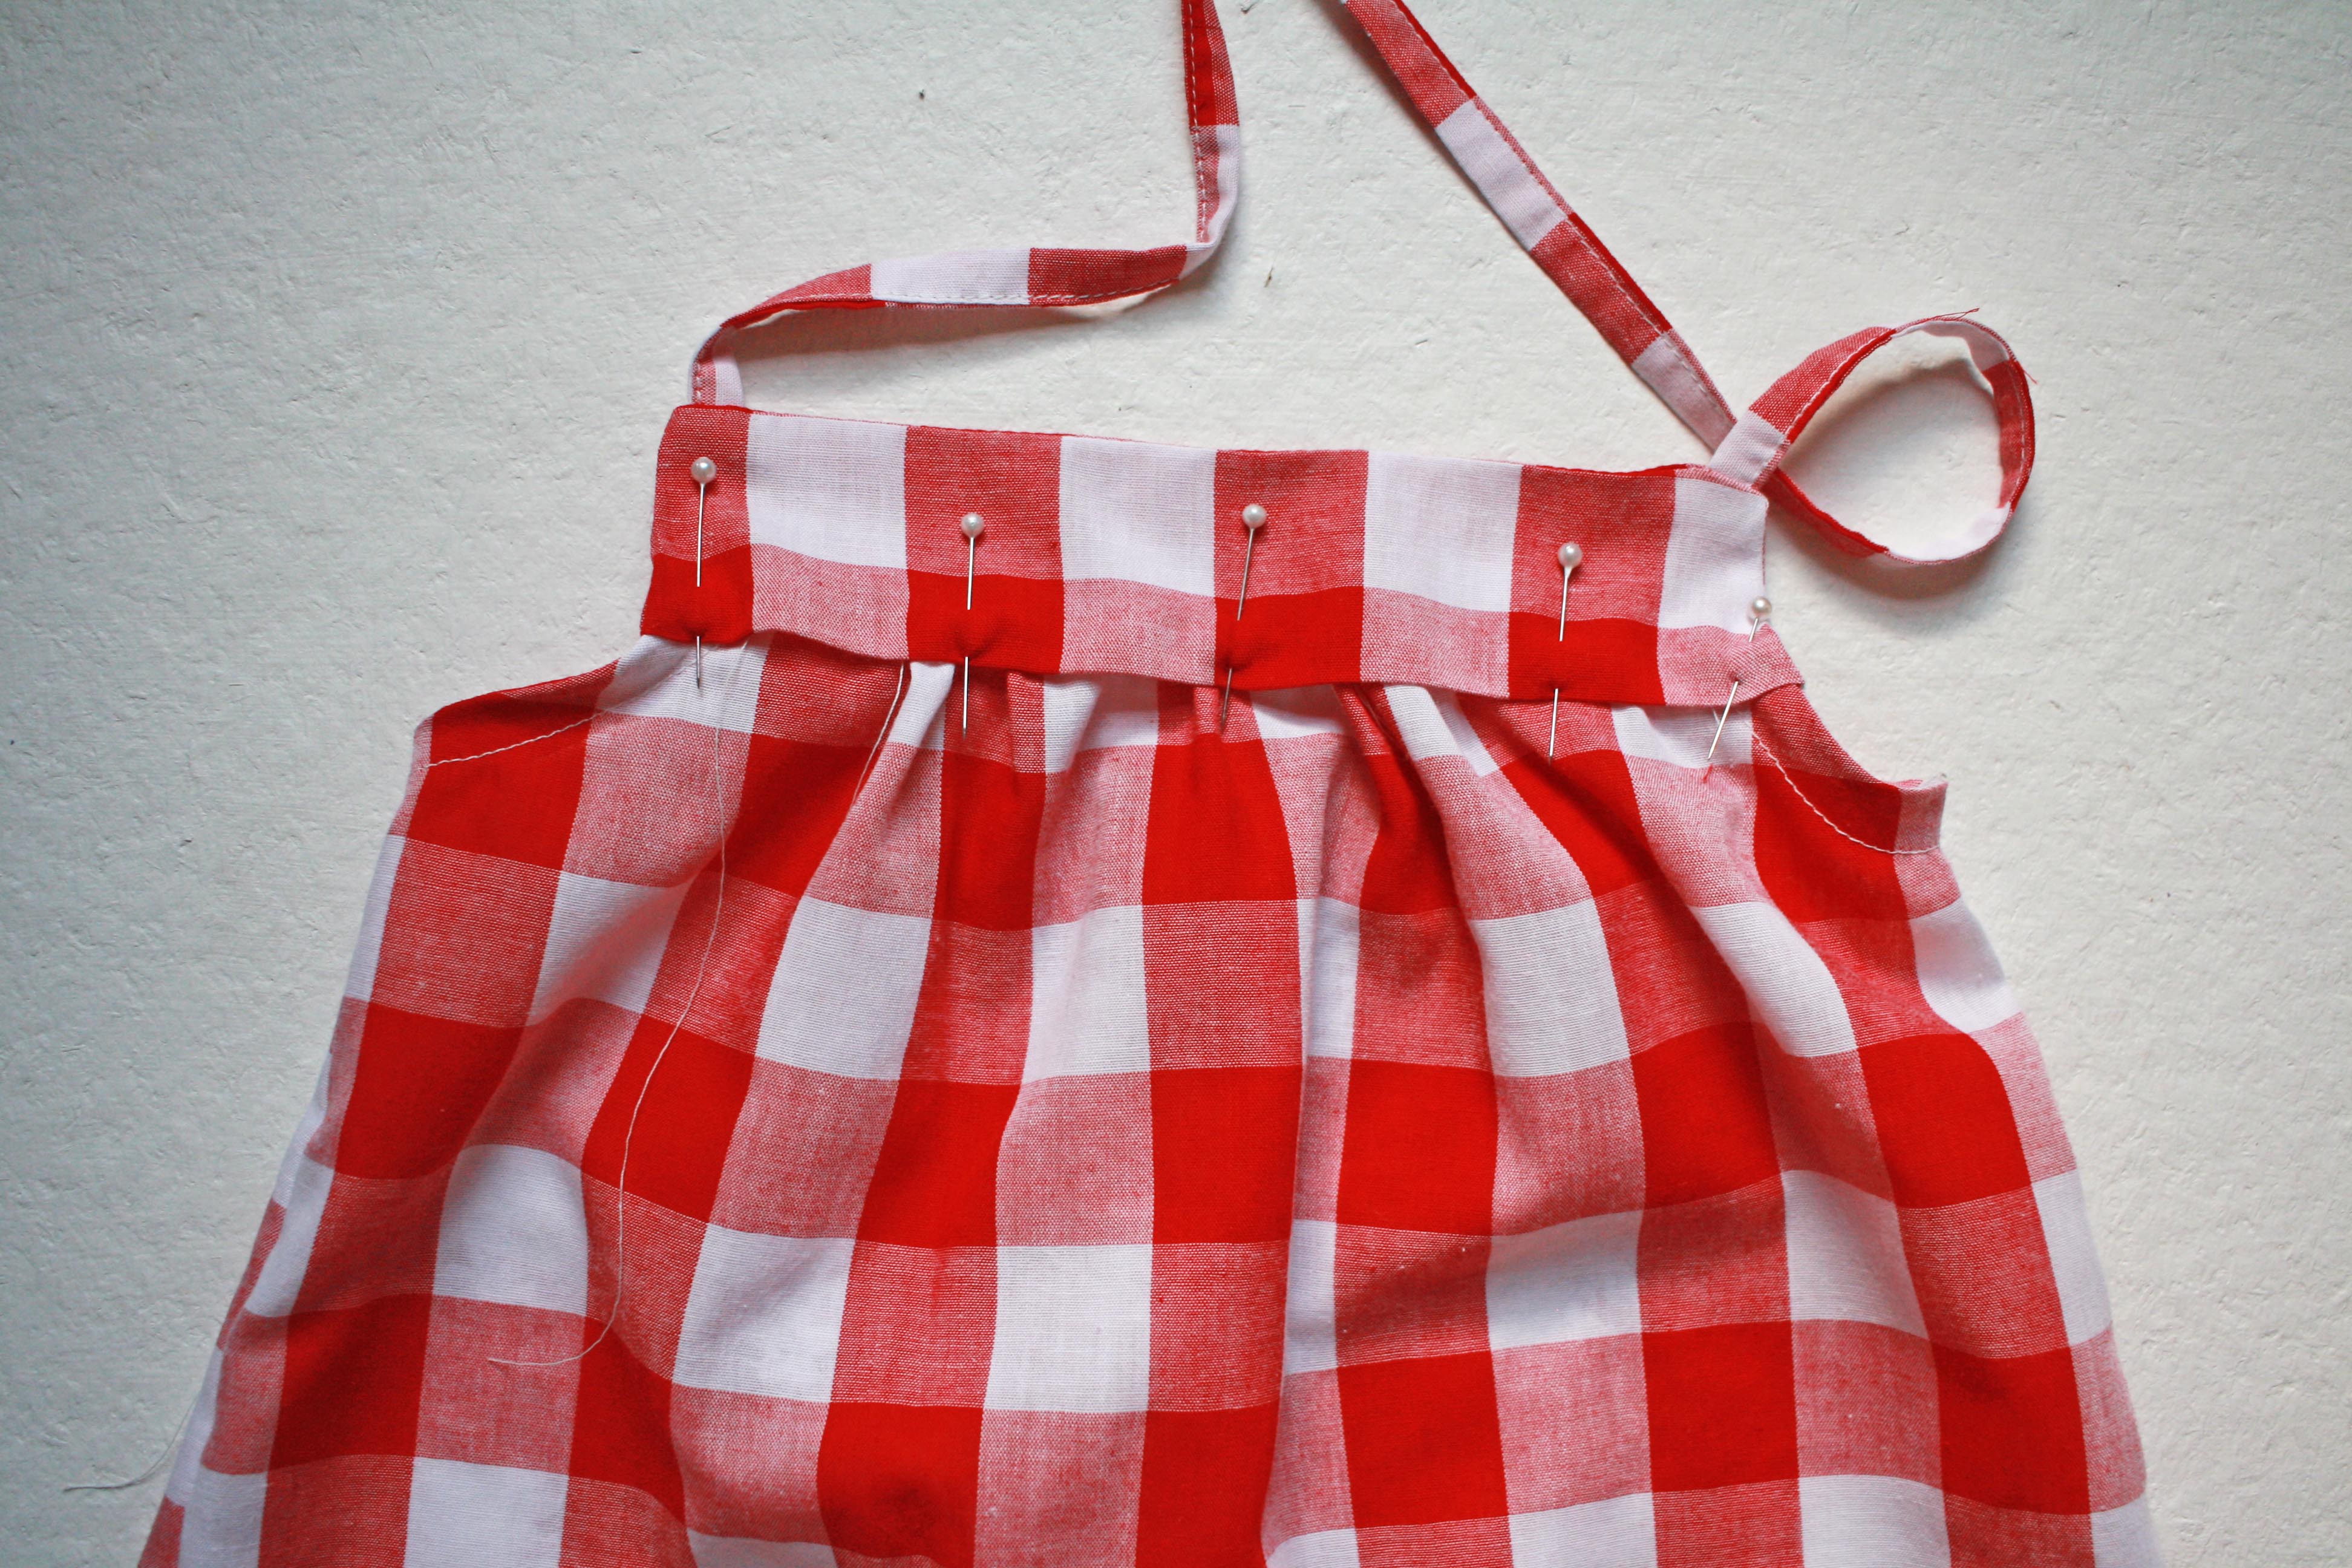
Continue pinning along the entire chest piece. The more pins the better at this point. I ended up pinning a few more times than I did in this photo. It helps keep everything in place for the next step.
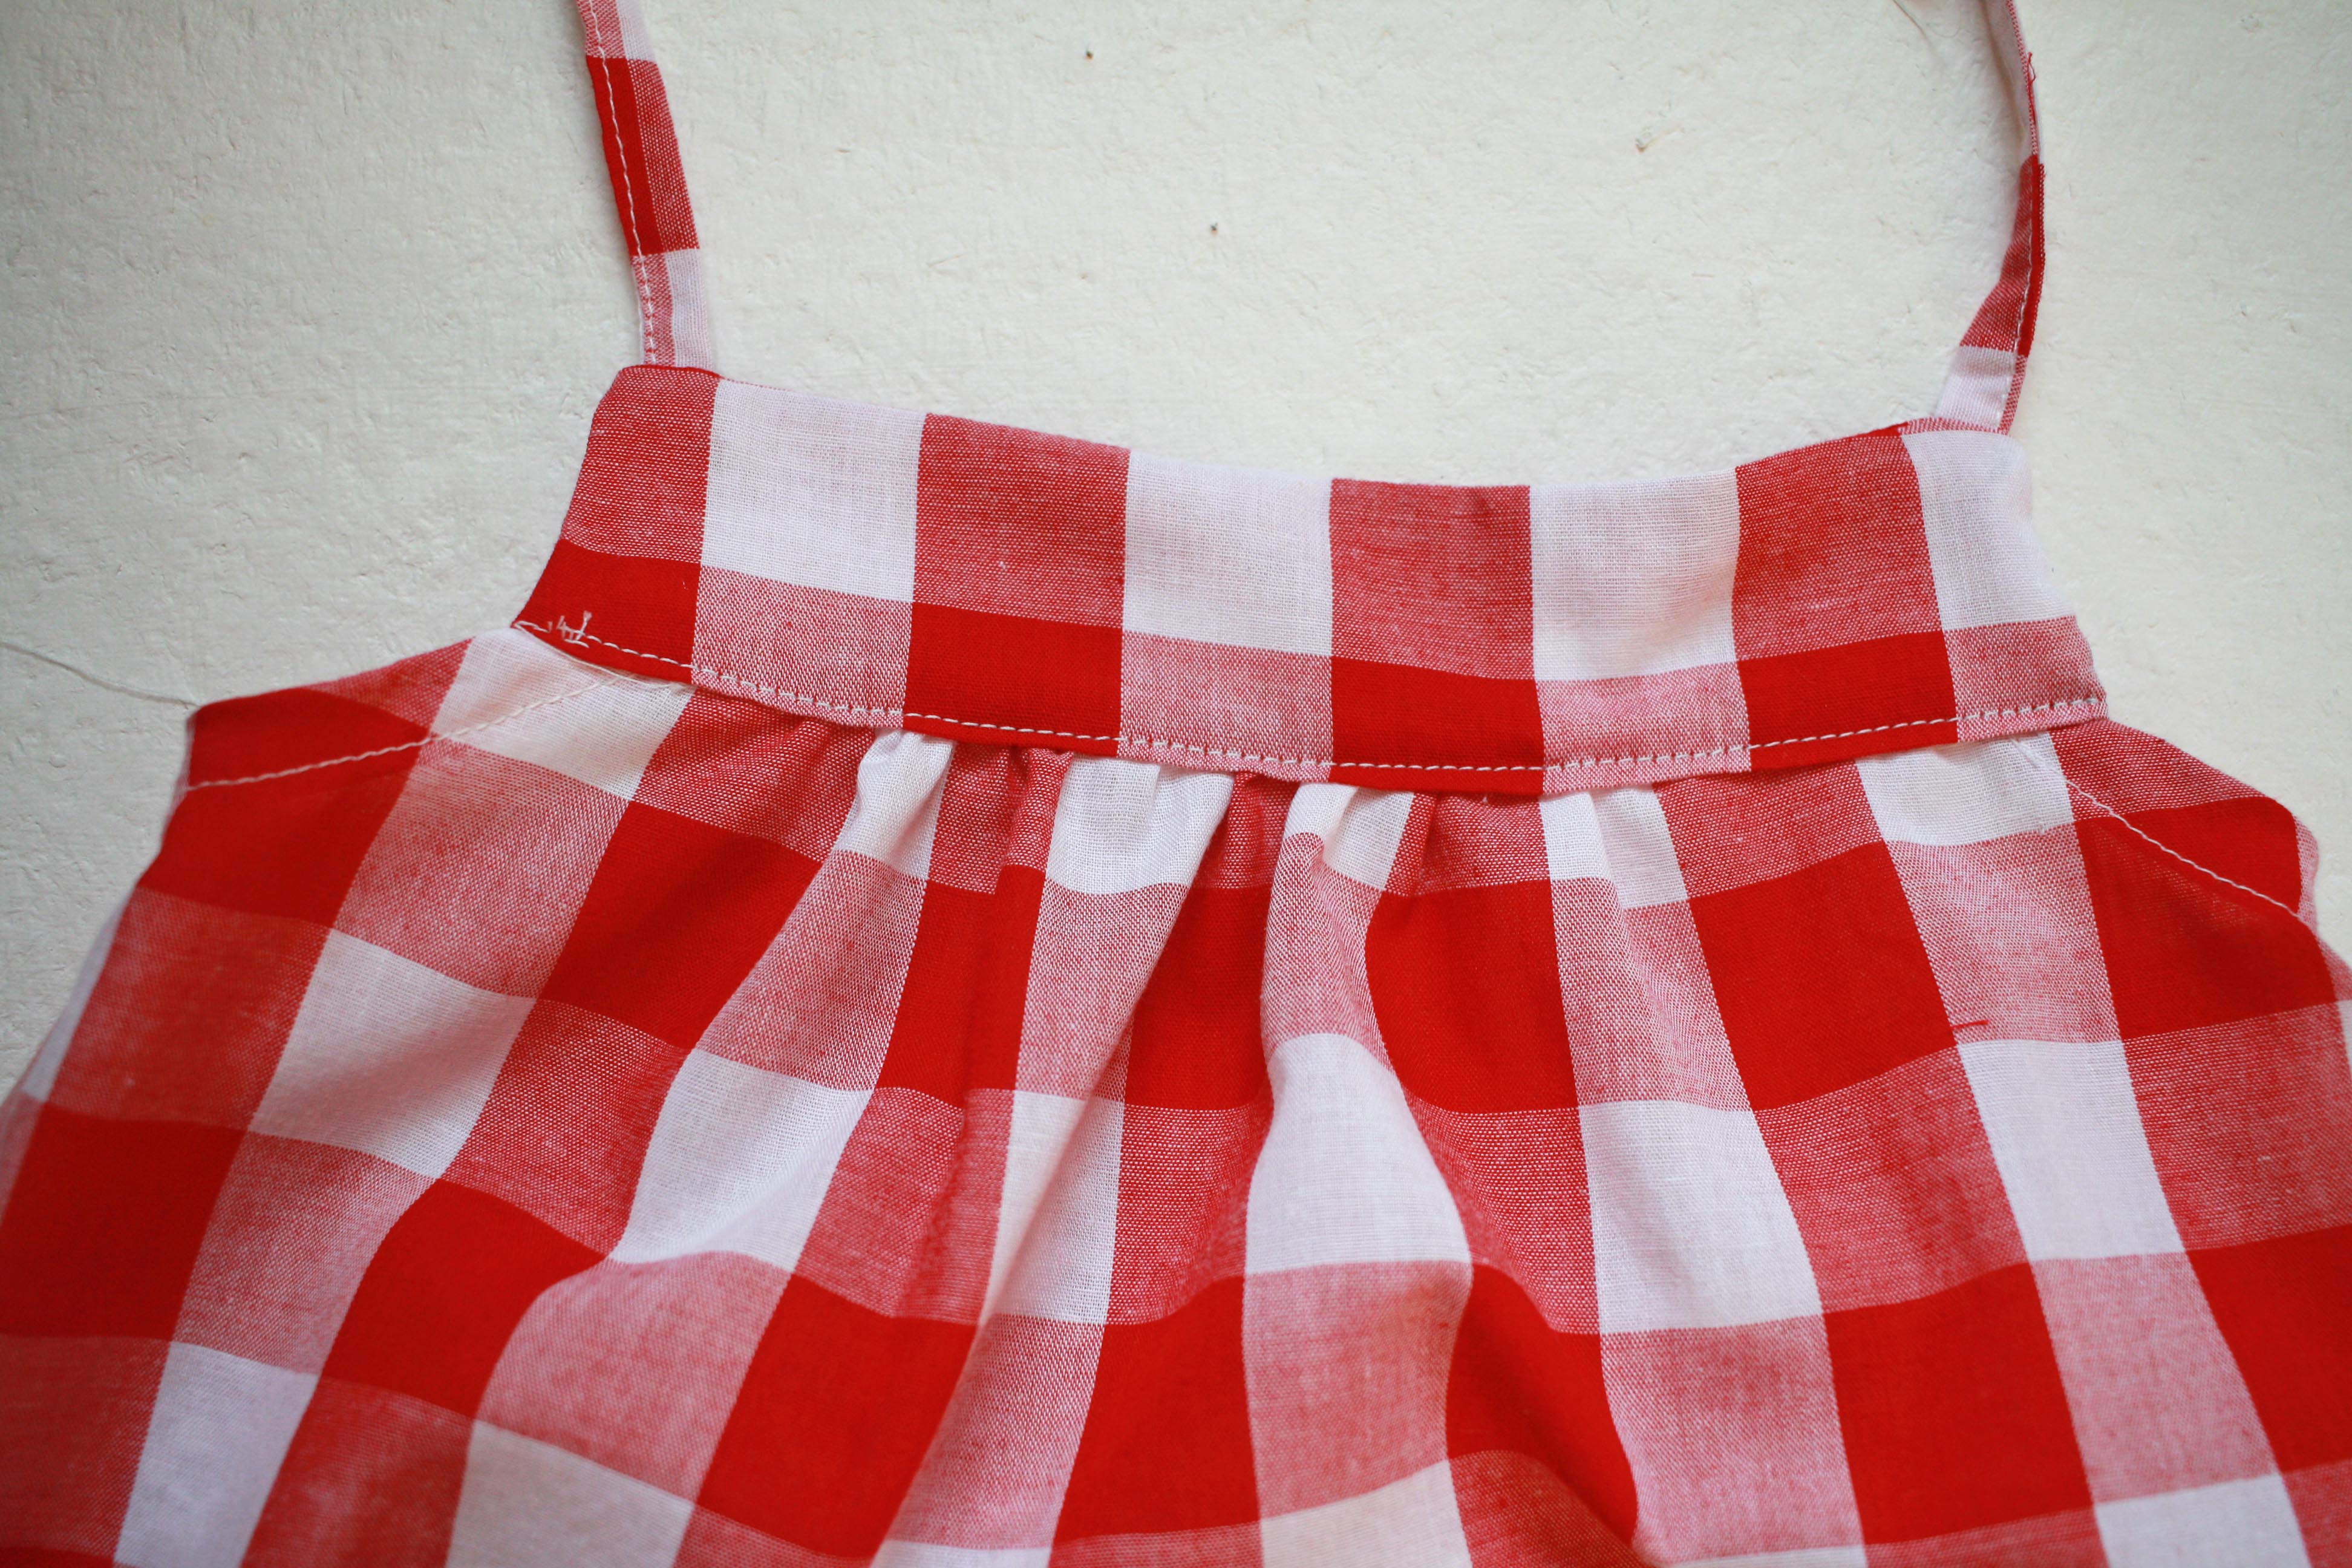
Topstitch 1/8″ away from the bottom edge, going very slowly and making sure you are catching all layers as you go. Feel from the bottom to make sure you are lined up. If you need too, you can use a slightly larger distance from the edge. Repeat these steps for attaching the back bodice to the upper back piece.

Hem your top by folding 1/2″ and then 3/4″. You will catch some of your inside fabric, just make sure it is facing in the direction it should be in when worn, and angle it out of the way.
The last step is to finish off the end of your straps by folding 1/4″ and then and additional 1/4″ and then sewing along the edges.
And there you have it! You now have a super cute tie top, open back Hadley! We would love to see your creations! Be sure to share with us on the Facebook group!
If you have any questions, feel free to ask on the group or email me at sewalittleseam@gmail.com.
